Welcome to the Austin Seven Friends web site and forum
As announced earlier, this forum with it's respective web address will go offline within the next days!
Please follow the link to our new forum
http://www.austinsevenfriends.co.uk/forum
and make sure, you readjust your link button to the new address!
Reckless, your modification to the standard cast iron manifold is exactly the same as I have on my saloon, fitted with an 1 1/8" SU. It works very well. The only thing to watch is that some SU's will have the intake very close to the bonnet side. I found one that is well clear and it is better for it.
Tom, your work is of a very high quality. The exhaust manifold is very similar to a Dante cast aluminium one in design. These also have the problem of exiting very close to the radius arm requiring a tight angle bend in the exhaust.
Regarding exhaust manifolds in general, I have been lead to believe by a bike racer friend that the design is not critical until you are going over 5000rpm. It would appear that the greatest benefit of a fancy exhaust manifold is that you can use a much more efficient inlet manifold, which pays dividends throughout the rev range. My experience with mildly tuned Austin 7's is that the log type inlet manifold takes some beating.

Thanks for the info Malcolm, which is encouraging. The problem with the SU conversion on a standard SD manifold is due to the protrusion of the adaptor necessary to rotate the fixings through 90°. On my RP whilst the carb is closer to the bonnet side than with the 26VA there's still room, although not a lot:
Seen from above. It's 3cm at the forward end and 5cm at the rear relative to the flitch plate:

Too close unfortunately for a trumpet, without surgery.
Location: Gard, France 30960
I am sure that will be fine, Reckless. I must have been lucky as my SU bolts directly on to the S/D manifold.
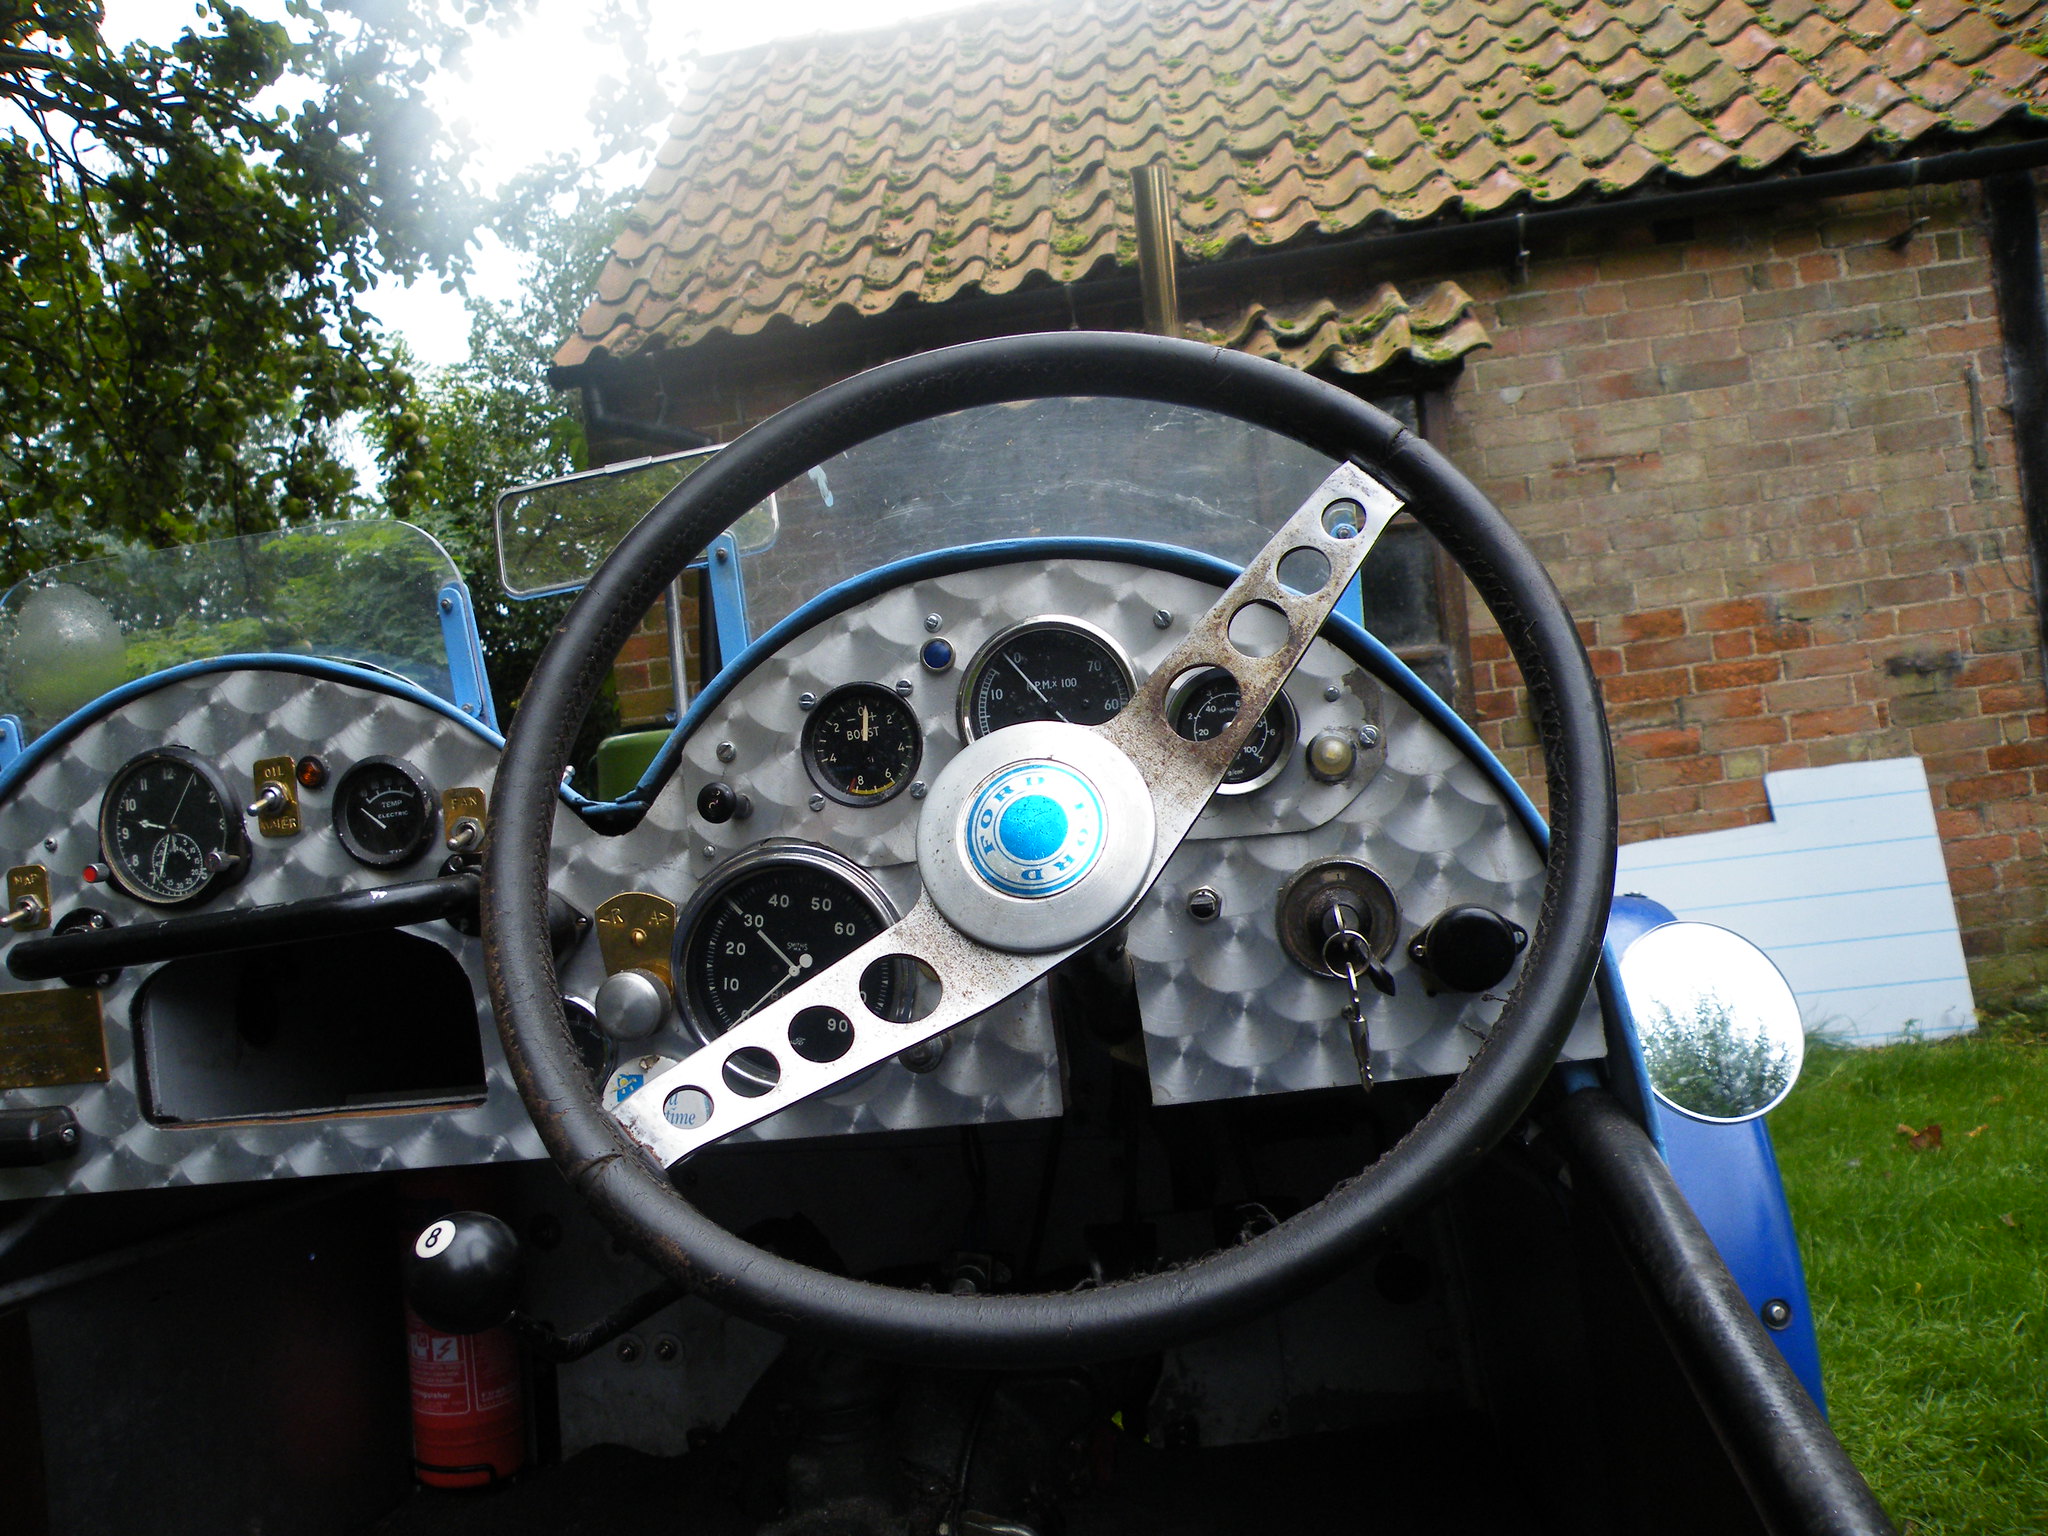
And now for something completely different.
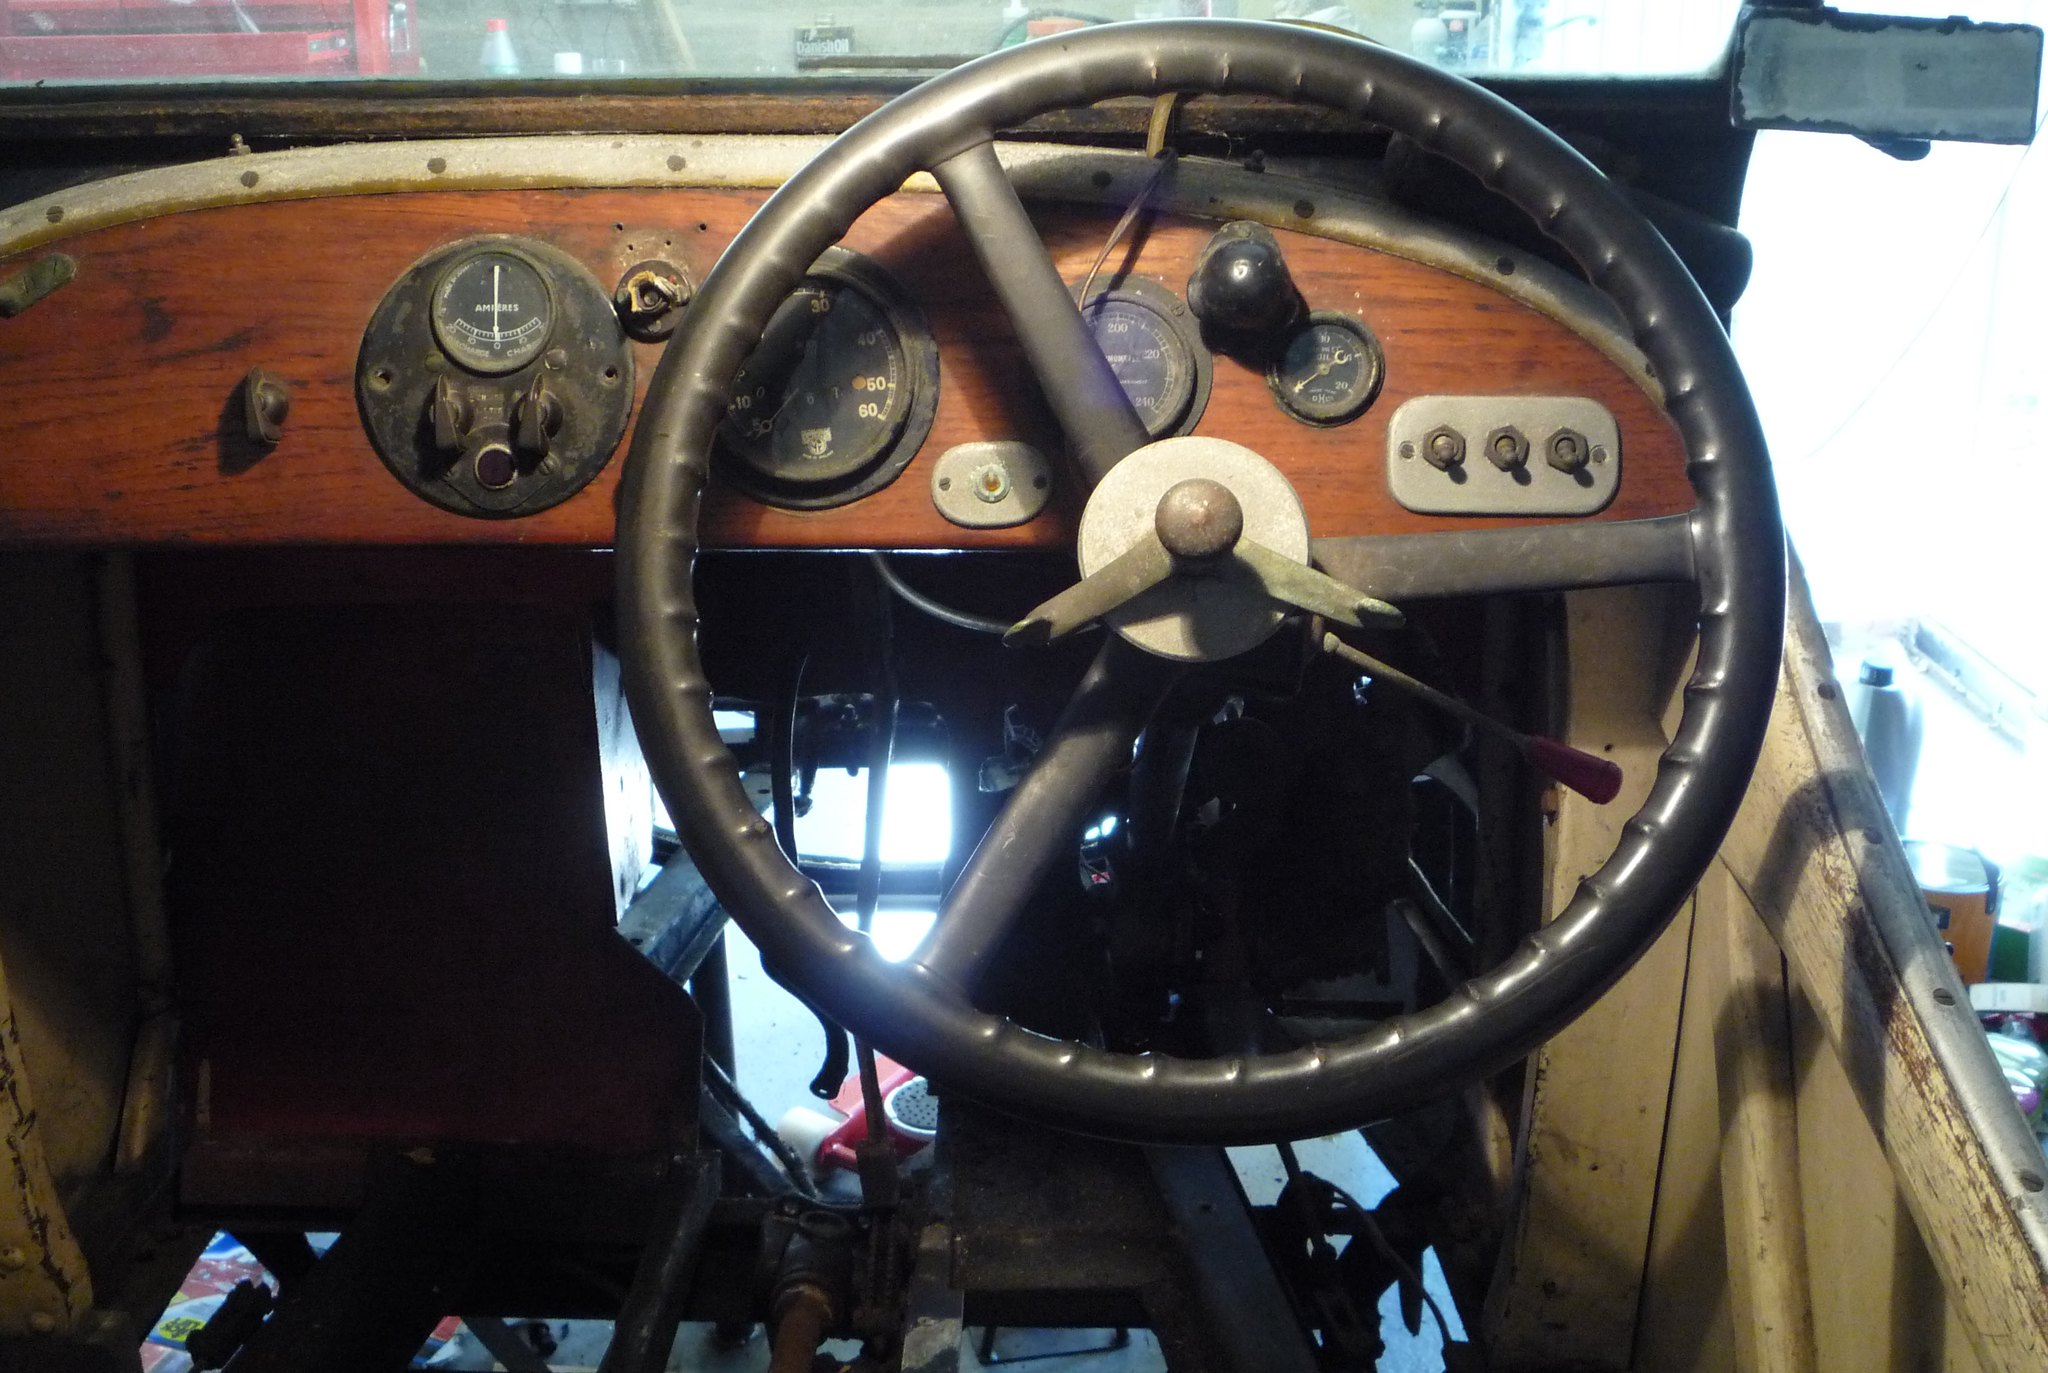
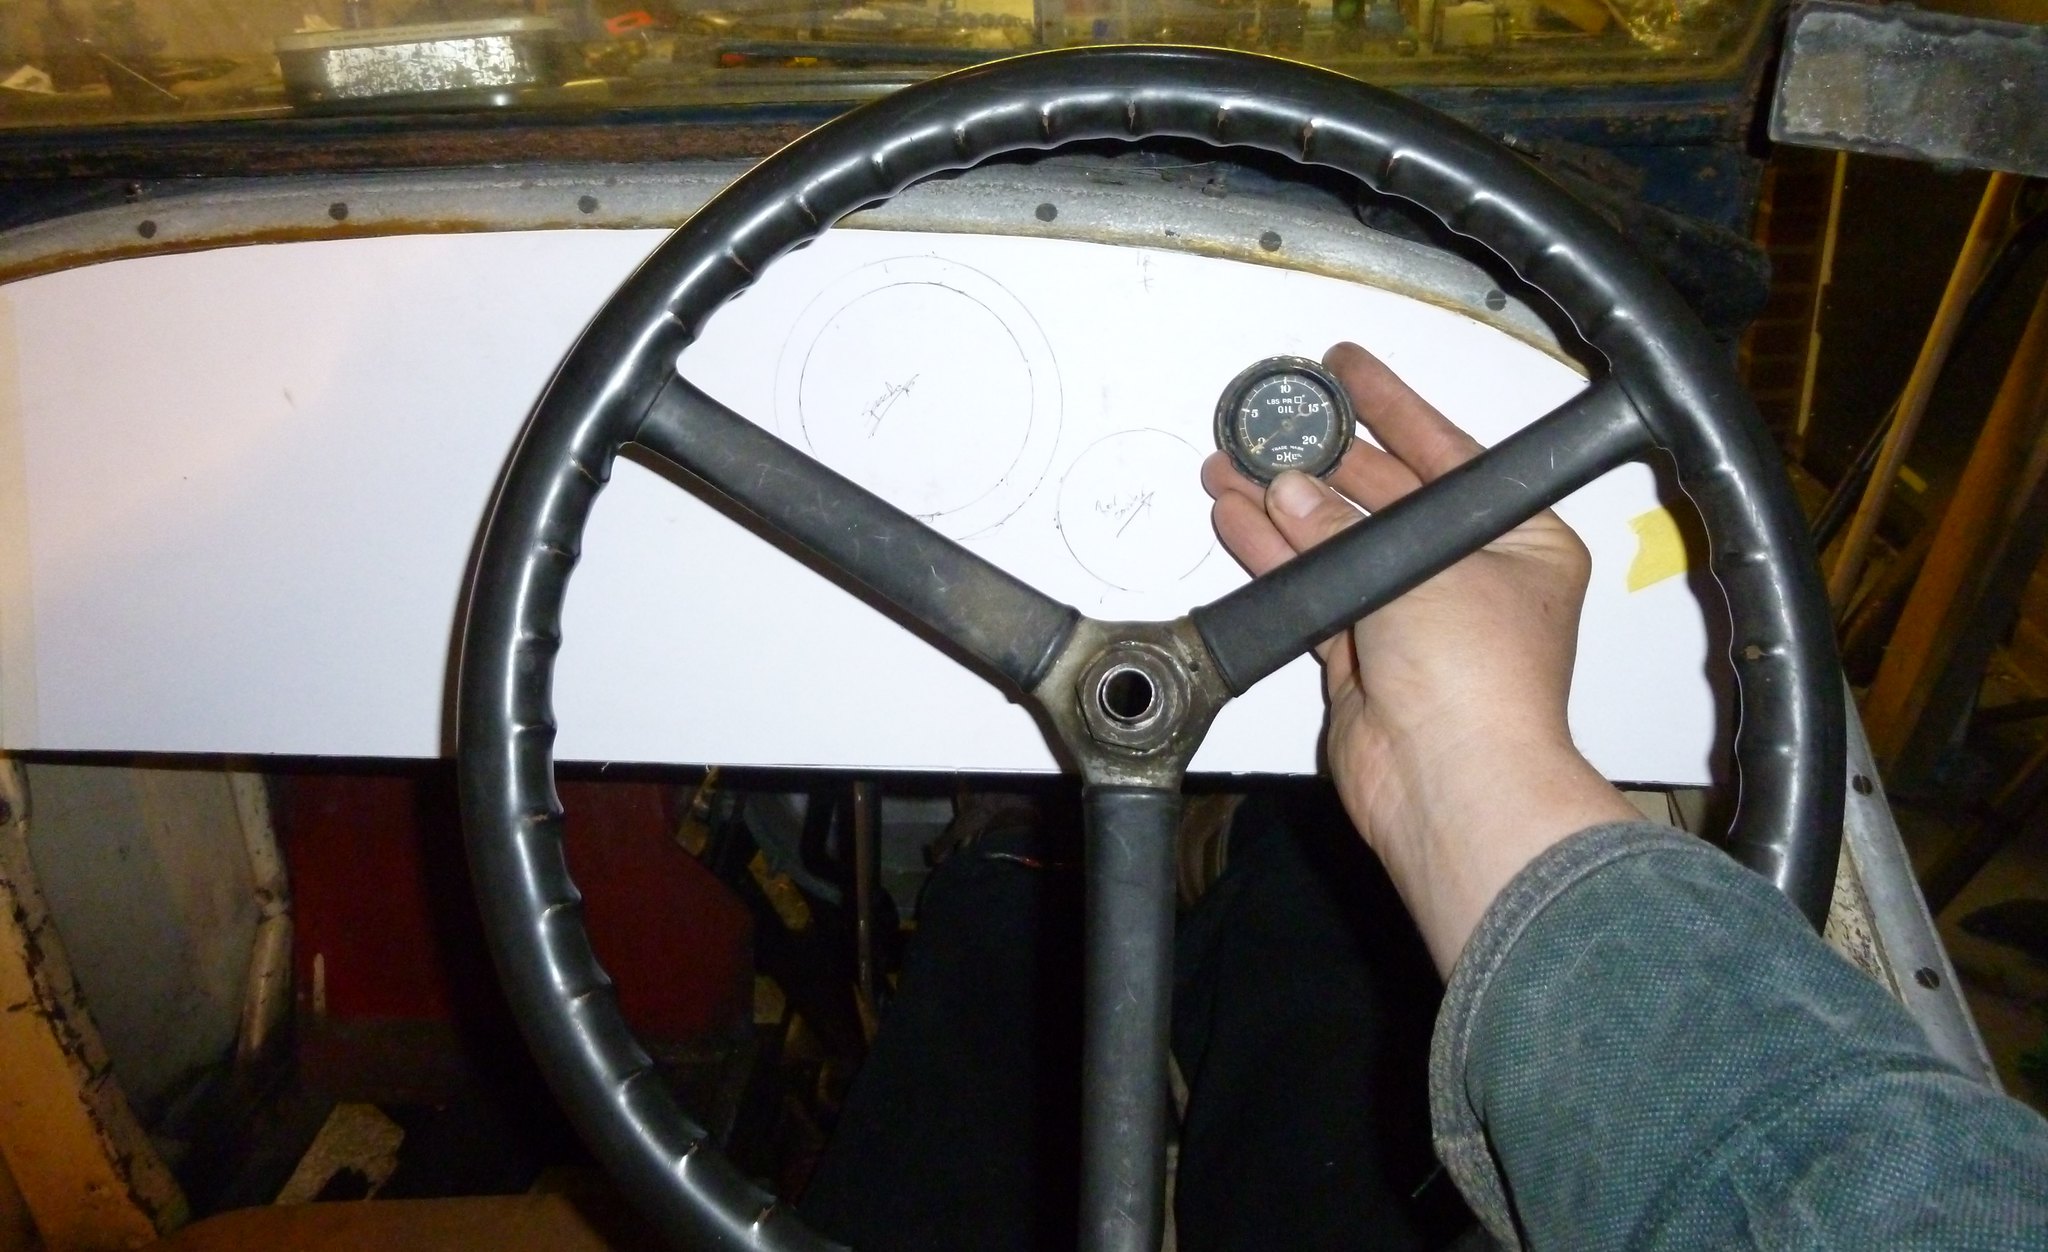
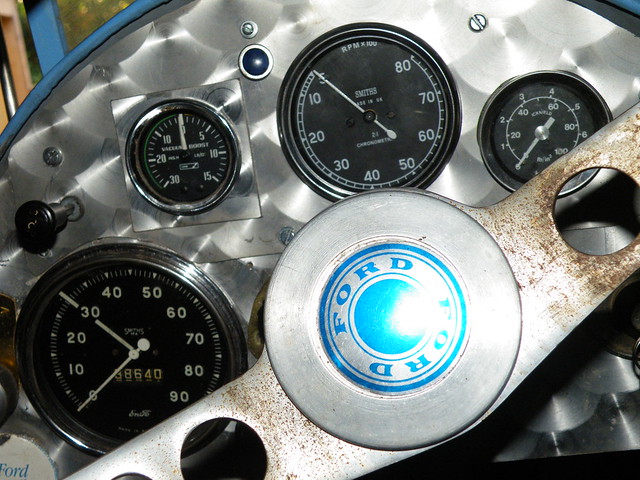
As much as I hate to say it but the dash board had to be changed because the gauges were badly positioned caused by the steering column stay being in the way (which has now been changed). The speedo is partially masked by the steering wheel and almost invisible when your hands are placed on the wheel.
Edit, first time using Flikr as photobucket refuses to upload.
Location: Eye on the Norfolk / Suffolk border
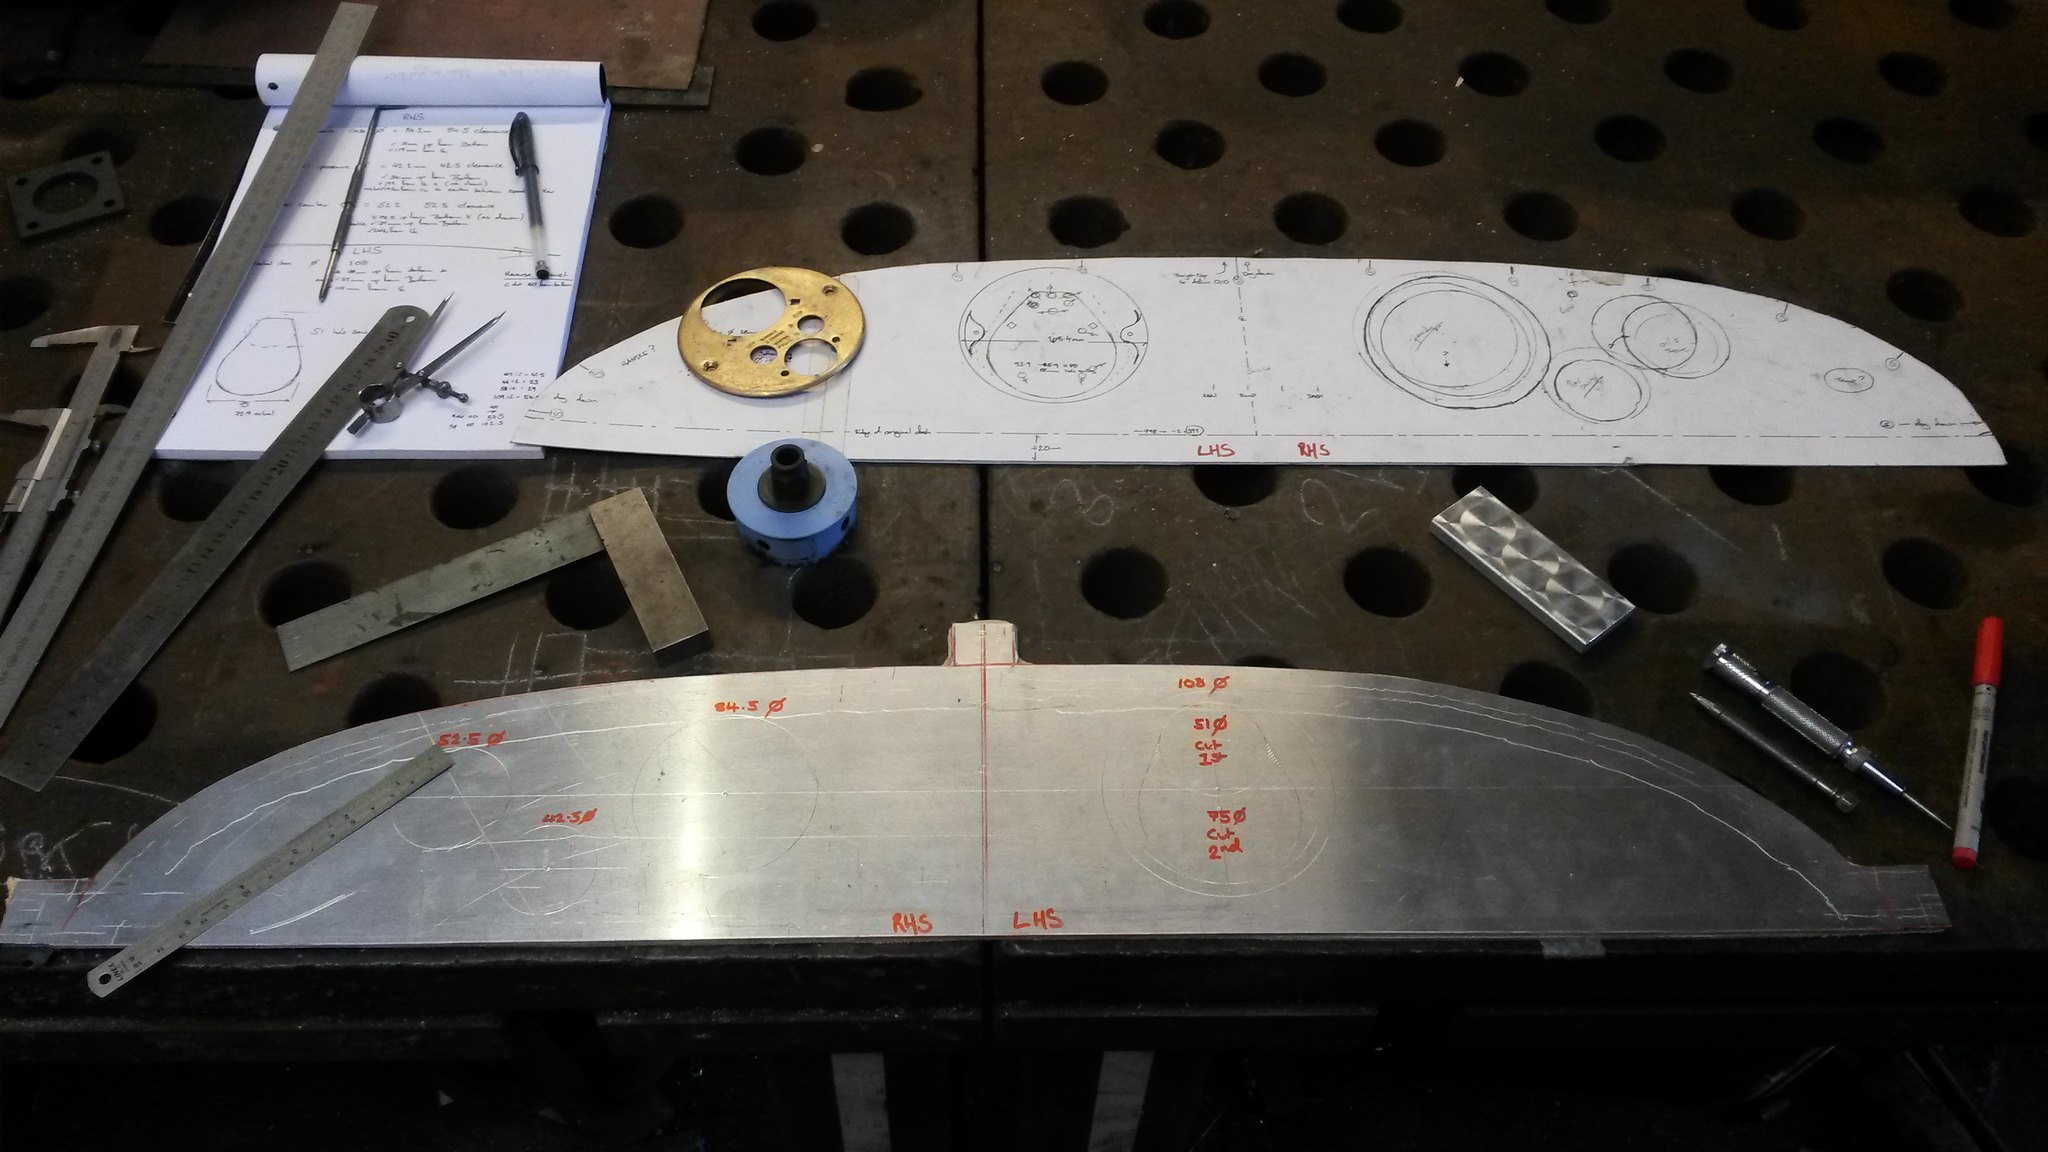
First I trimmed a sheet of card to fit inside the ali trim strip.
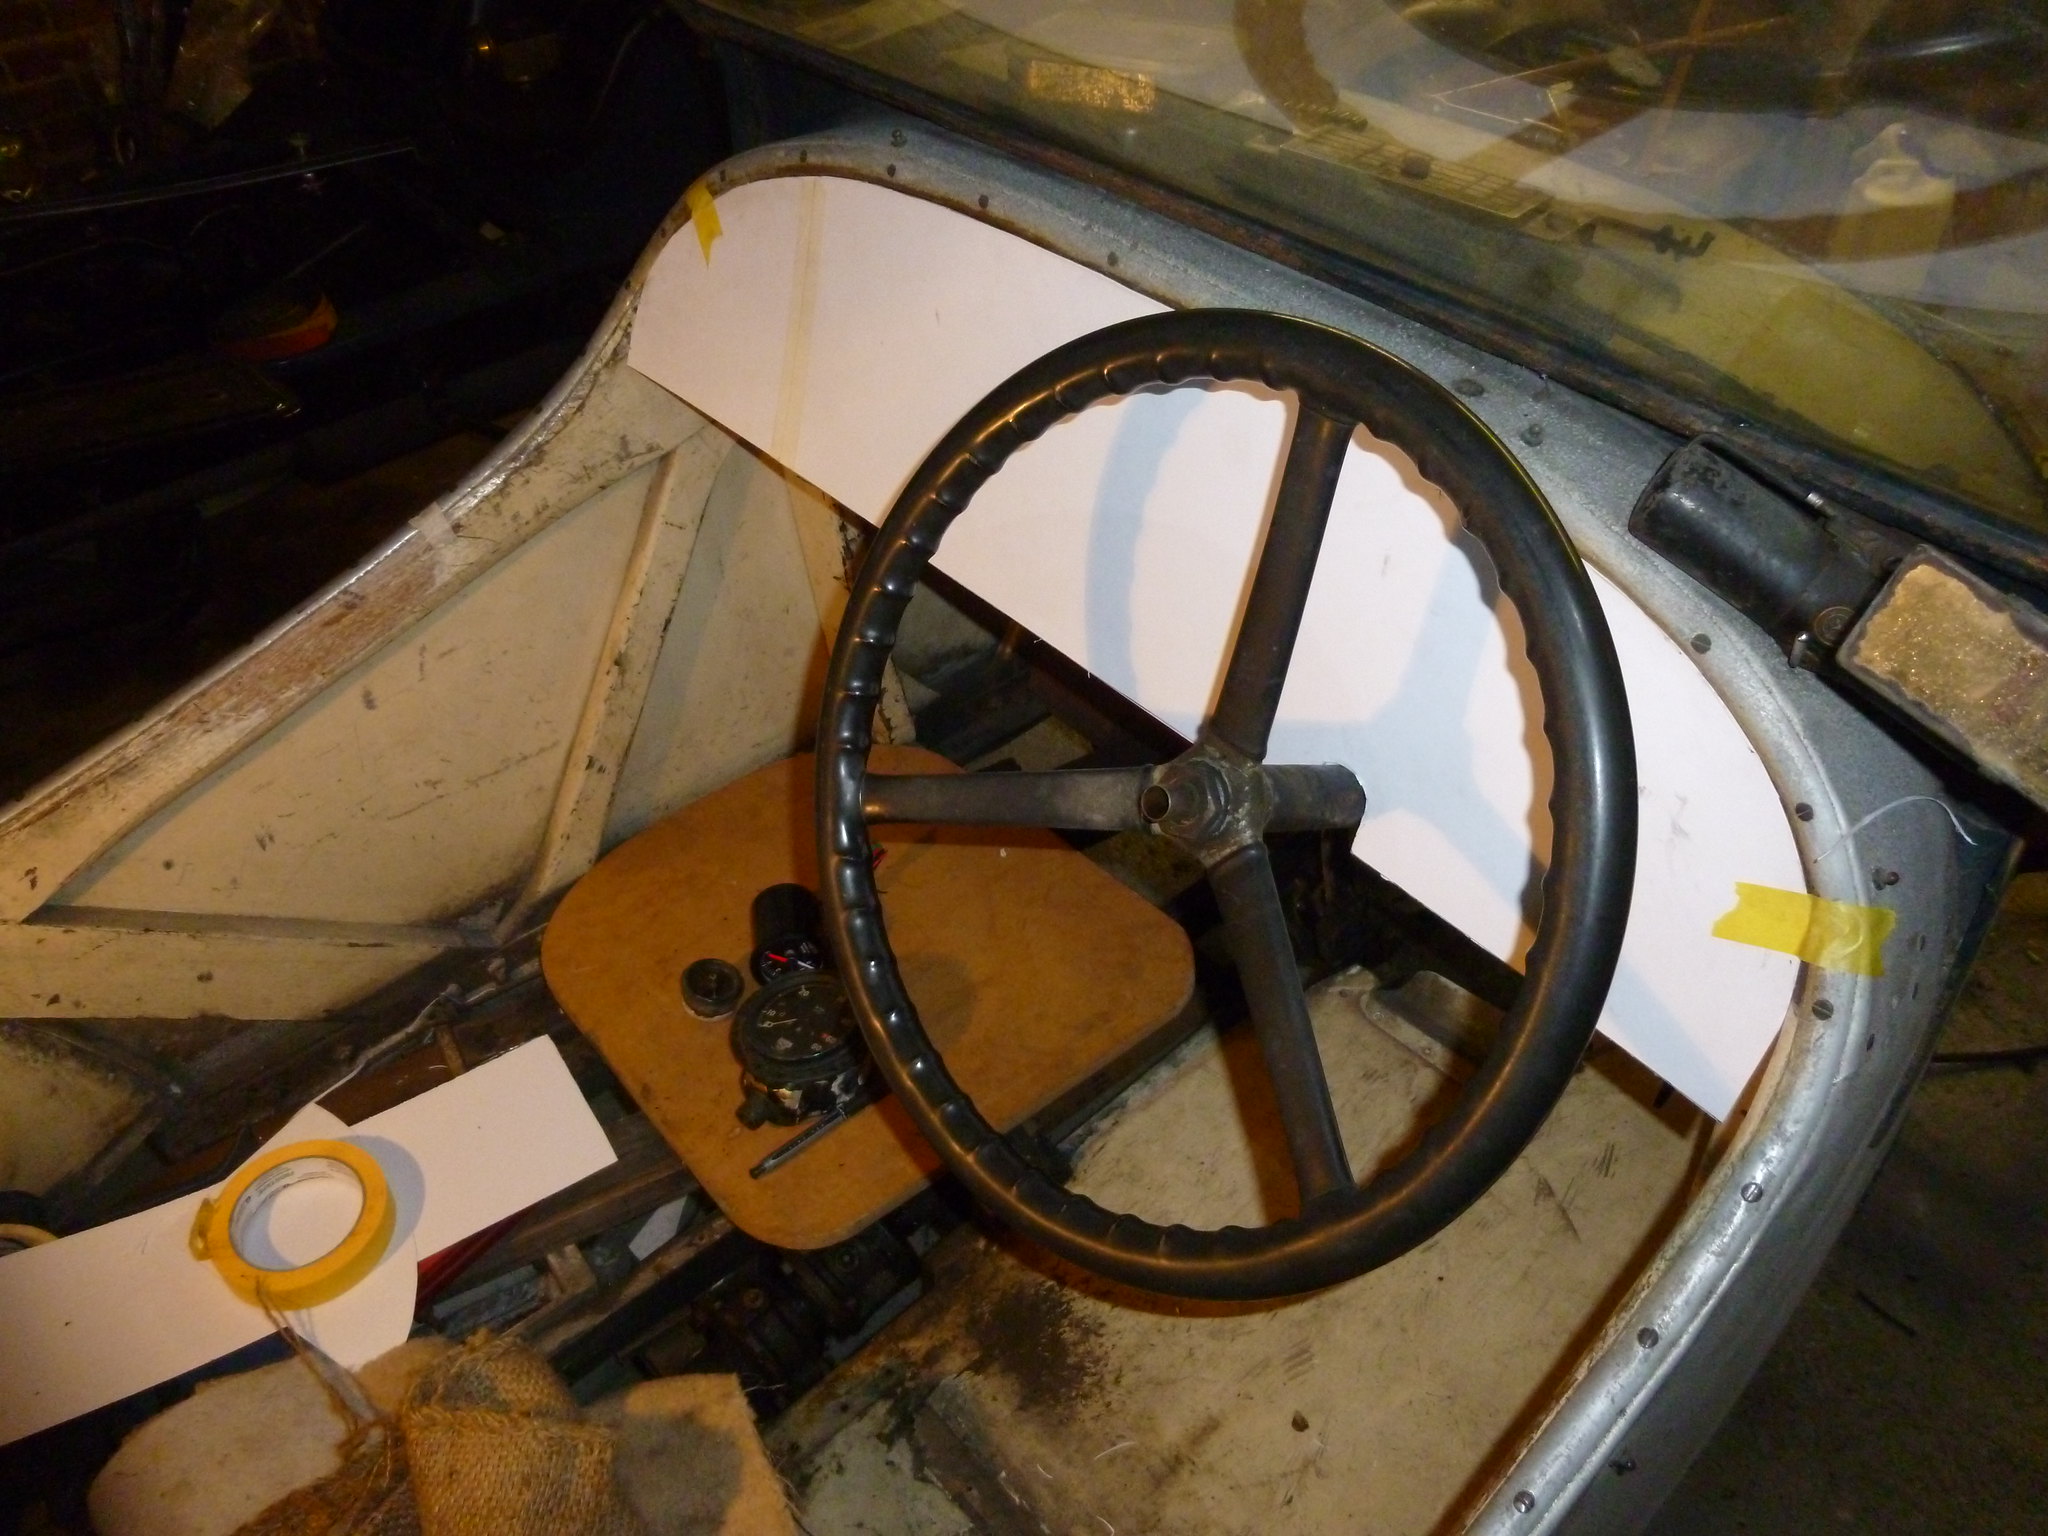
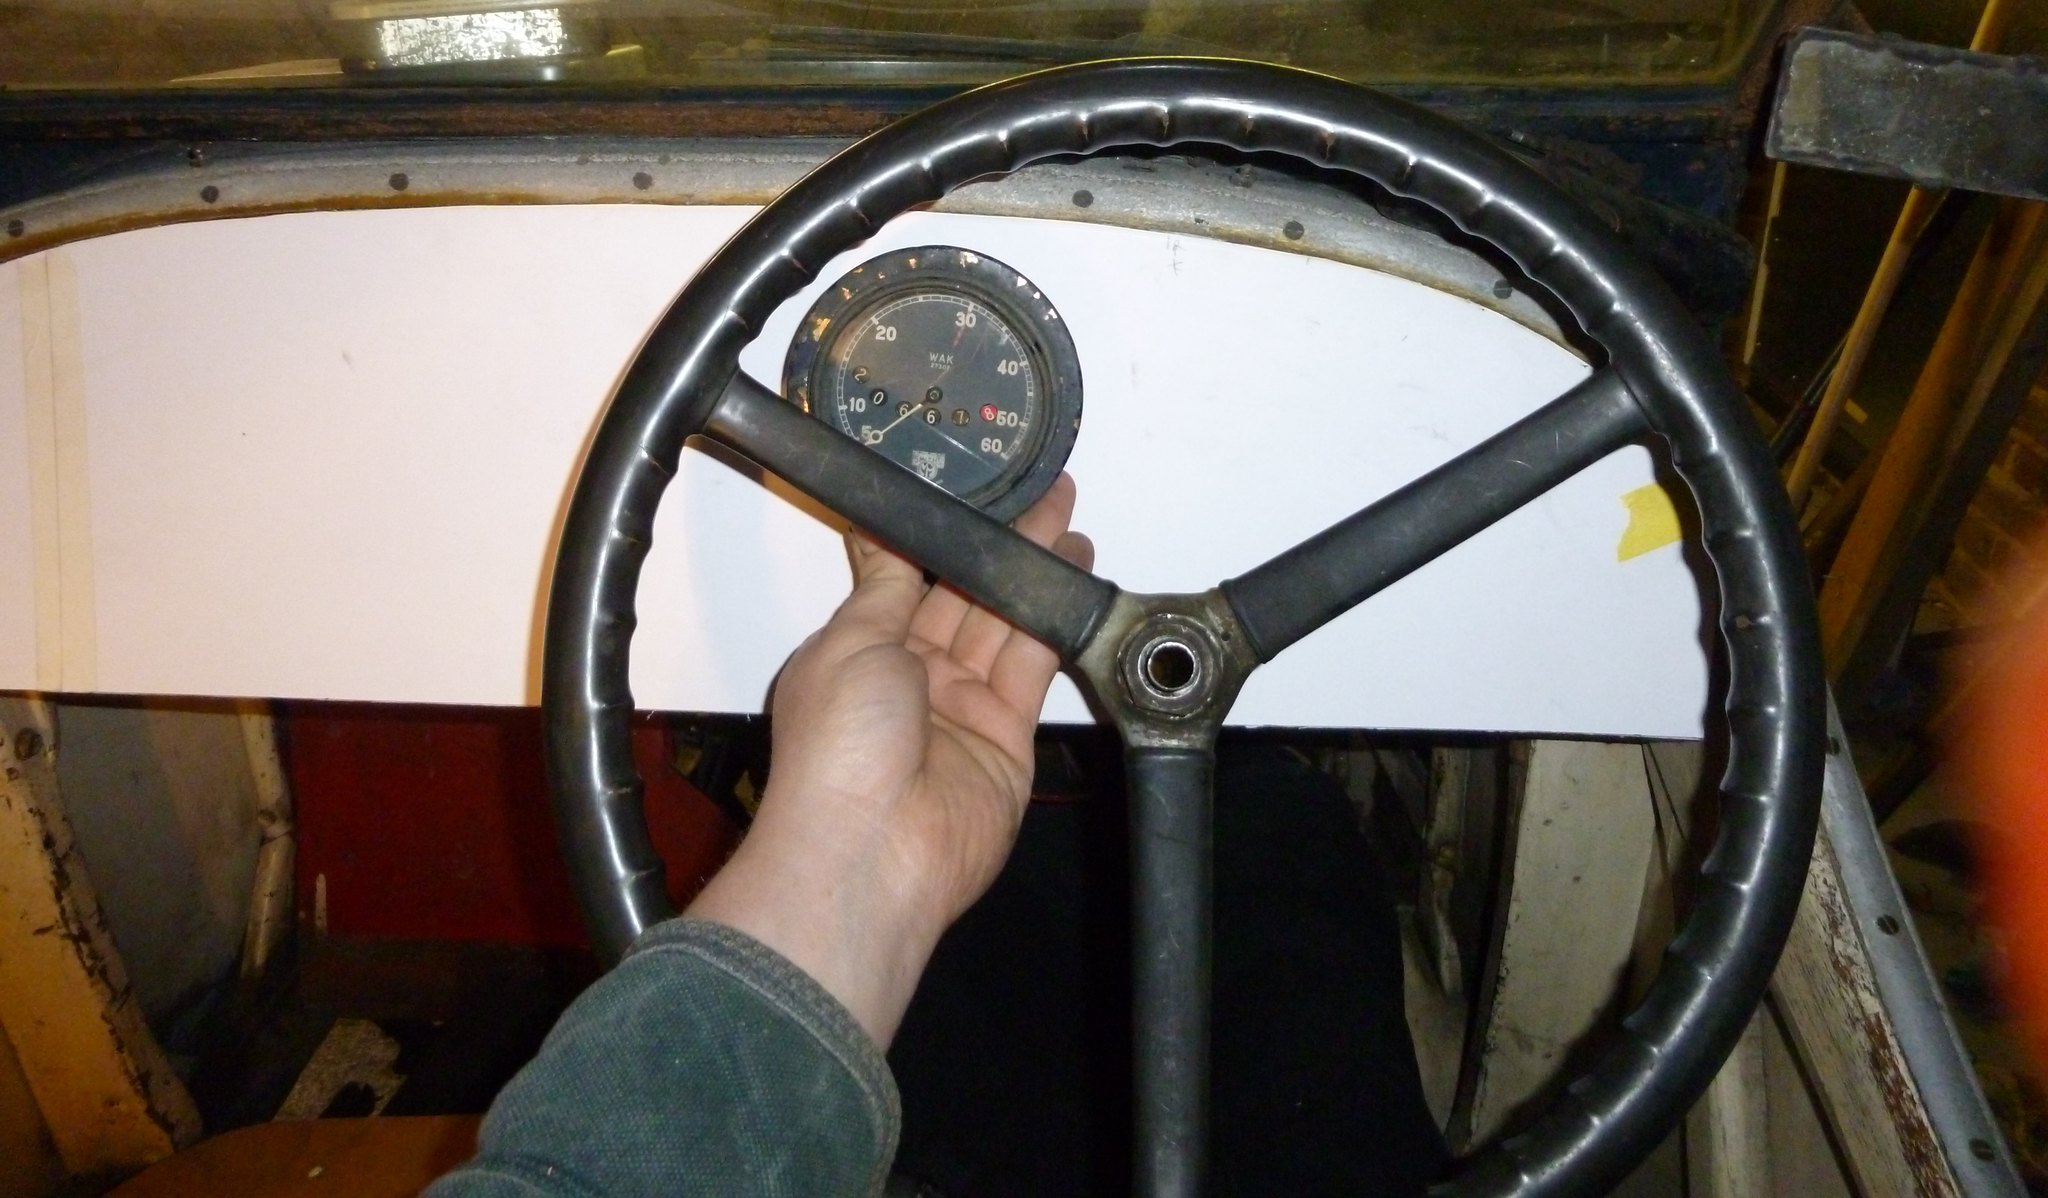
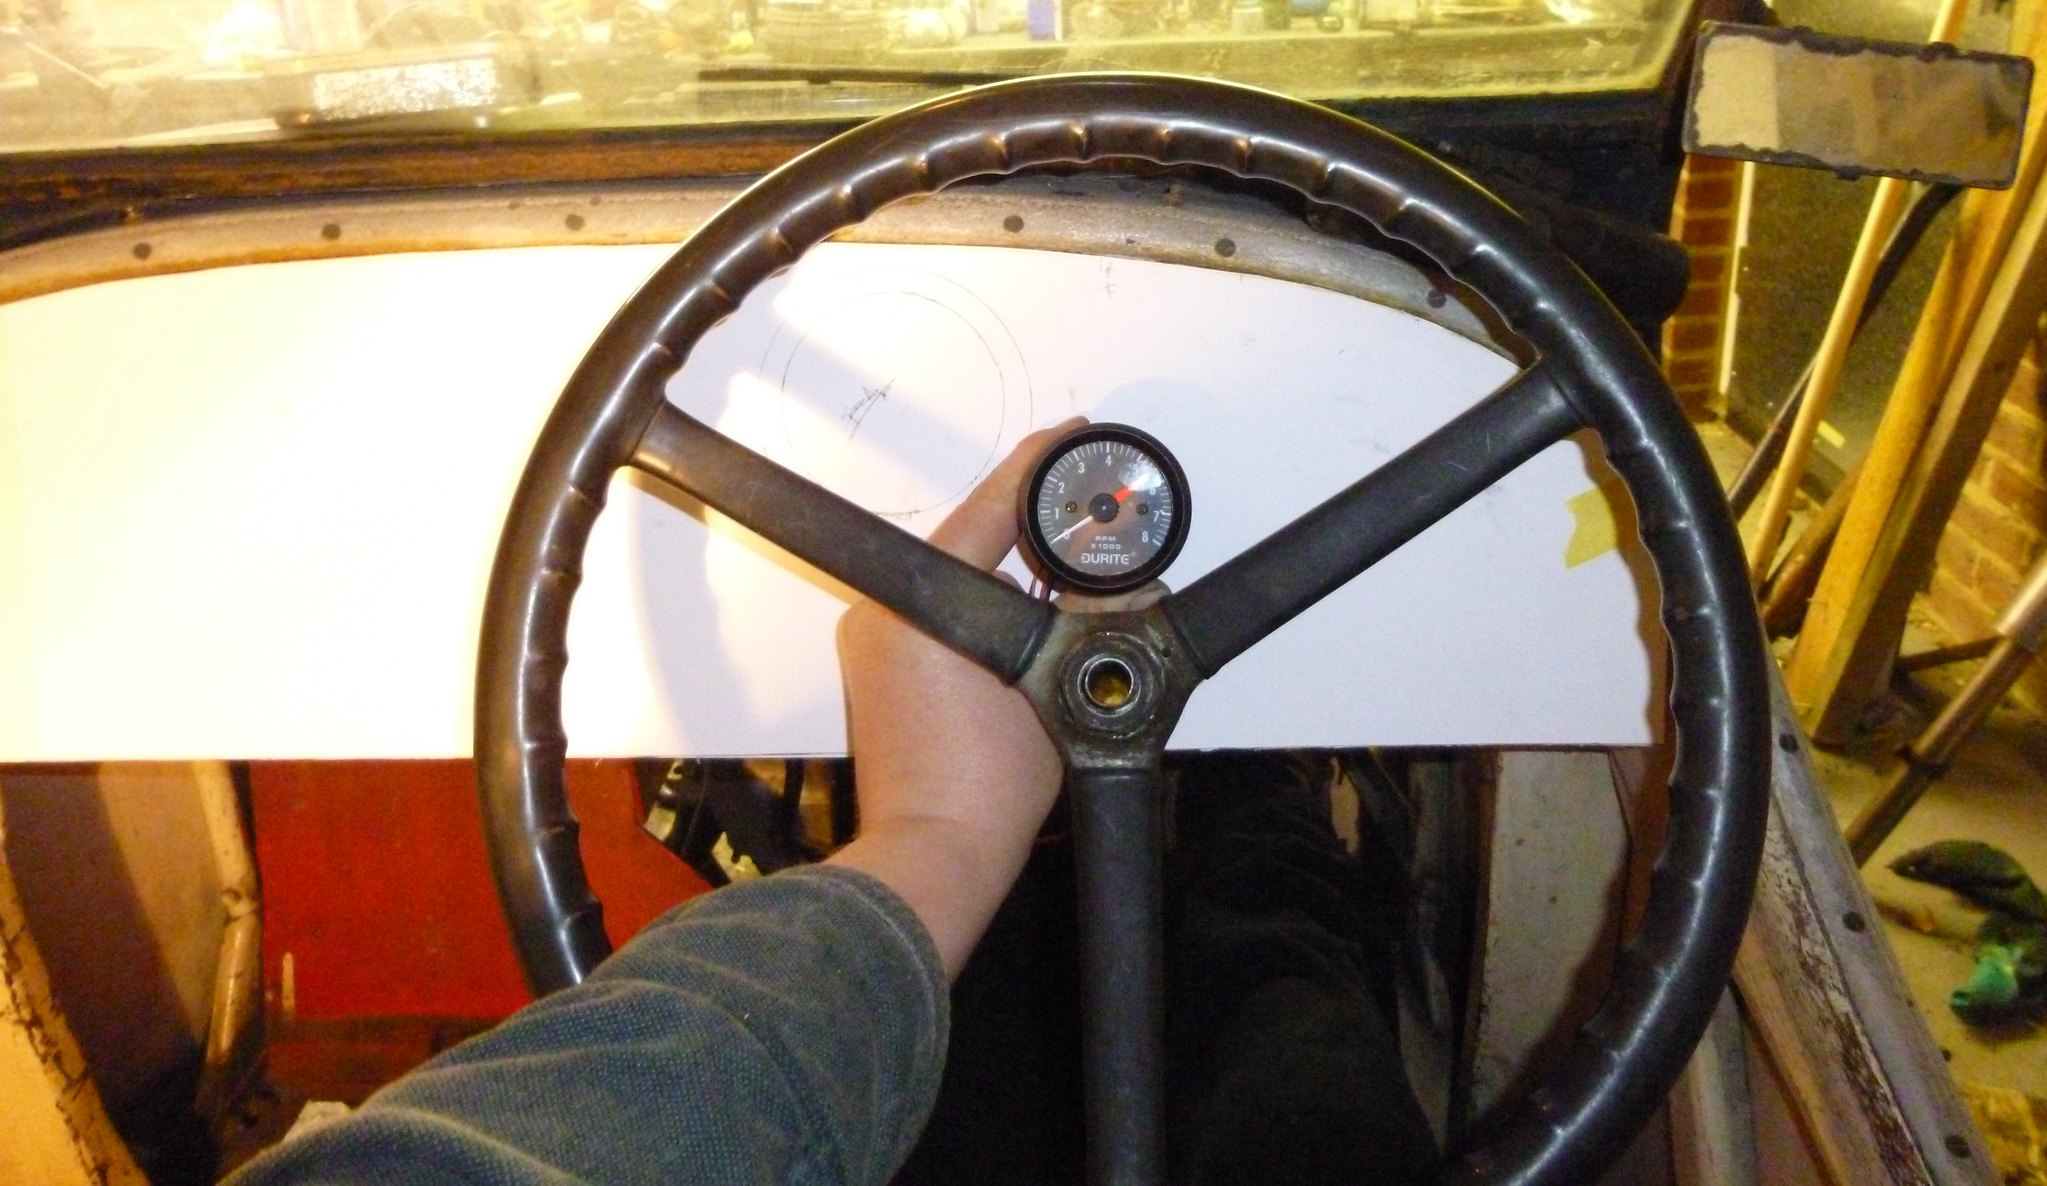
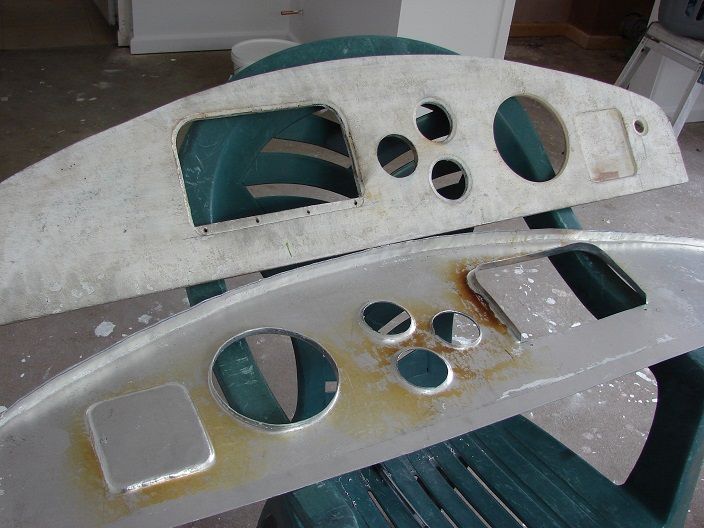
Next was to lay out the gauges in the most ergonomic way possible given the confines of the space, I know it’s a nasty electric rev counter but it’s small.
Once the layout was decided upon next was to cut out a sheet of 3mm ali to the shape of the pattern leaving three dogging down points that will be trimmed off later. Mark out the x and y datum lines and mark out the centres for the gauges, centre dot and scribe diameters as a guide. The reason for marking out on the back of the dash panel is to protect the front from any damage caused by swarf.
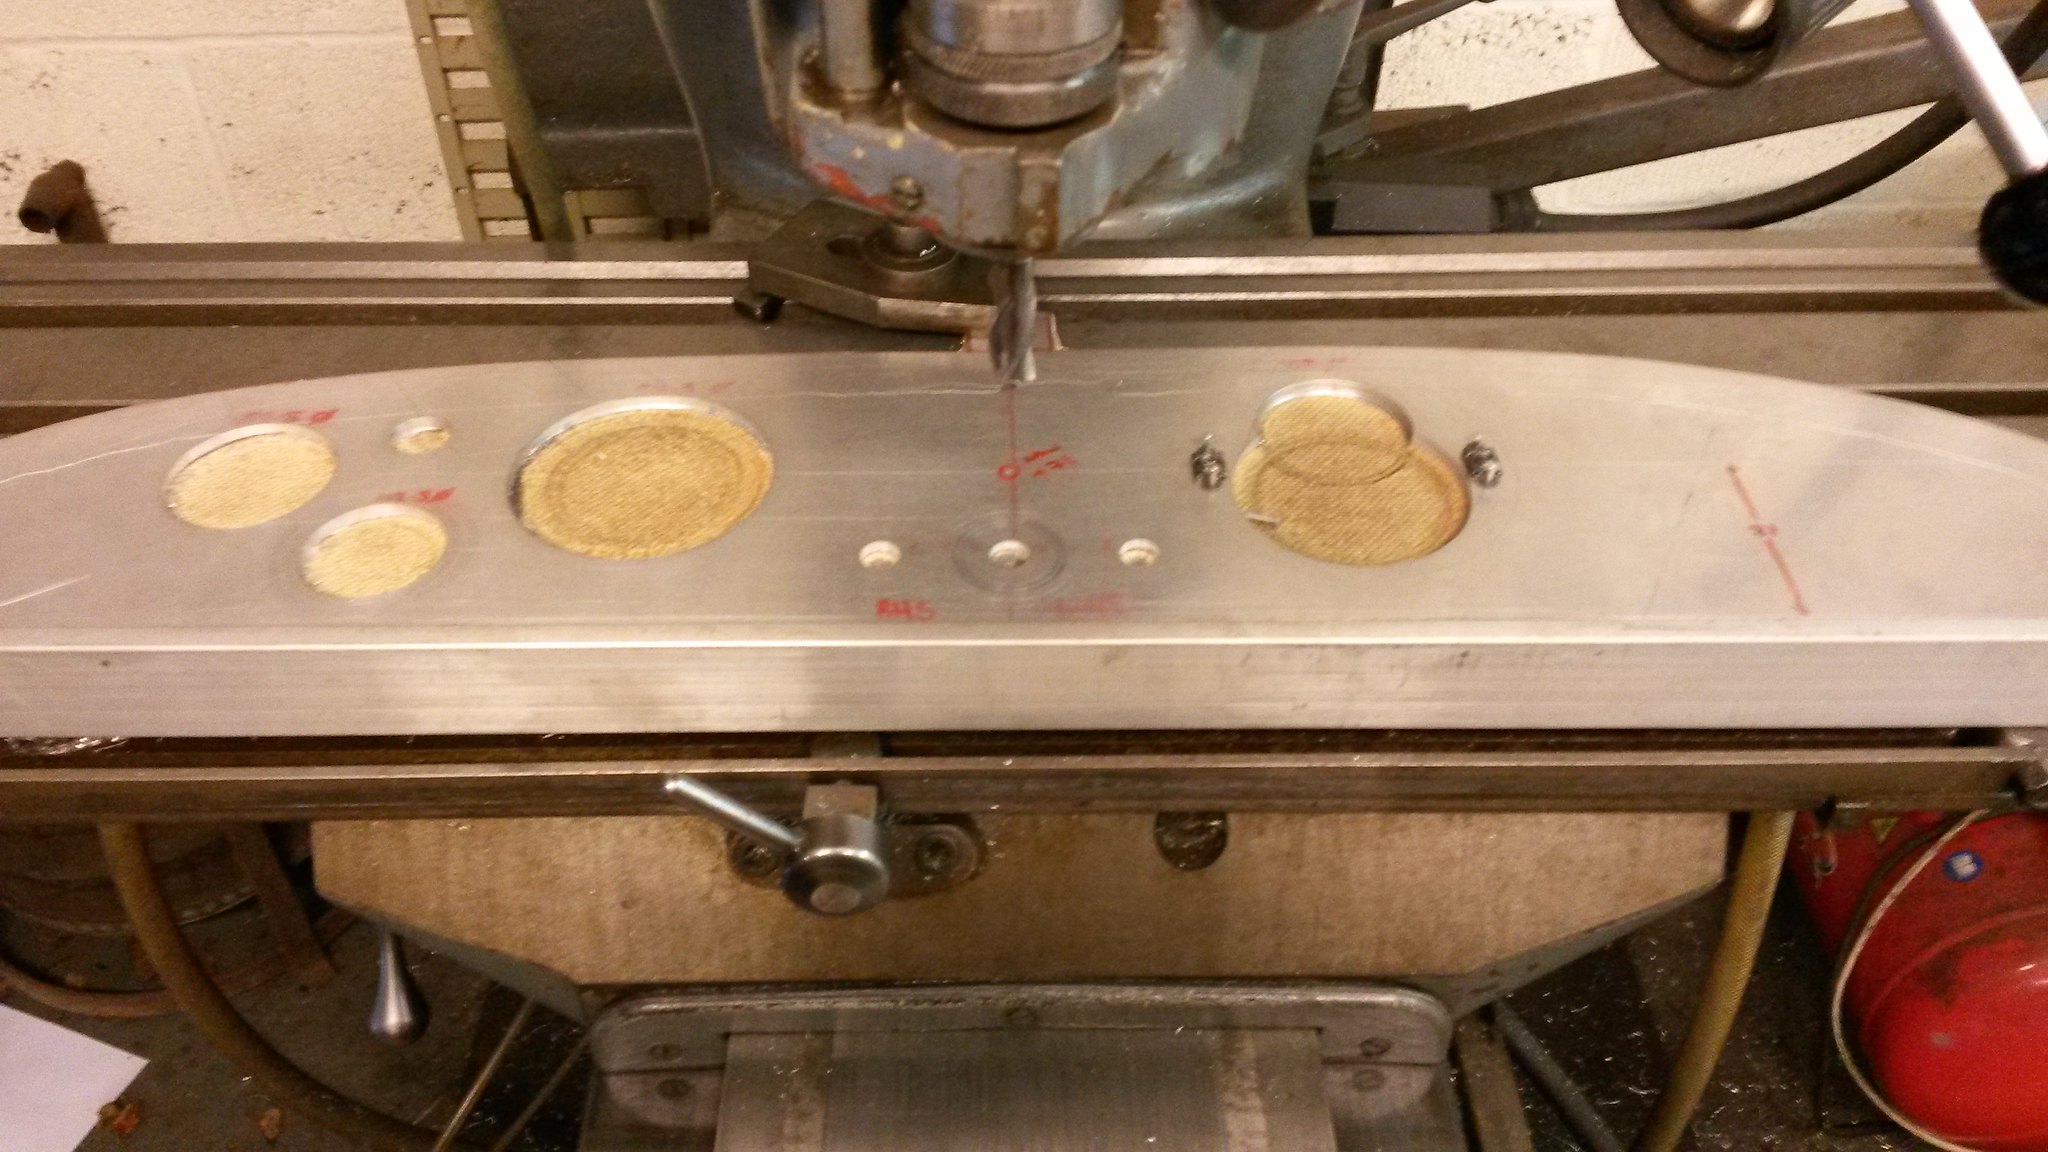
Set up the panel on the mill on a piece of hard board to allow the tools to cut through the panel and not damage the table. I started off by using a hole cutter to get the majority of the metal out of the way then bored the rest out to diameter. Sorry for it being a bit blurry, the three switch holes in the middle will allow me to clock it in when I flip it over.
The control unit is going to be held in place with these little chaps, fully floating anchor nuts.
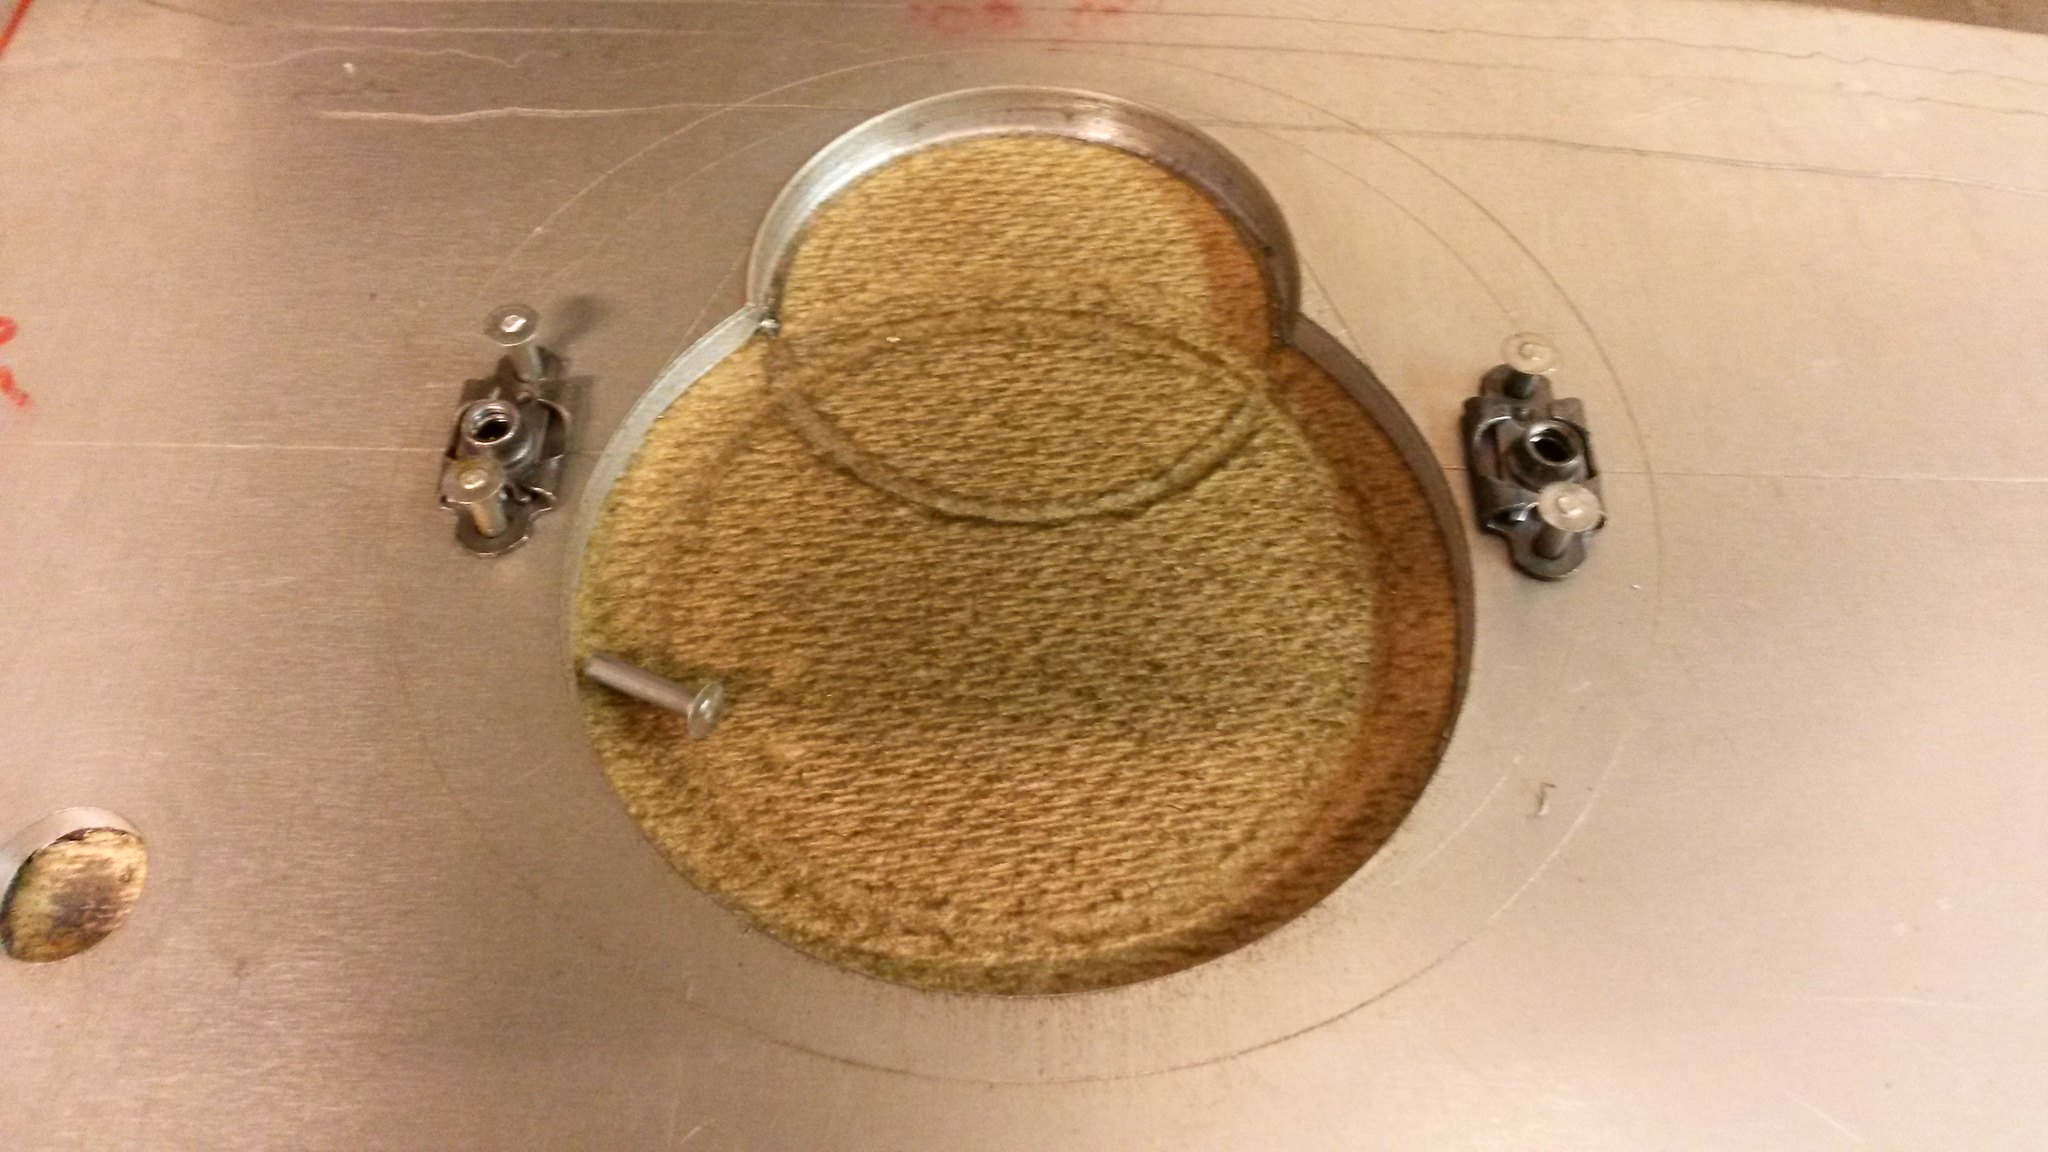
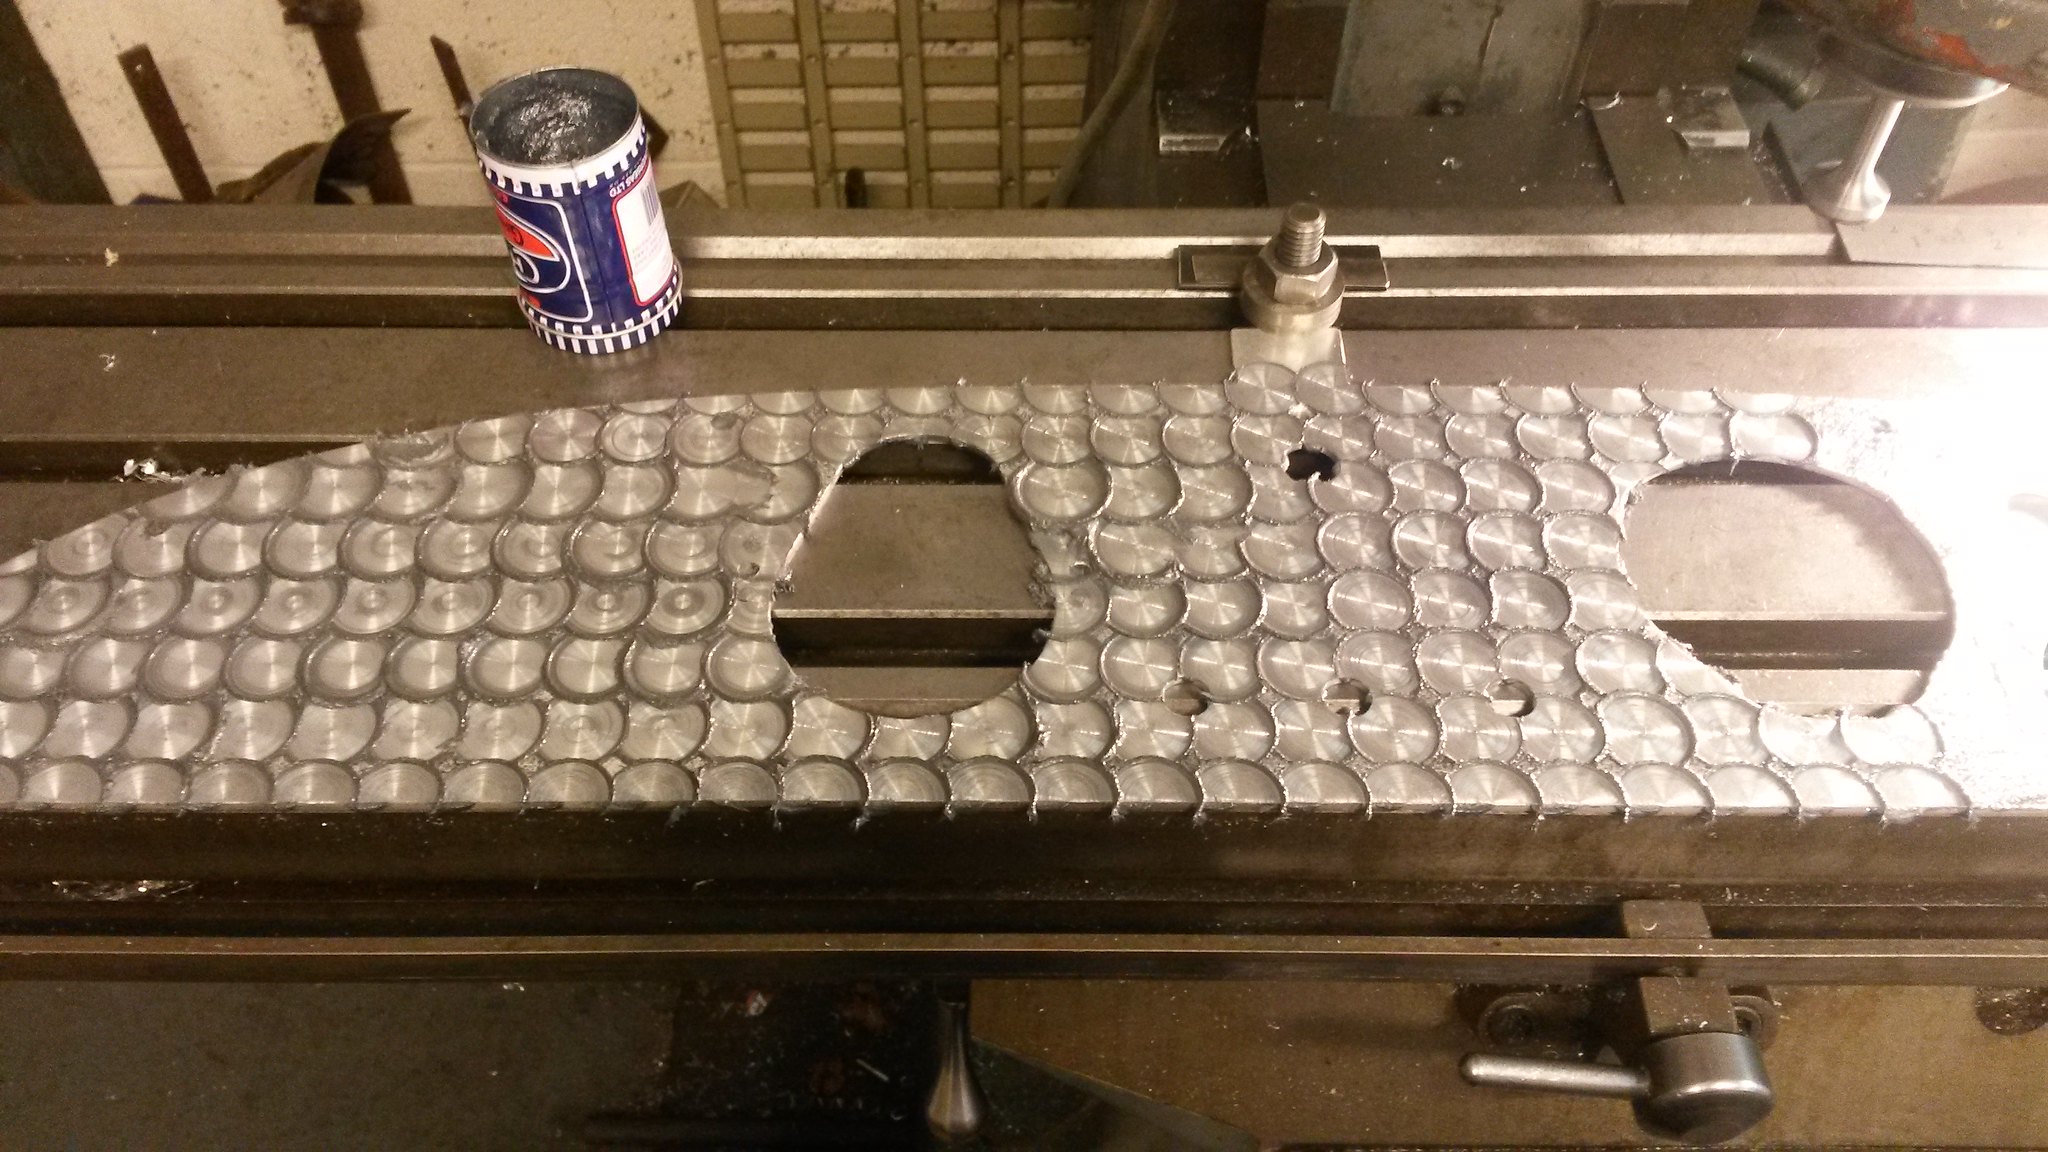
Now for the good bit. Having already found some dead valves and turned them down to the desired diameter. Stick a piece of leather to them (grained side to the valve heads) and bed them in on a scrap piece, better to have a few to use and rotate them to maintain an even pattern. Flip the panel over, clock it back in and cover it generously with coarse lapping paste.
This picture show the first series of machine turning.
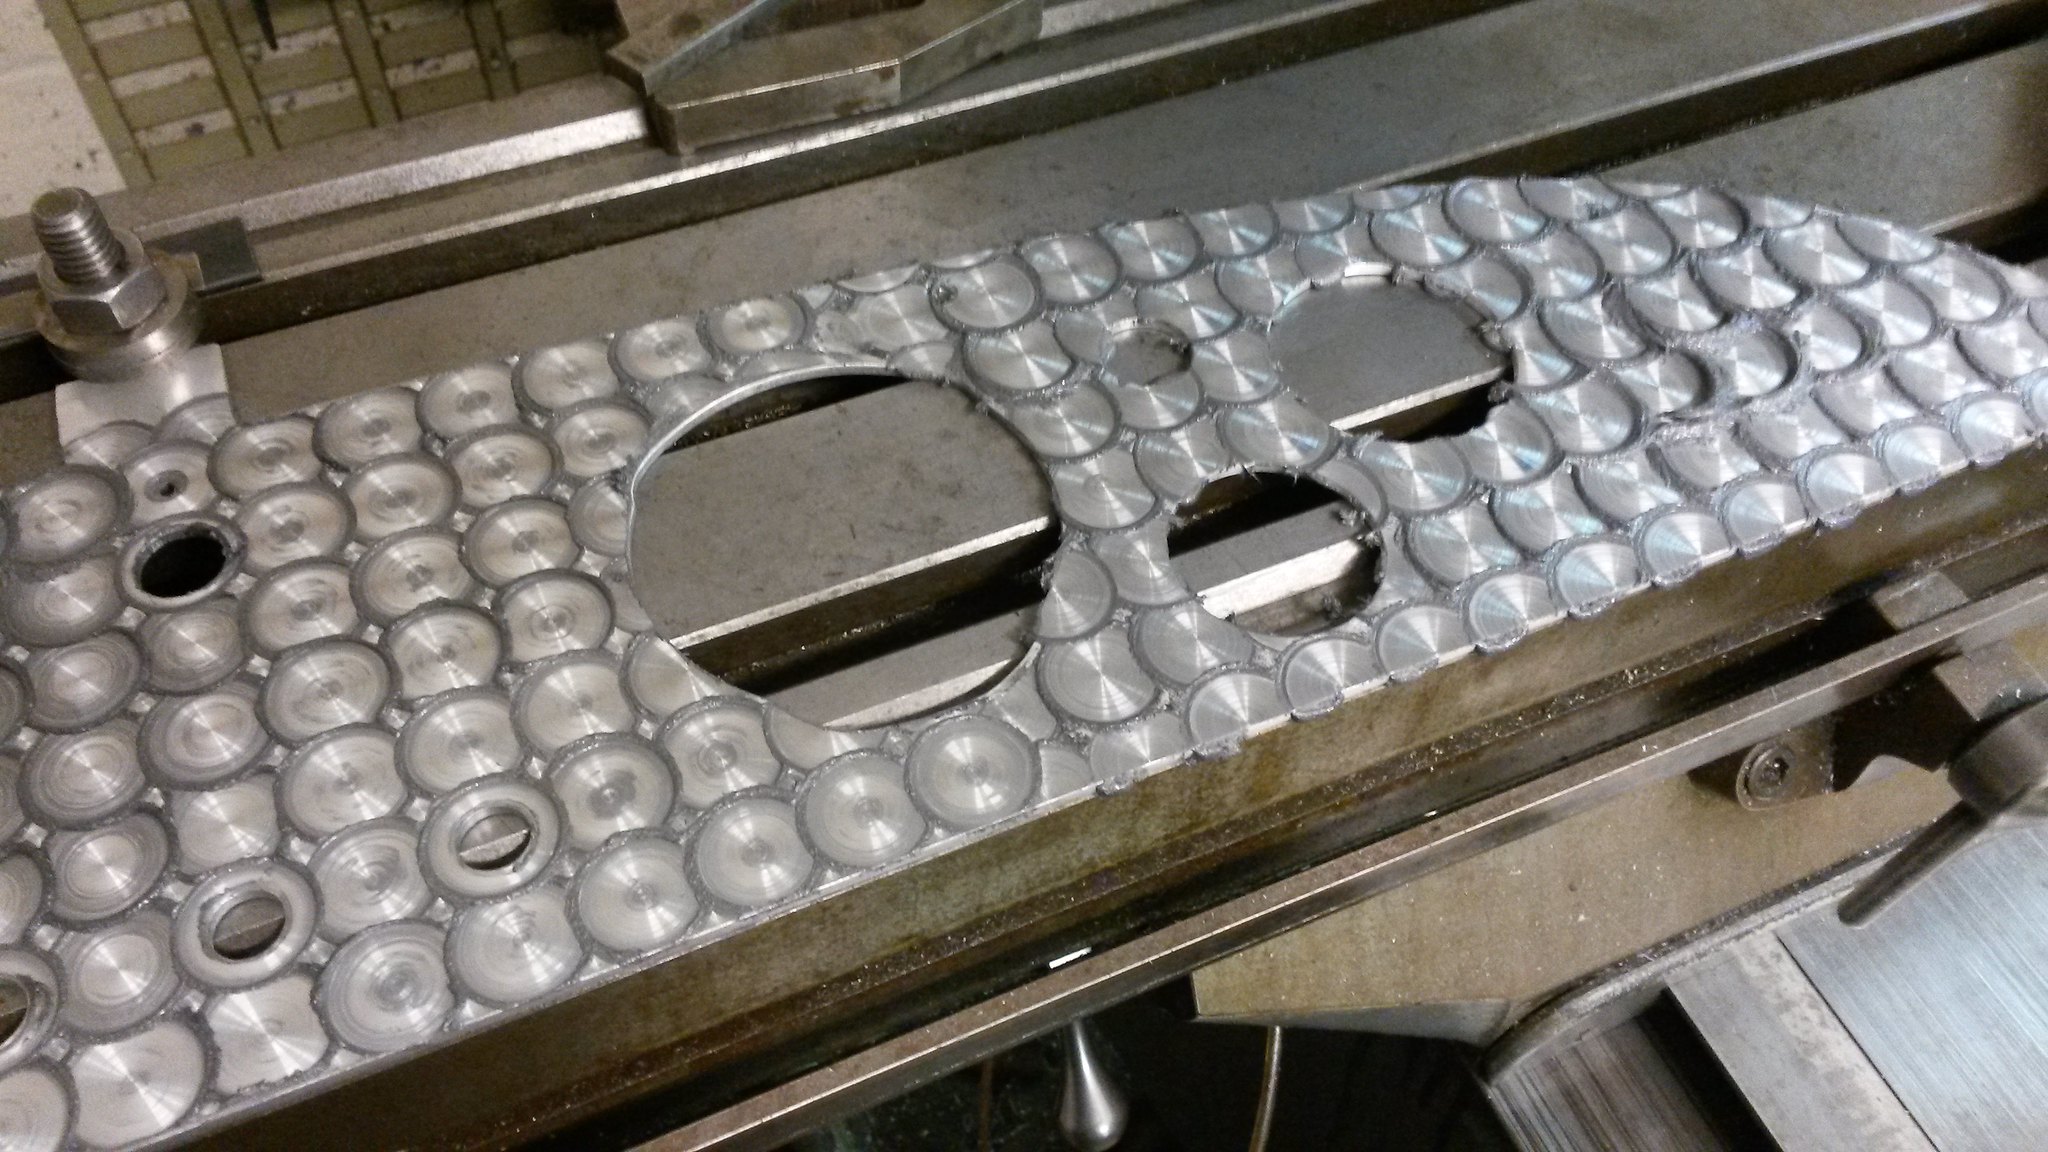
The second series of turning overlapping the first.
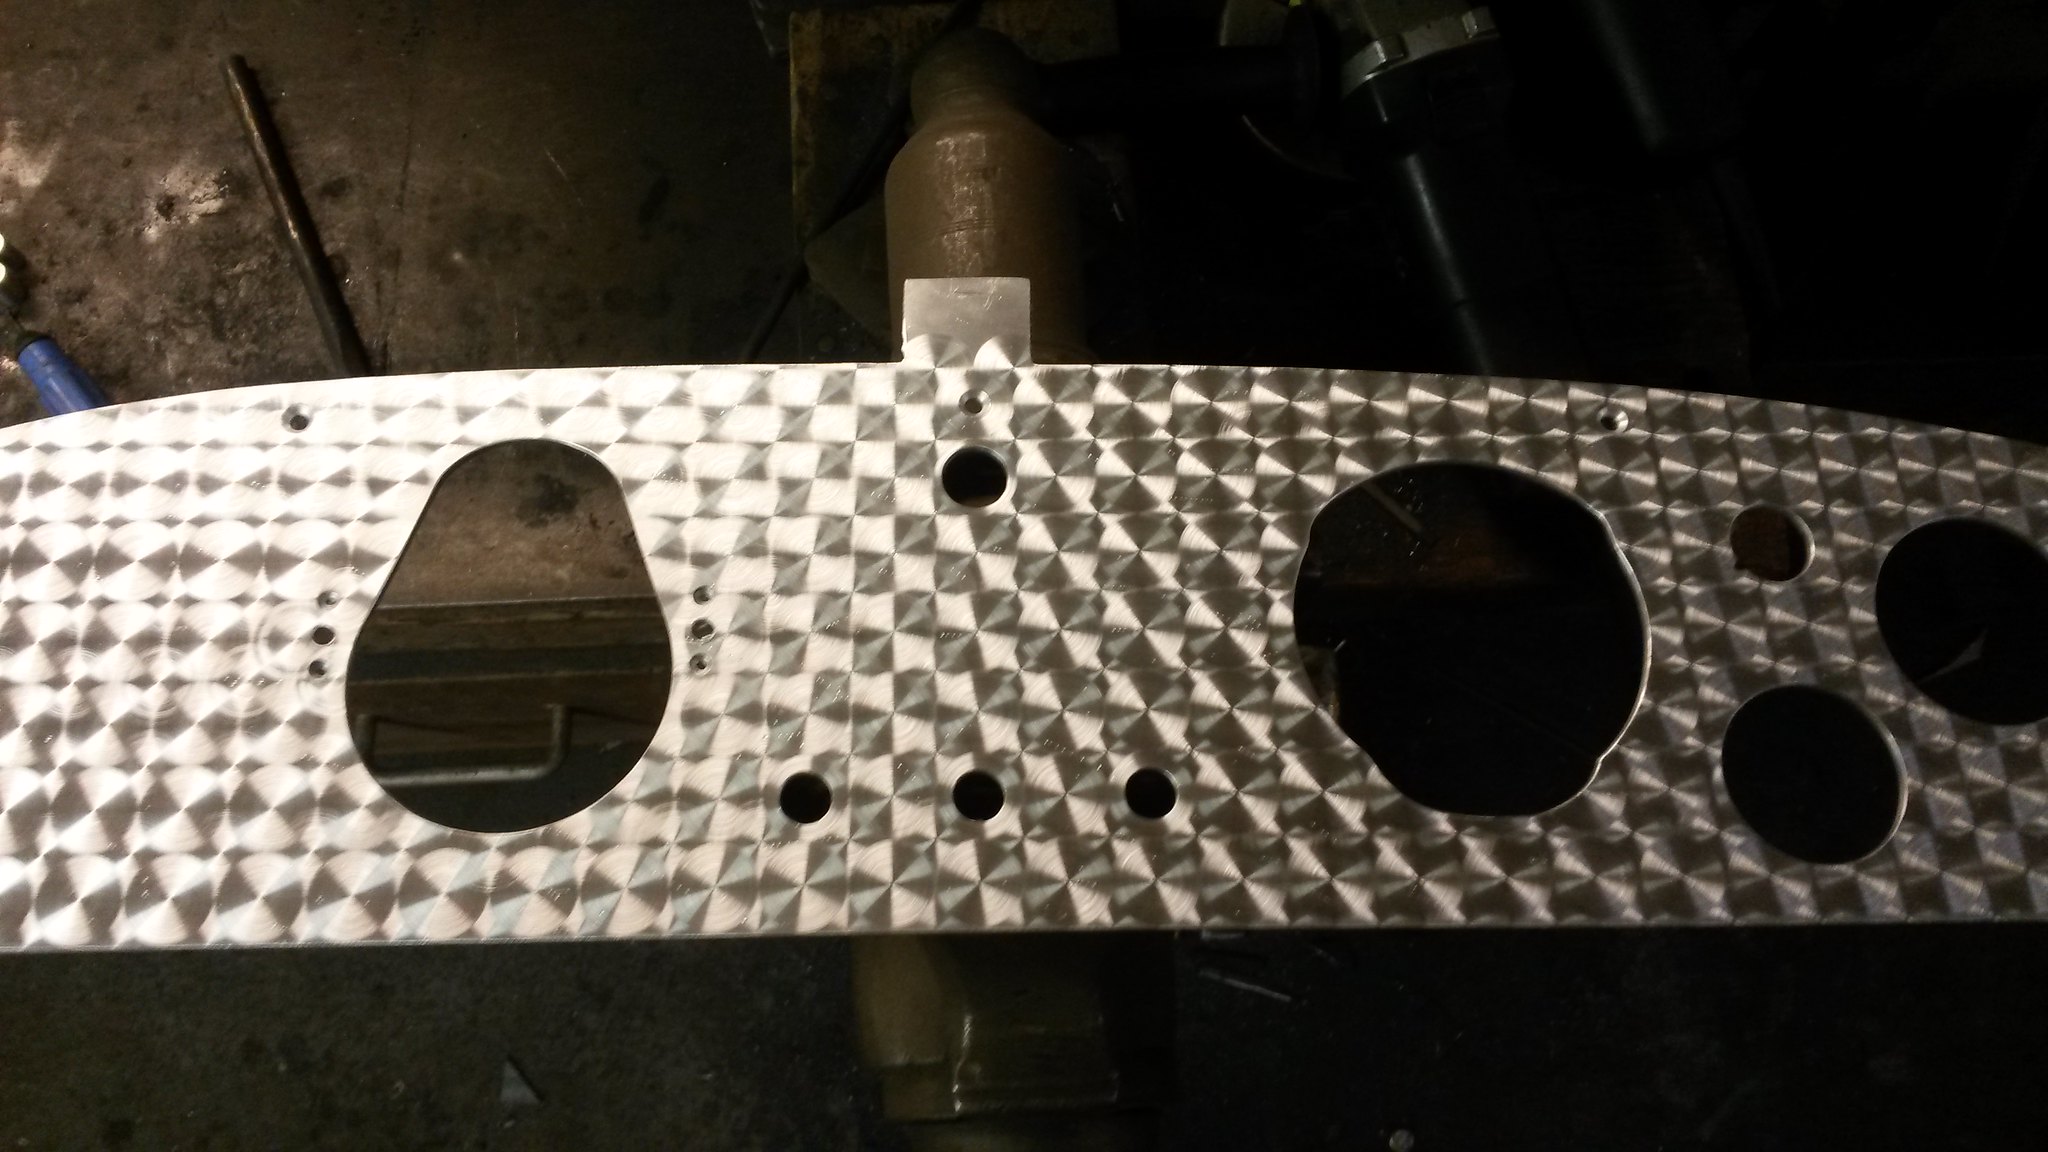
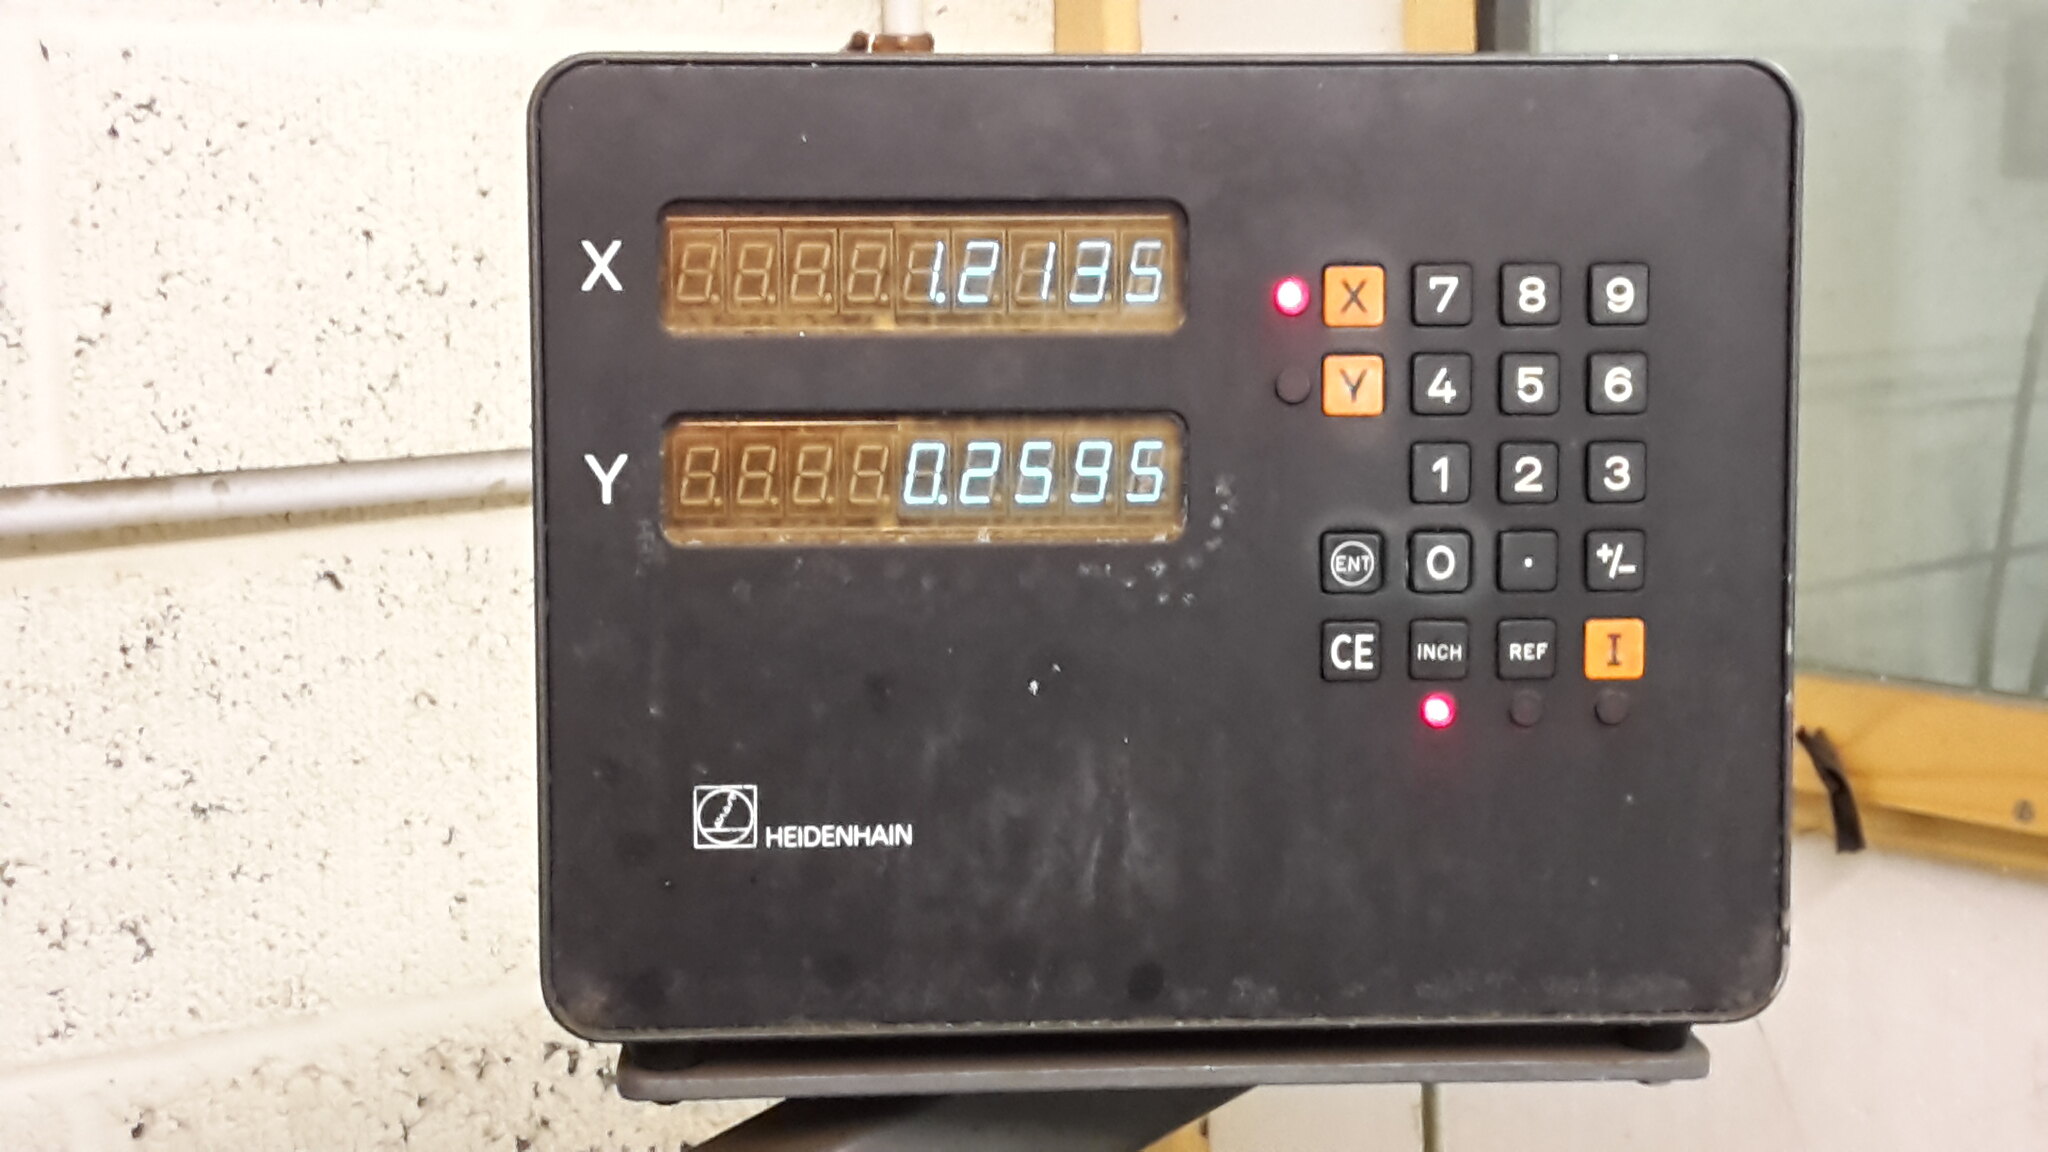
The finished panel, the turning (first and second series) took the majority of a Saturday to do, move it over the right amount using the dro and hold down (using the same pressure each time) and count to ten then repeat.
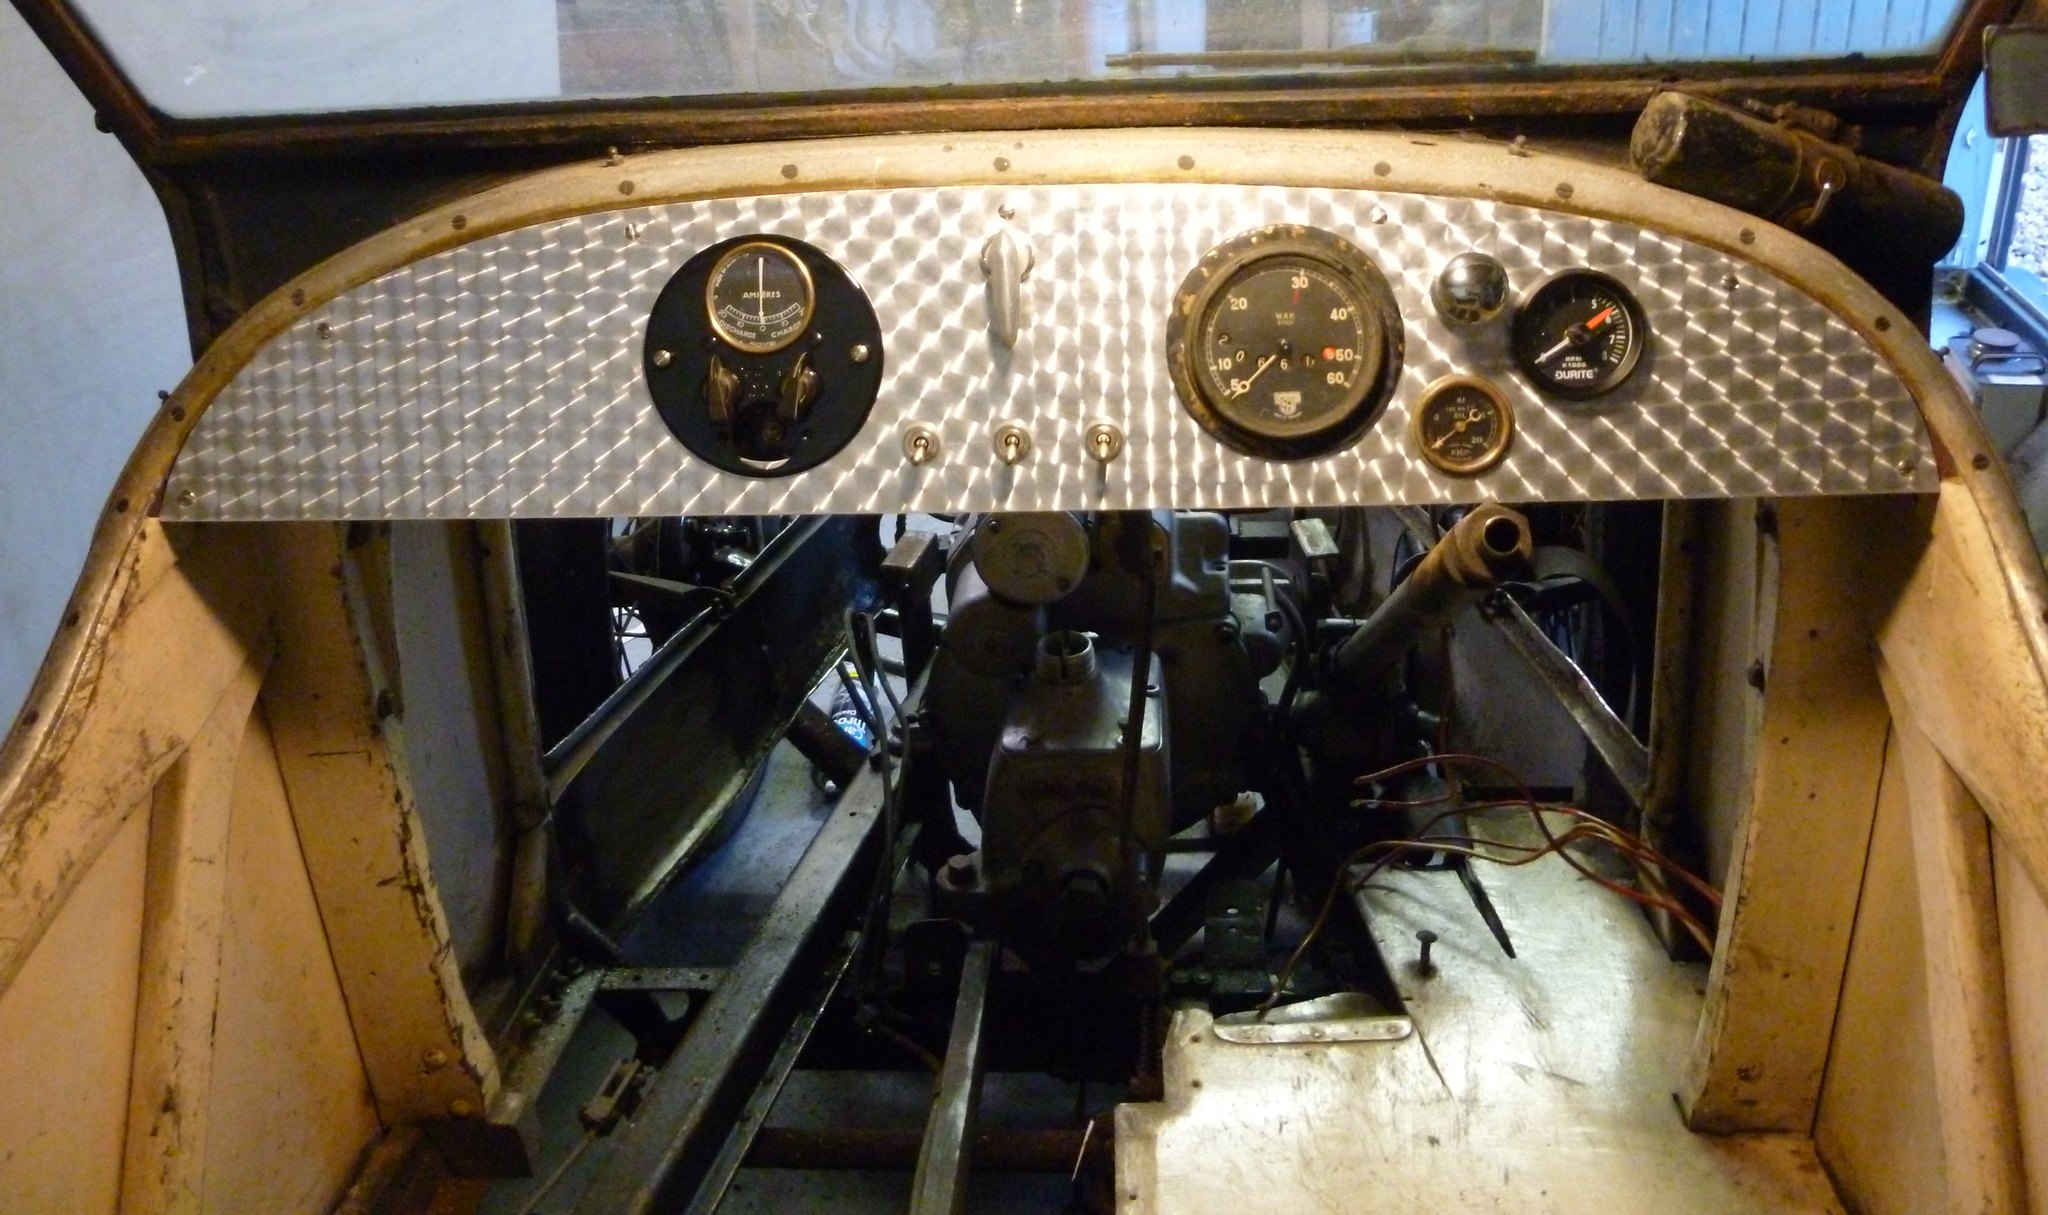
Panel fitted in place.
Location: Eye on the Norfolk / Suffolk border
Great Stuff Tom!
Steve V.
Location: Polegate, East Sussex, United Kingdom
Thanks Steve, it was good fun making this.
Oh and flikr is so much better!
Tom
Location: Eye on the Norfolk / Suffolk border
Yours looks much nicer than mine, Tom. Being a bit cheap, I made a plywood former, routered out the edges of the holes and then clobbered the sheet ali into the holes.
How did you manage to get the pattern so accurate? Didn't the leather get caught up on the edges of the holes?
Location: Cardiff
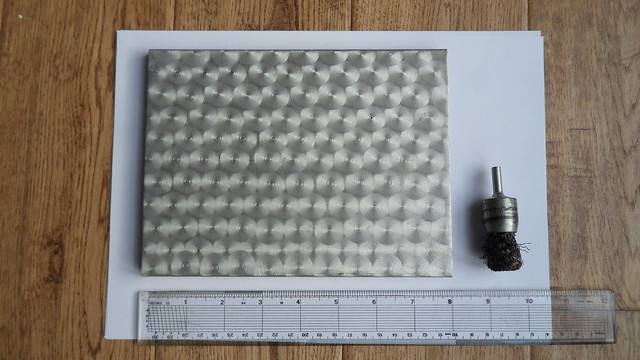
When I have 'engine turned' aluminium for dashboards, I have used a cup shaped wire brush that had been used a fair bit decarbonising combustion chambers. I marked a grid on the ali with soft pencil in a hexagonal pattern. I practiced on a scrap bit of ali to get it right, with my wire brush the lines were about 3/4" apart. First I drew horizontal lines 3/4" apart, then drew two lines at 60 degrees to horizontal and made lines parallel to these 3/4" apart, ending up with a hexagonal grid like a honeycomb. I worked along each horizontal line keeping even pressure on the wire brush for about 10 seconds. The result was very pleasing. I applied the finish after the holes for the instruments had been cut, which cleaned up any scratches and minor blemishes.
Hi Rob, love your work and have been following your "making a body" thread with great interest, always liked the flared hole aircraft look.
swirl spacing is made easy with a digital read out (previous post should have read d.r.o.) Accurate to half a tho.
All the holes were deburred to reduce the chance of the leather catching, on areas where I was half on I didn't really worry, less than half I noted the coordinates and went back to them (just in case) and applied less pressure for a bit longer.
Tom
Location: Eye on the Norfolk / Suffolk border
Hi Malcolm, never thought of using a cup brush, any chance of a pic? The other way I had heard of was using a piece of dowel with some emery paper stuck to the end, but I wondered how you would maintain an even pattern.
Supposedly dash boards were engine turned to reduce glare, preferable to a mirror finish, I have tried it in direct sun and it does seem more bearable to look at.
Tom
Location: Eye on the Norfolk / Suffolk border
It may be cheating but I bought a sheet of "engine turned" alloy from europa at burton on trent.
Location: down by the trent.
Page 126 in the europa online catalogue,Dash/trim/finish,sheet 2mm thick,1220x300,£38,sheet 2mm thick, 1220x610 £65.
Location: down by the trent.
Tried to upload pics of the dash I made with the "europa" alloy but failed,no good with these computer things,much better with a hammer!.
Hi Tom
My car with the engine turned dash is cocooned away in hibernation but I have the inspection panel off the Pytchley transmission tunnel handy. This I have photographed together with the wire brush I used and a ruler to give everything scale. Once the metal is marked out with pencil the turning is quite rapid, it only took about ten minutes to do this example.
I will get my pal Steve to post the photo as it is beyond my computer skills!
Hi Malcolm. Great work and very effective, sounds like it’s much quicker than the method I used, will have to remember that one.
Thanks Steve for posting the picture, the more ideas the better.
Phil, I sent you an email but it may have got lost in the ether, if you can email me a picture of your dash I’ll happily post it for you.
Tom
Location: Eye on the Norfolk / Suffolk border
Sorry tom,clicked on the email tag and it gave me a message about "email server not properly installed" I really think the internet has got it in for me!. Cannot find your email either because I don`t know how to find it! ,It`s alright for you,you can use the internet and weld alloy!.
Location: by the trent
Hi Phil, my email should be in your bt internet account, although it might have gone in your spam/junk folder.
Tom
Location: Eye on the Norfolk / Suffolk border
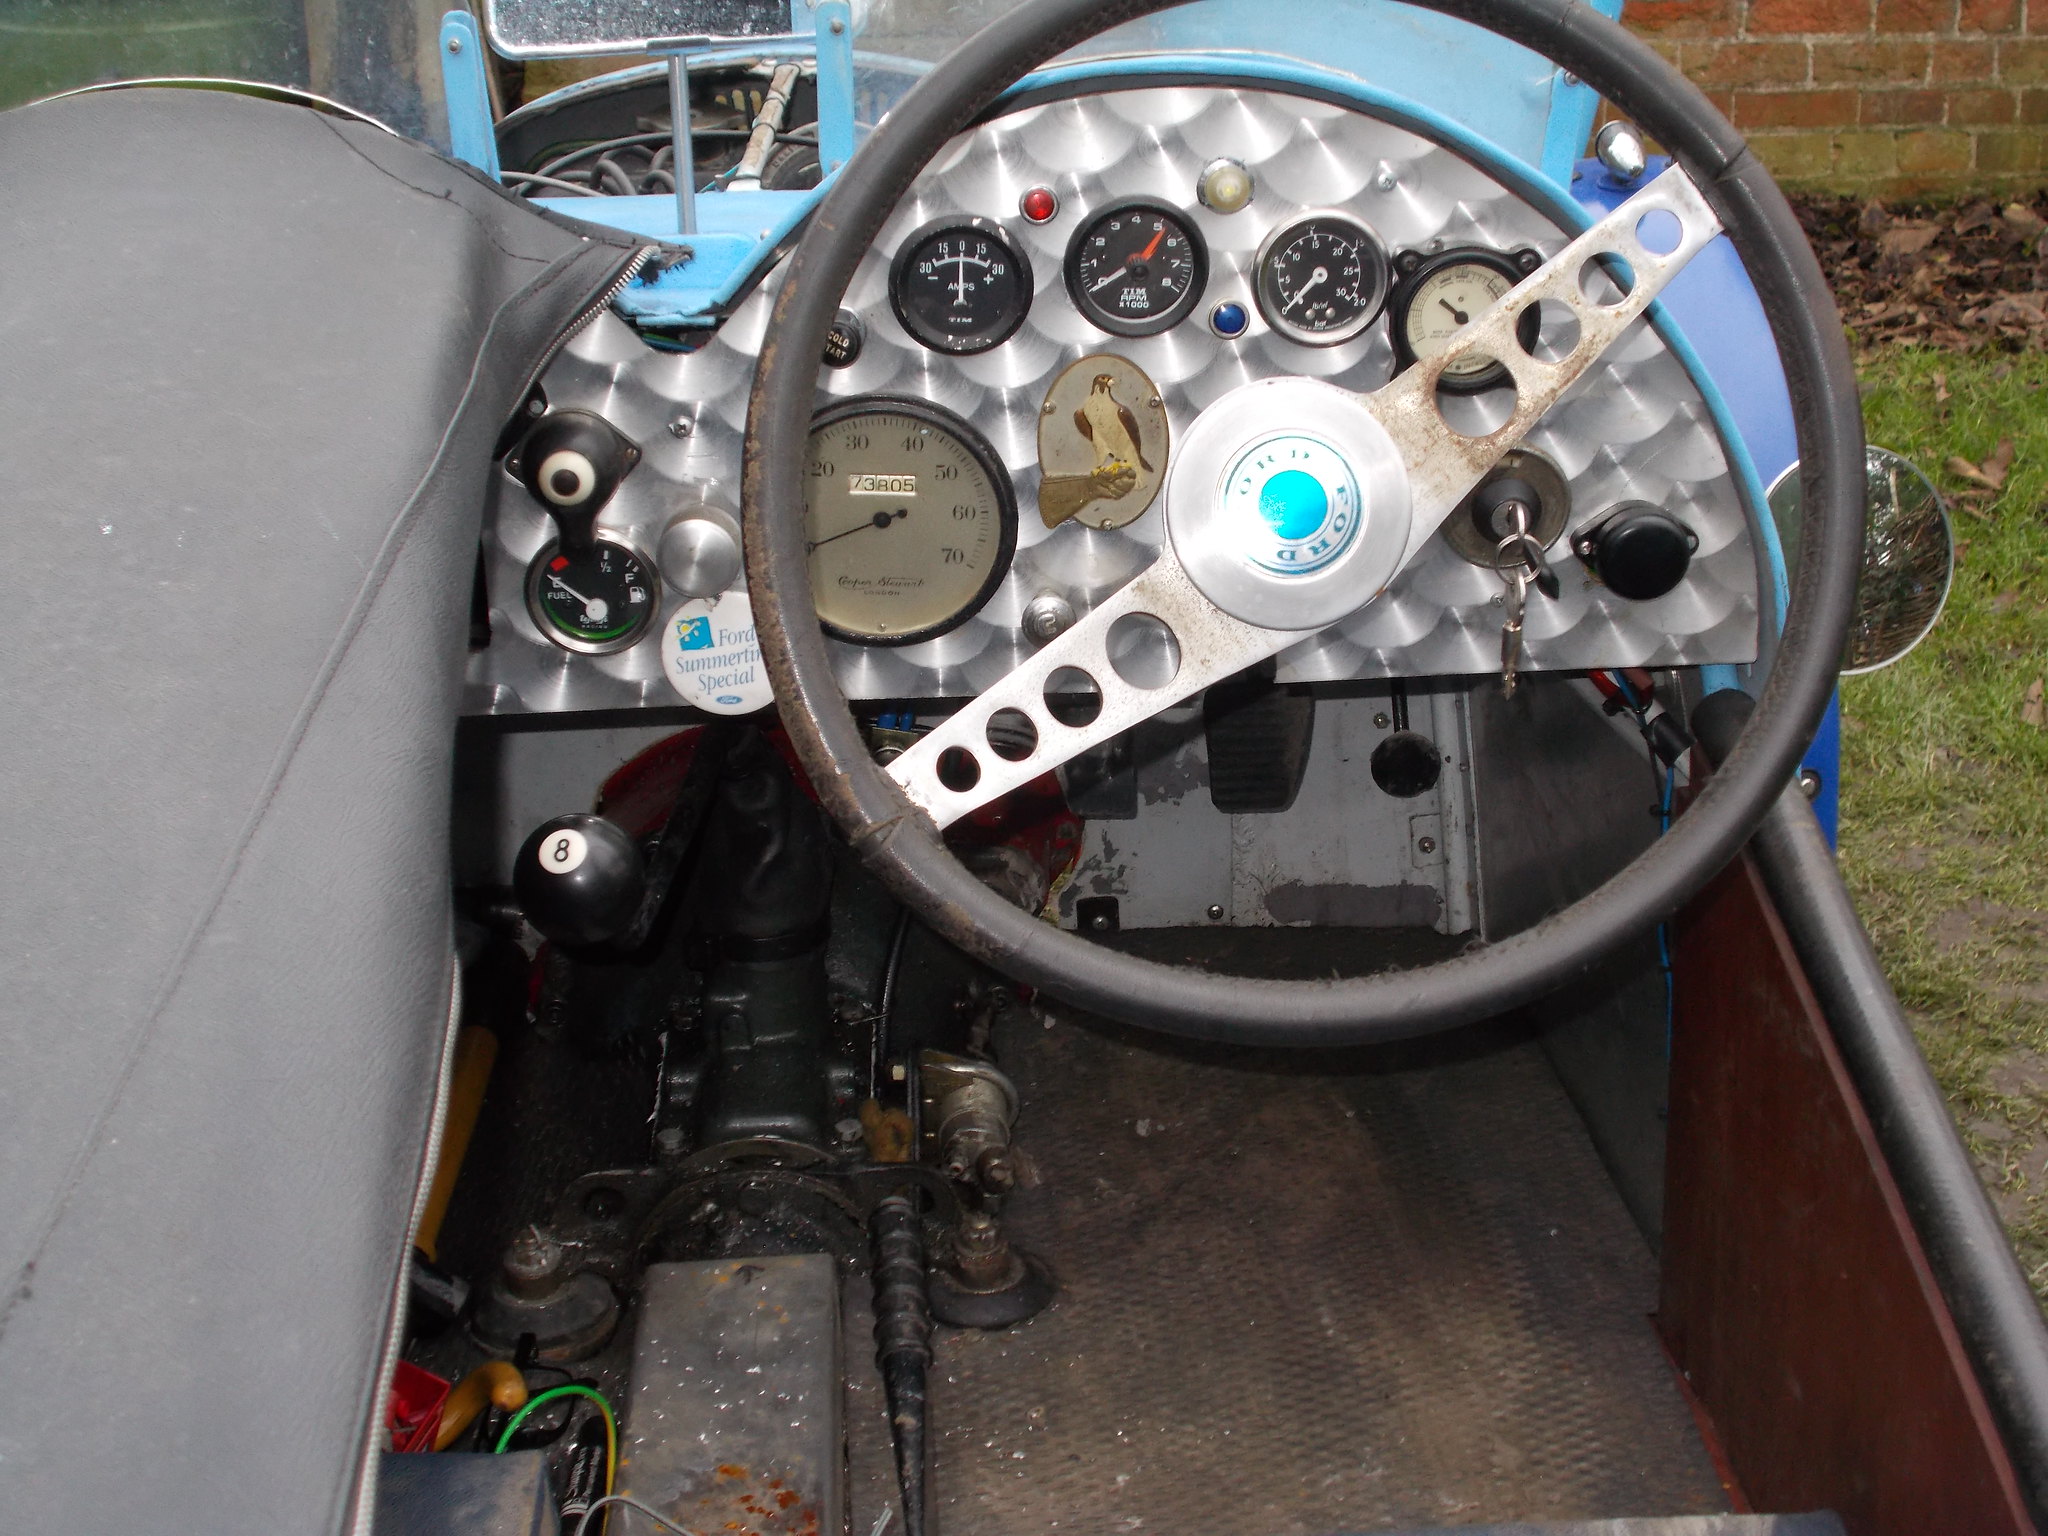
Here are Phil’s dash board pictures, great piece of work, love the 8 ball!
Location: Eye on the Norfolk / Suffolk border
Thanks for sticking my pics on Tom,This is on a ford SV Special,I engine turned the alloy for the dash on my A7 special myself using a bit of dowel with felt stuck to it in my pedestal drill but it did not look as good as yours and I had to move my drill as it was too close to the wall!.There are some clever folks on this site!.Keep up the good work,phil.
Location: by the trent
Hello all,
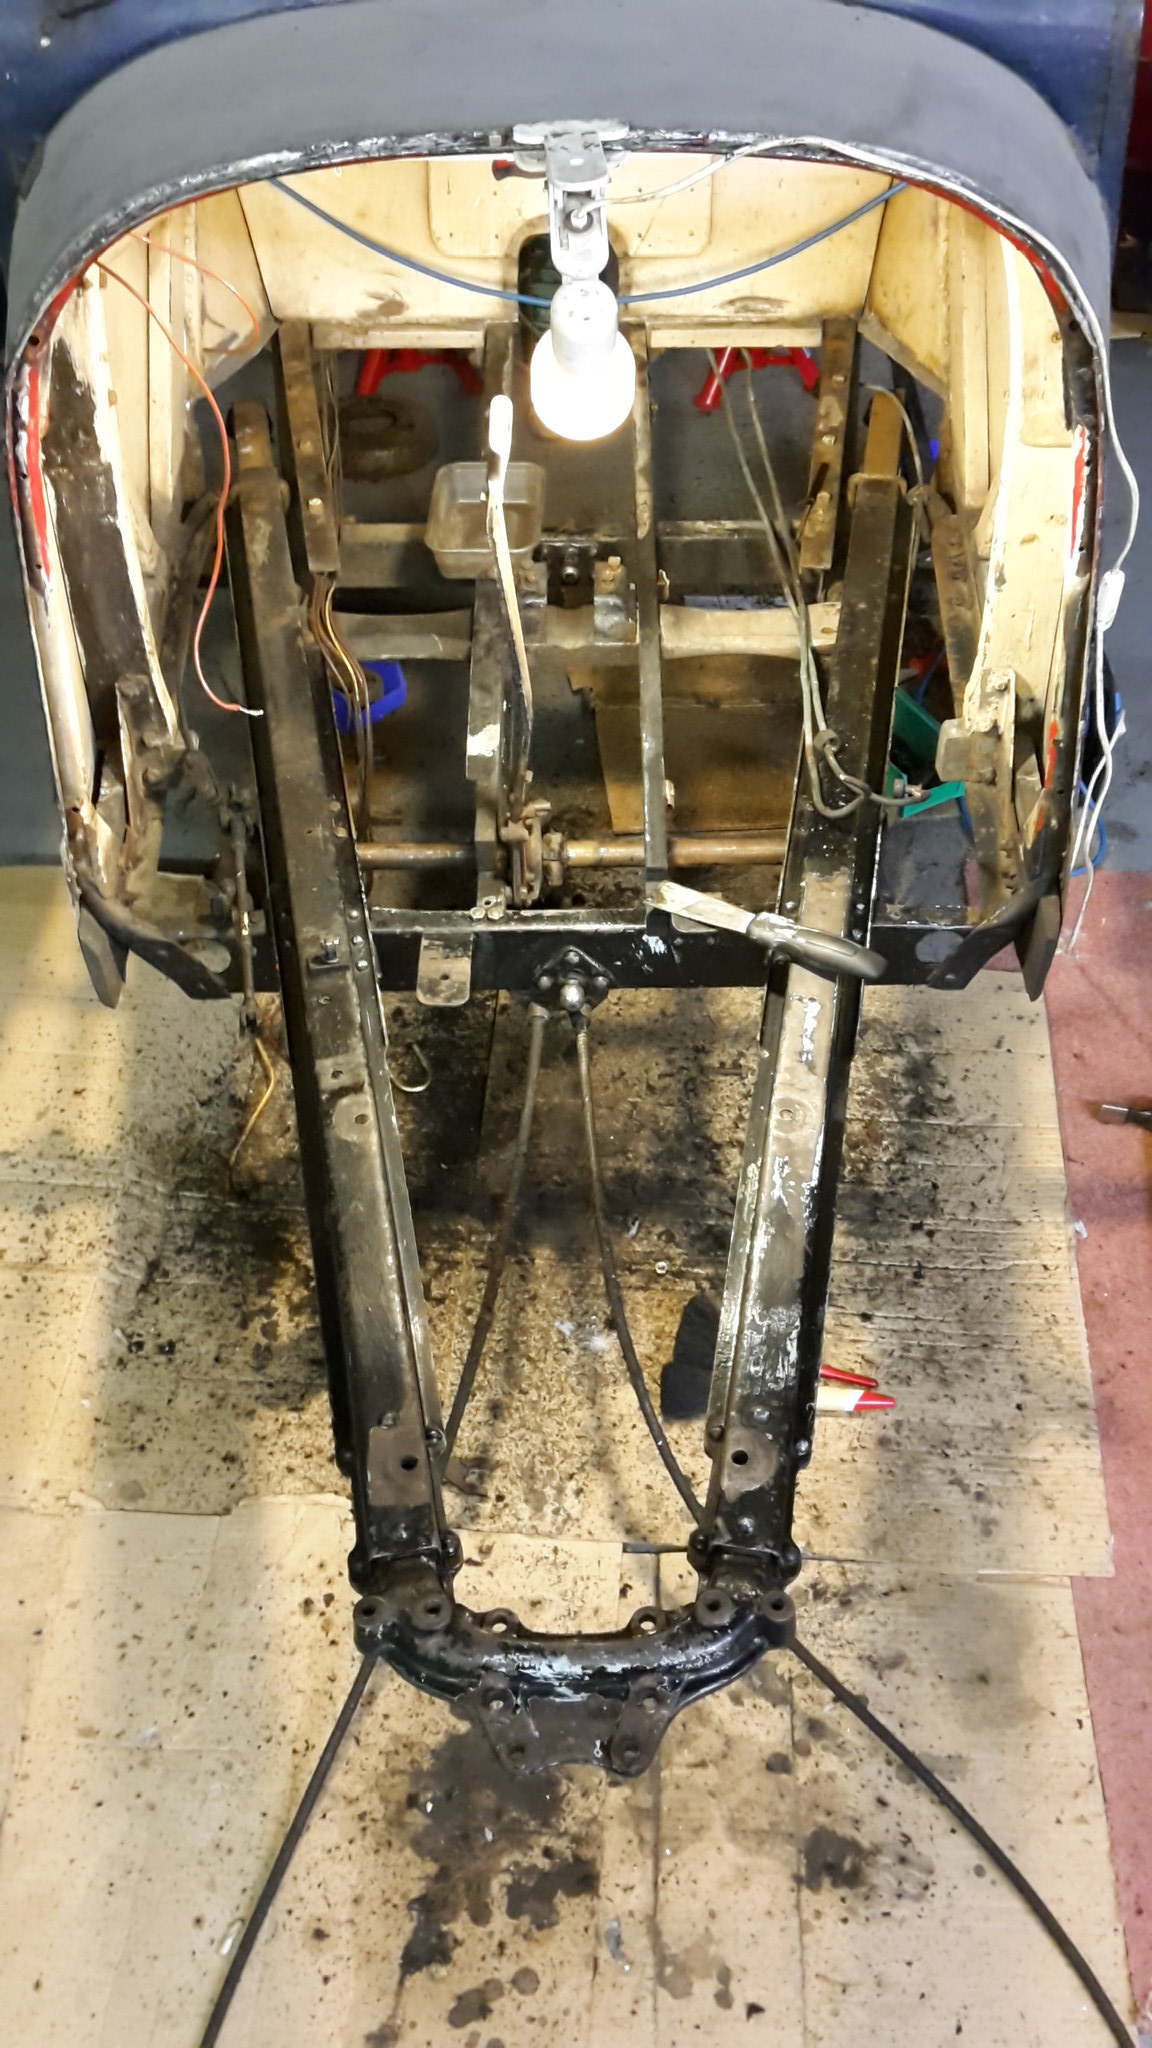
It’s been a while since the last update of the Boot’s progress, things have been very busy at work and not leaving a lot of time to tinker with cars. However I spent most of the winter months cleaning down the chassis, the most soul destroying part of the rebuild so far. The previous owner used the old oil from oil changes to paint the chassis, it has protected the chassis very well but the successive layers of oil and dirt then more oil etc. proved very hard to shift. What I should of done is try to take the body off but it’s constructed like a layer cake and wasn’t 100% that it would come off in one piece so I ended up cleaning it by hand.
To give some idea of the build up of crud, this is the RHS of the brake cross shaft.
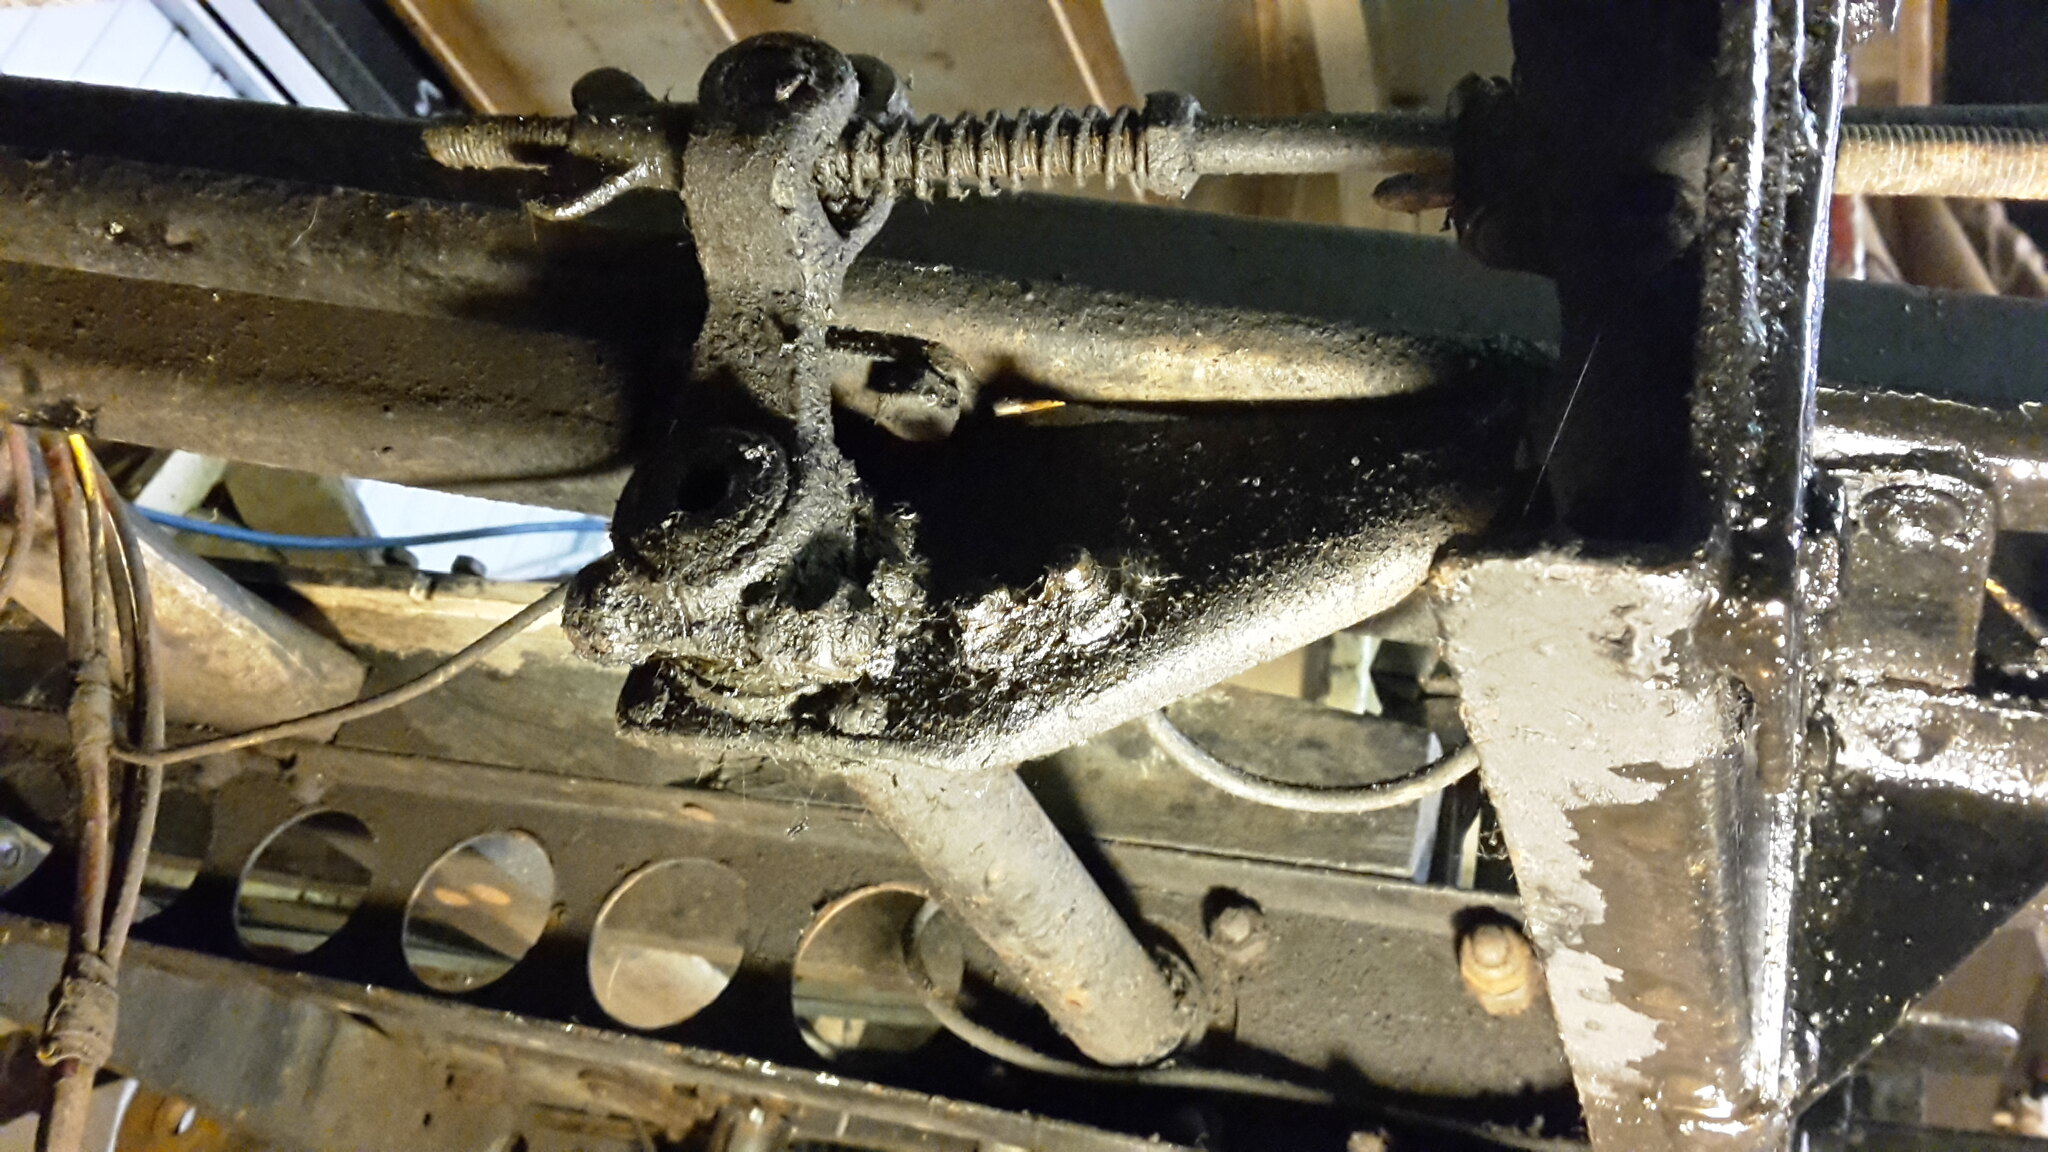
I started by soaking everything in paraffin and then attacking it with a paint scraper, the cardboard underneath had already been renewed once (due to the quantity of muck) when I took this picture.
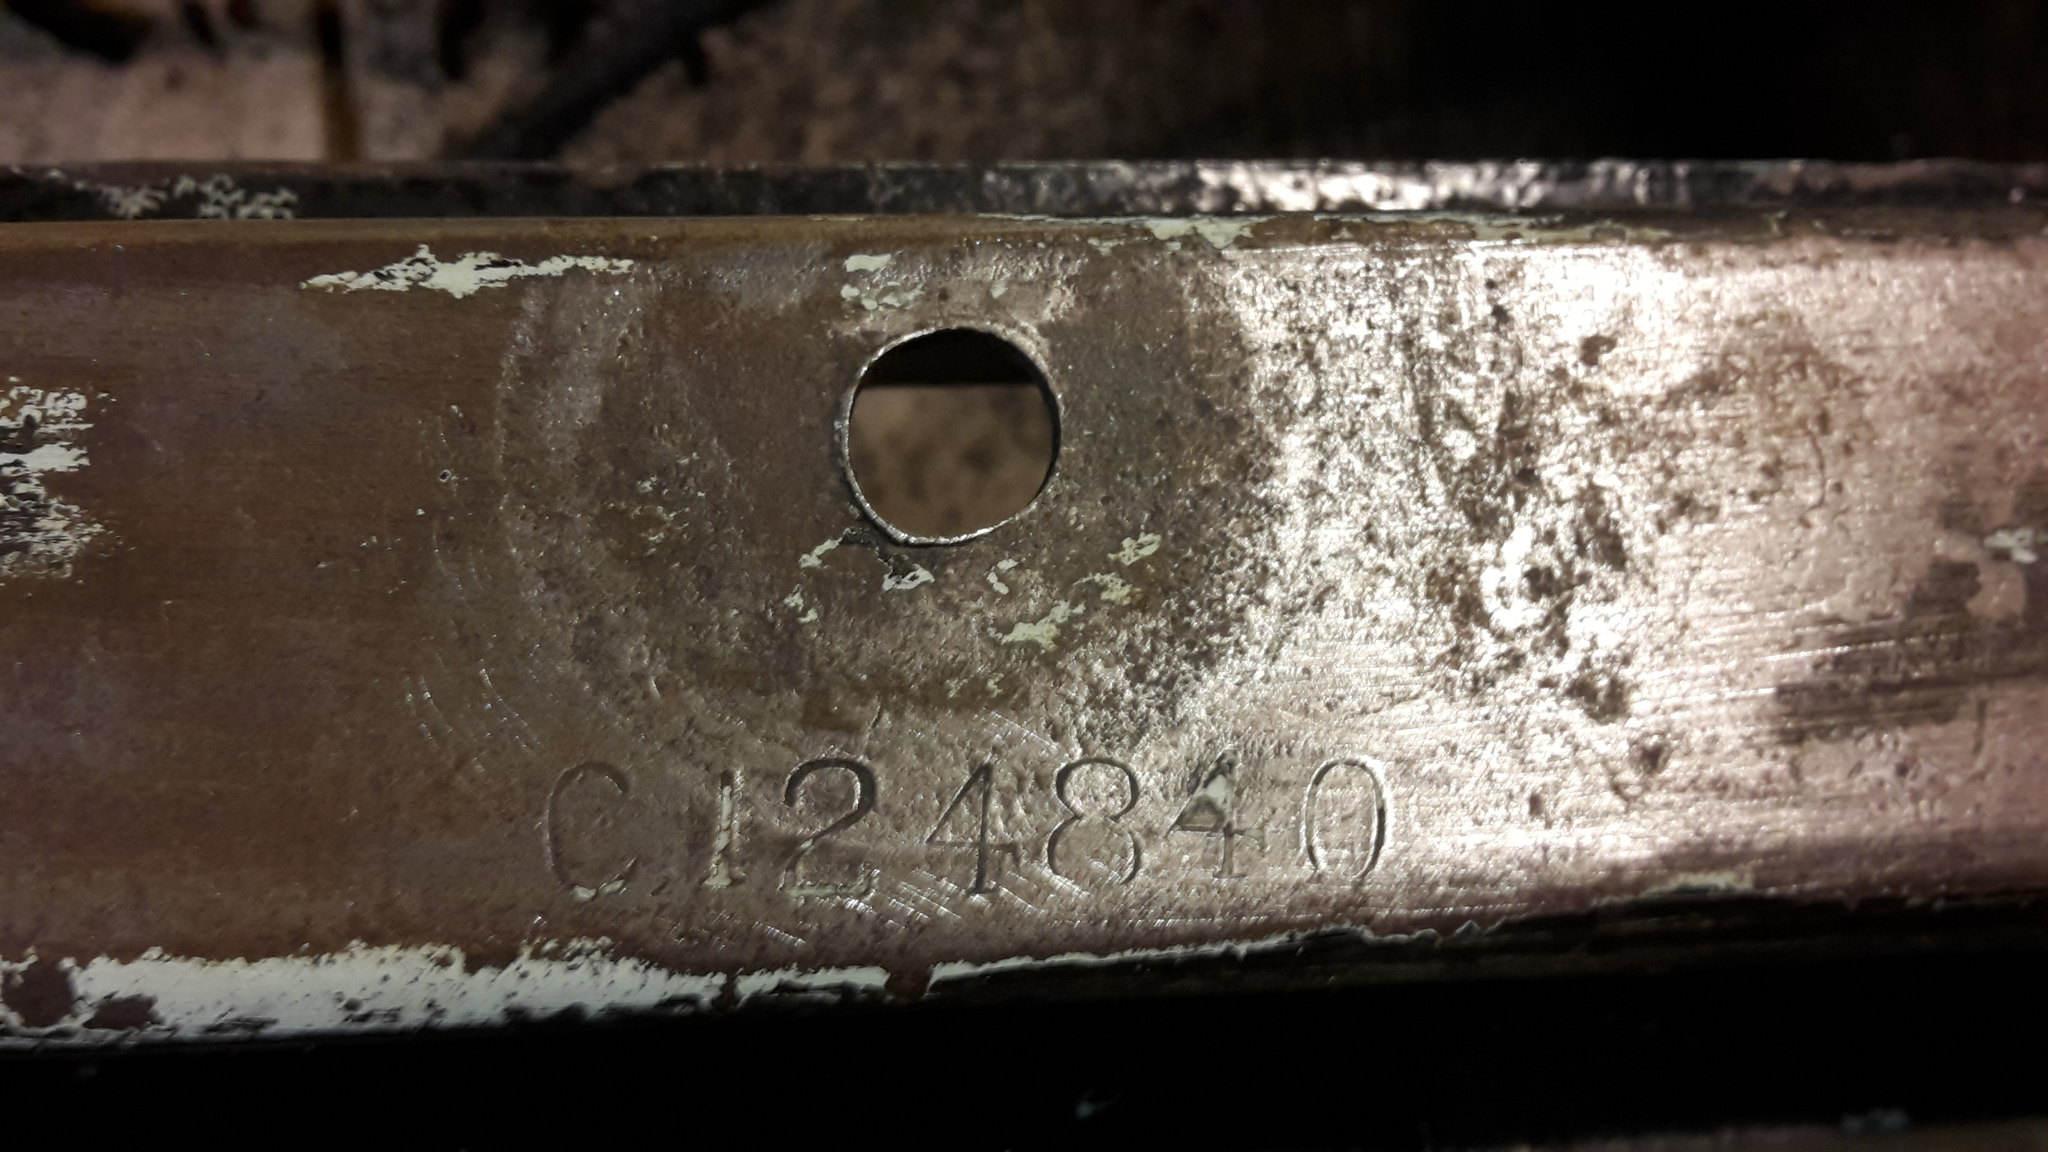
Chassis is still in great condition with a very clear chassis number.
Usual chassis repairs required, this was stick welded back together using a 2.5mm rod at 65 amps.

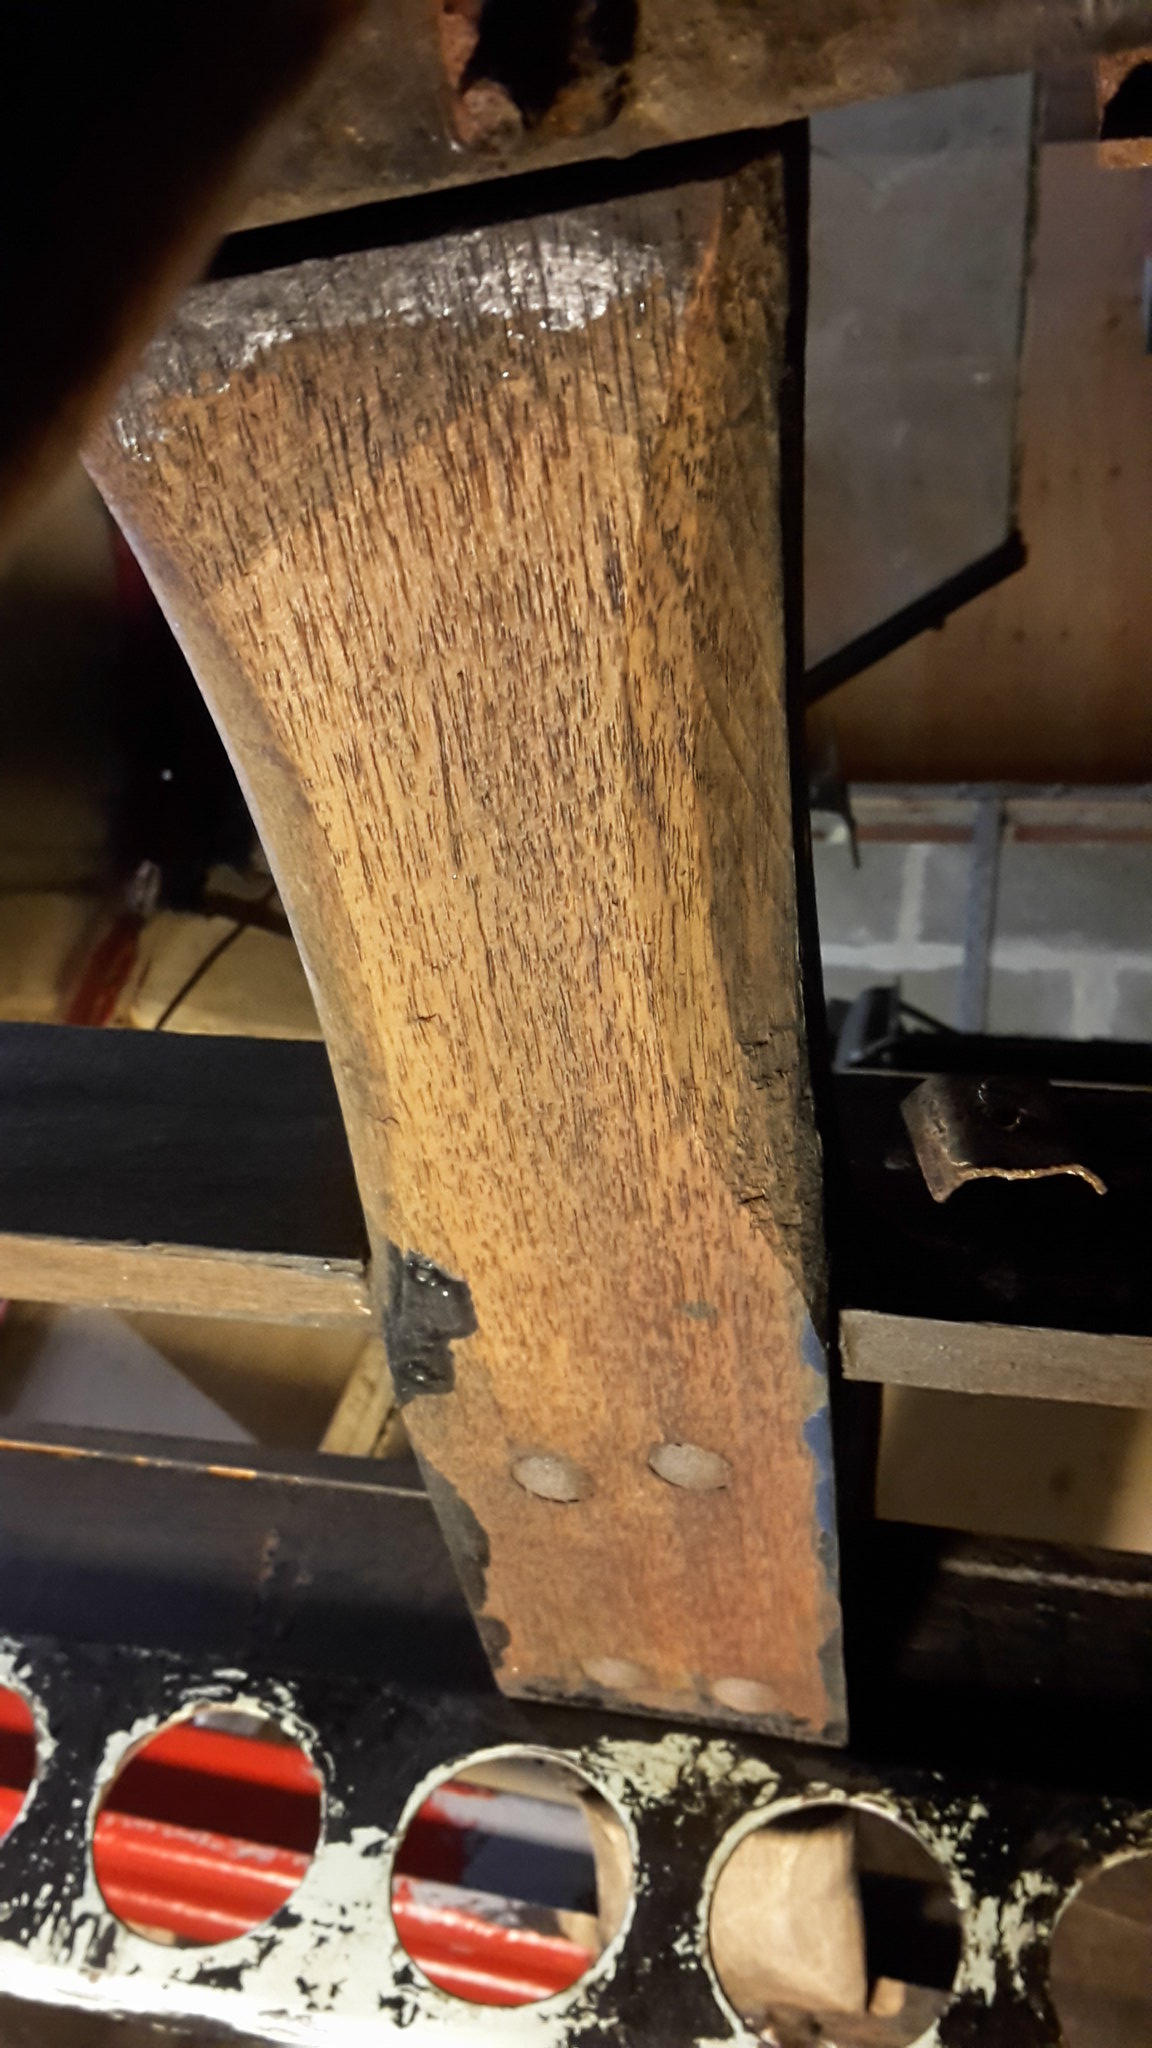
Once all the gunk was removed I found this, the wooded centre cross member had never seen a coat of paint and still as sound as the day it was spoke shaved.
Nearly forgot to take a pic in primer. I applied two coats of Bonda rust primer.
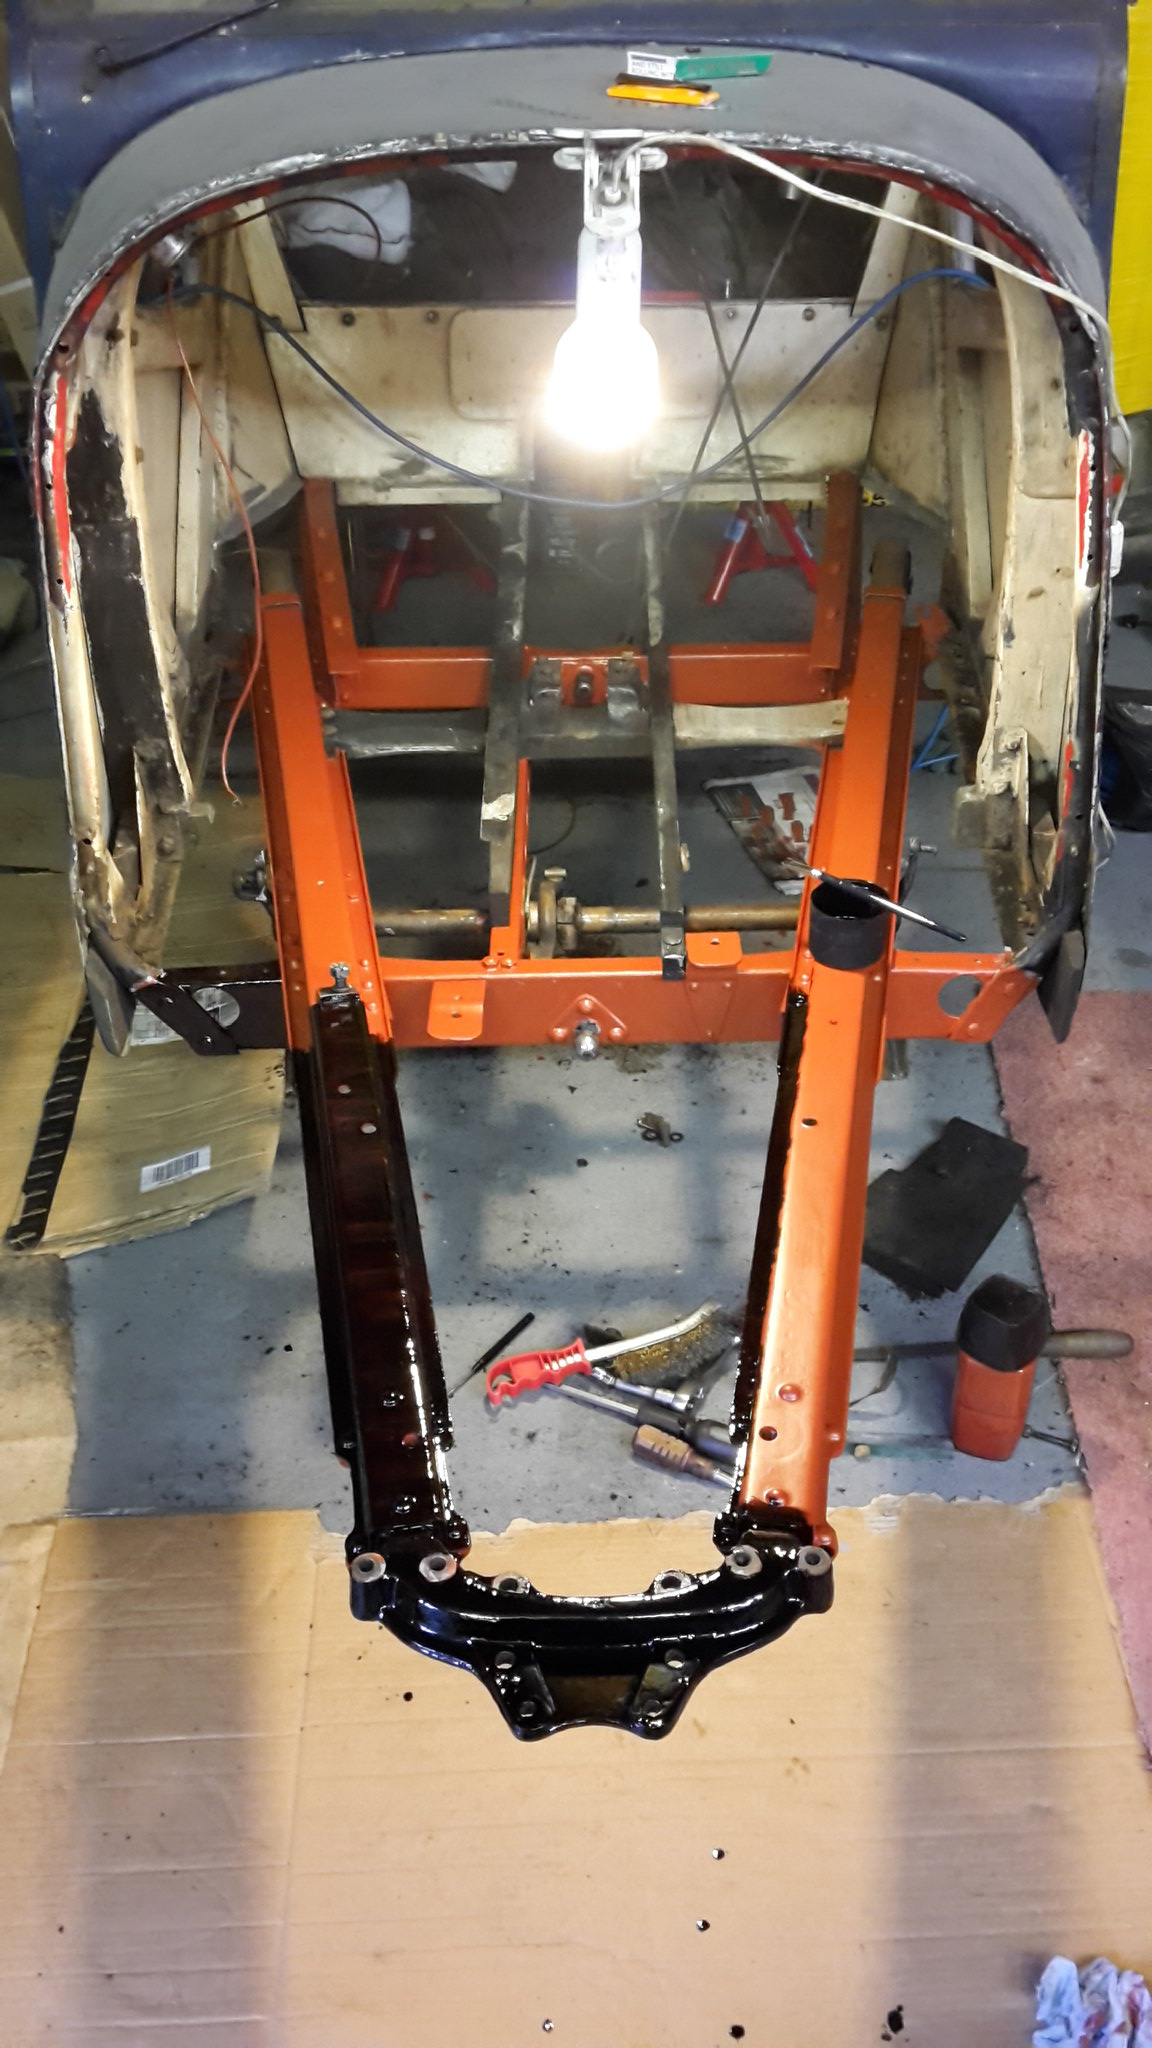
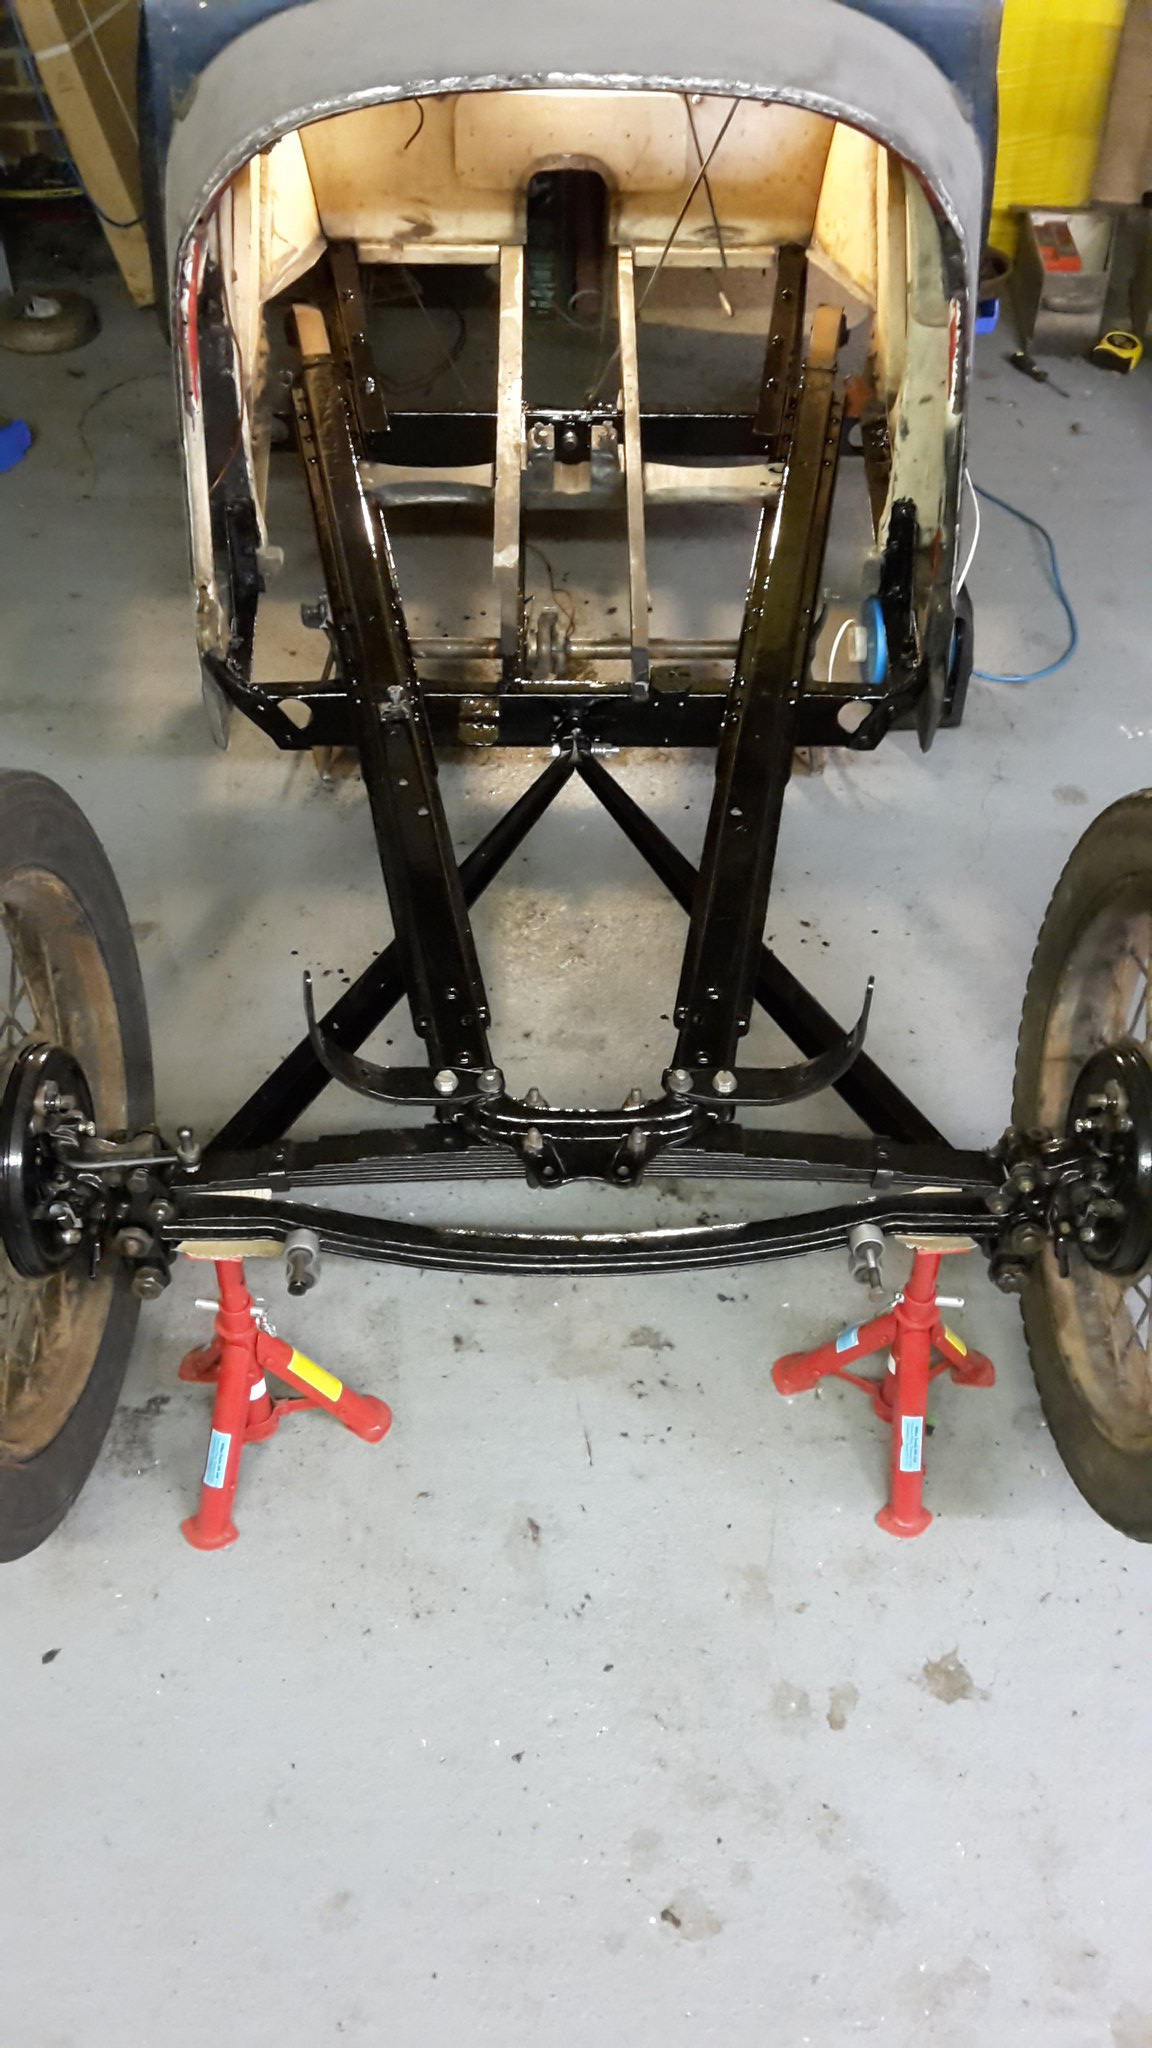
Finally painted with three coats of 2k black, all paint applied by brush and has taught me how bad I am painting left handed as there were areas I couldn’t reach with my right hand. Front axle now fitted, the first major rebuilt part to be refitted to the car!
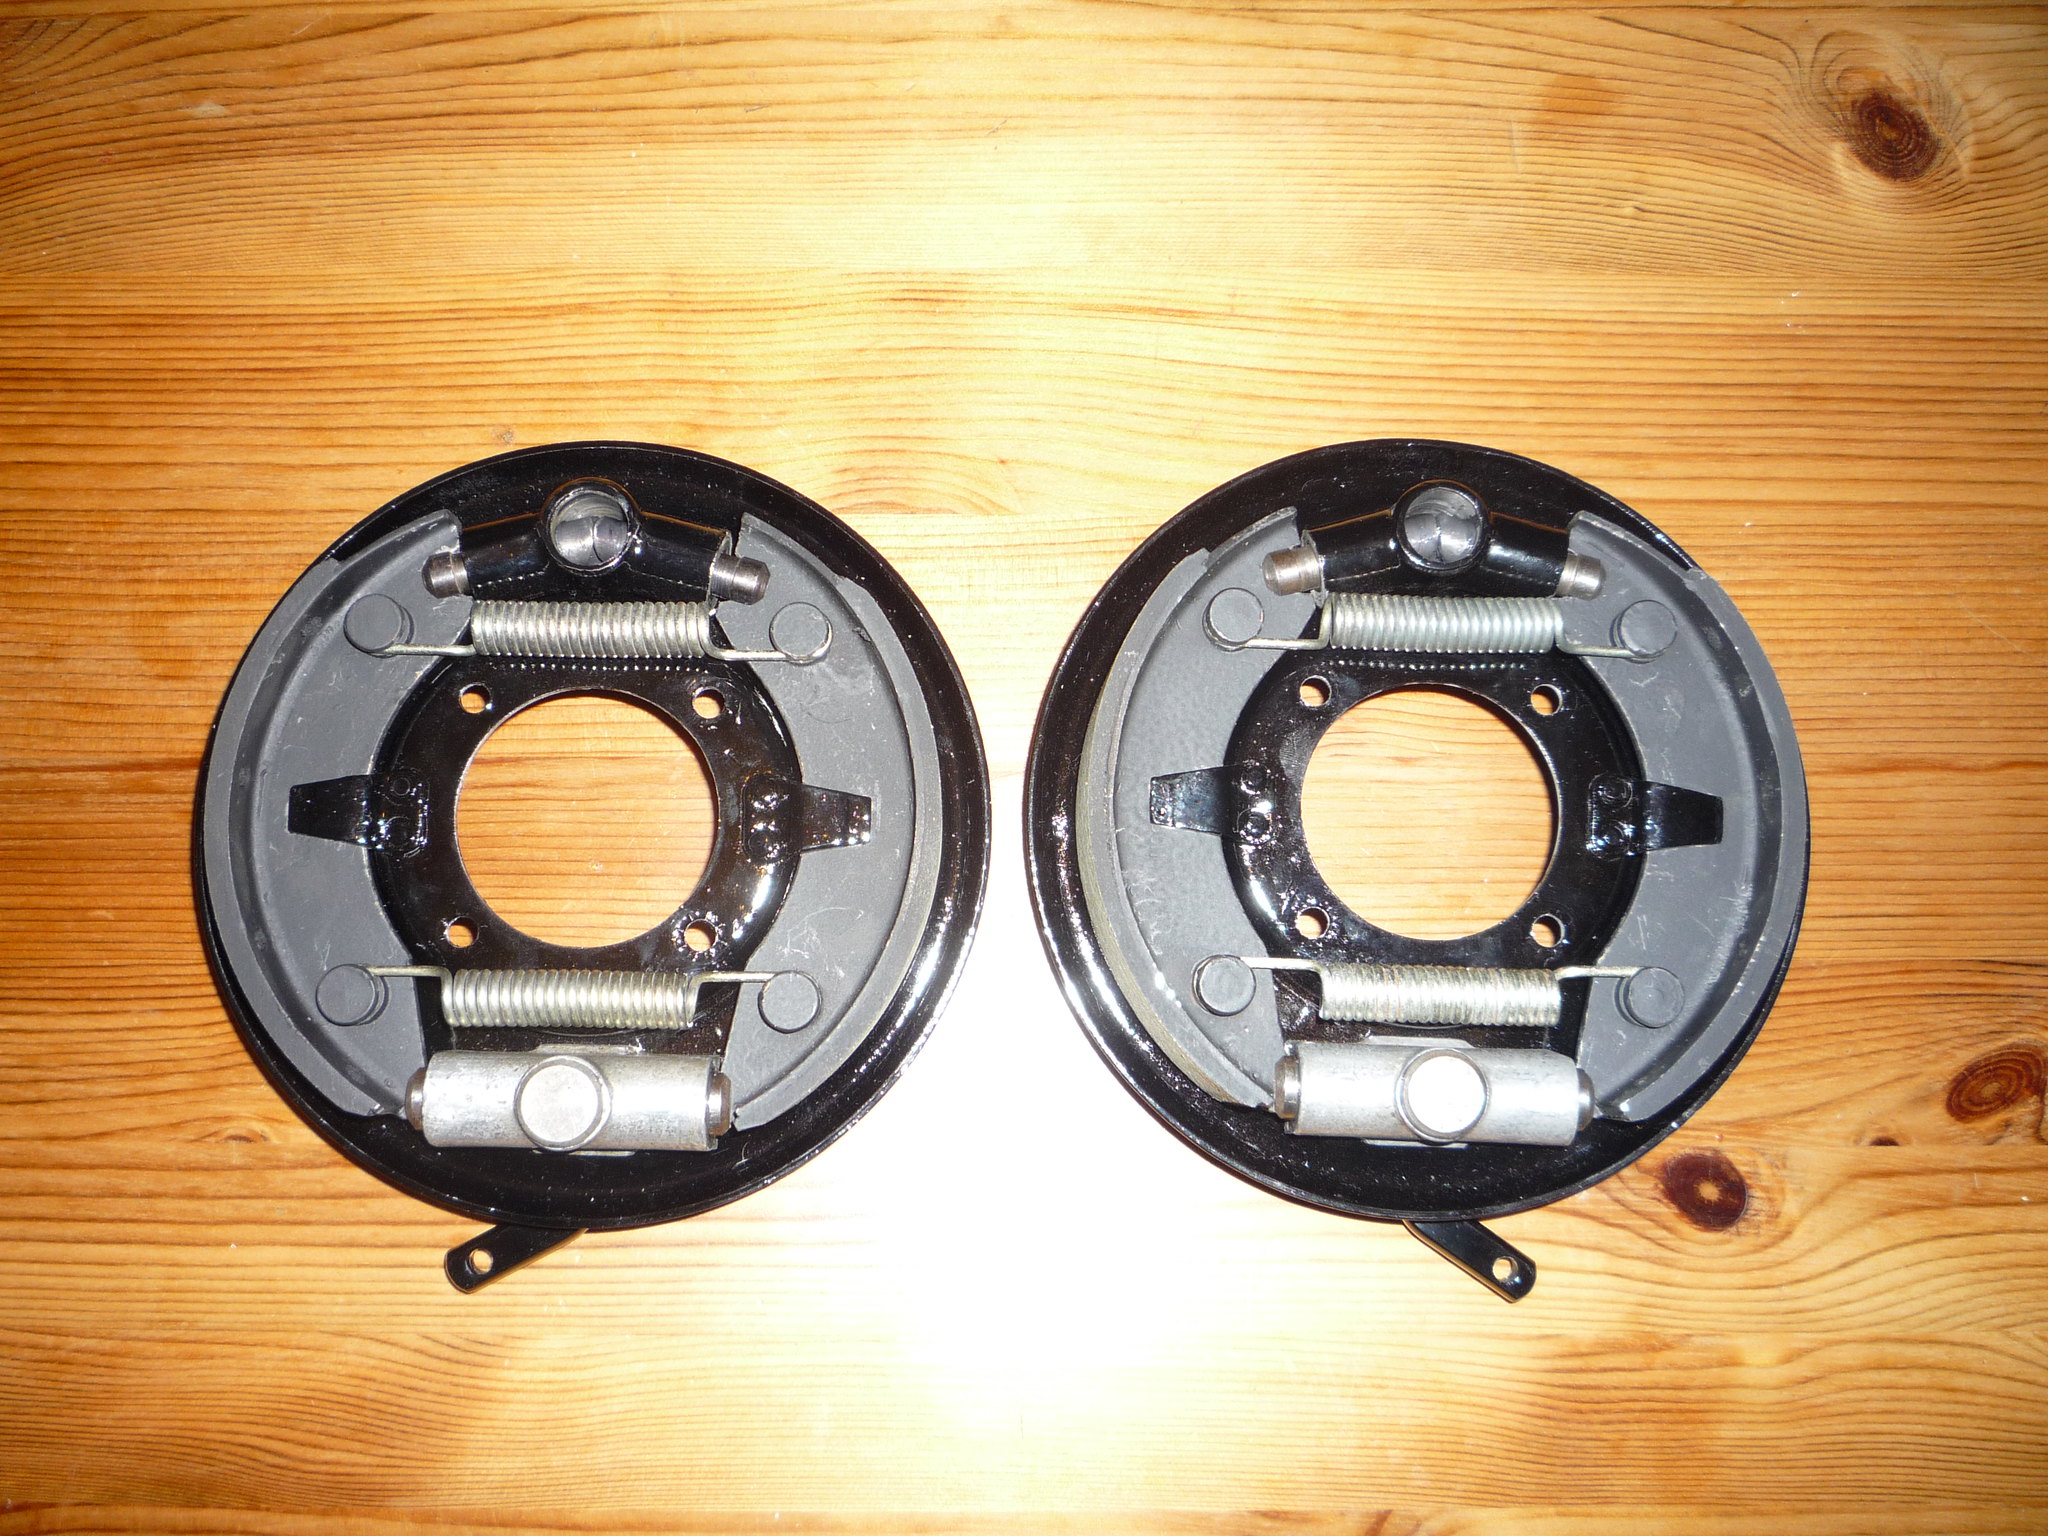
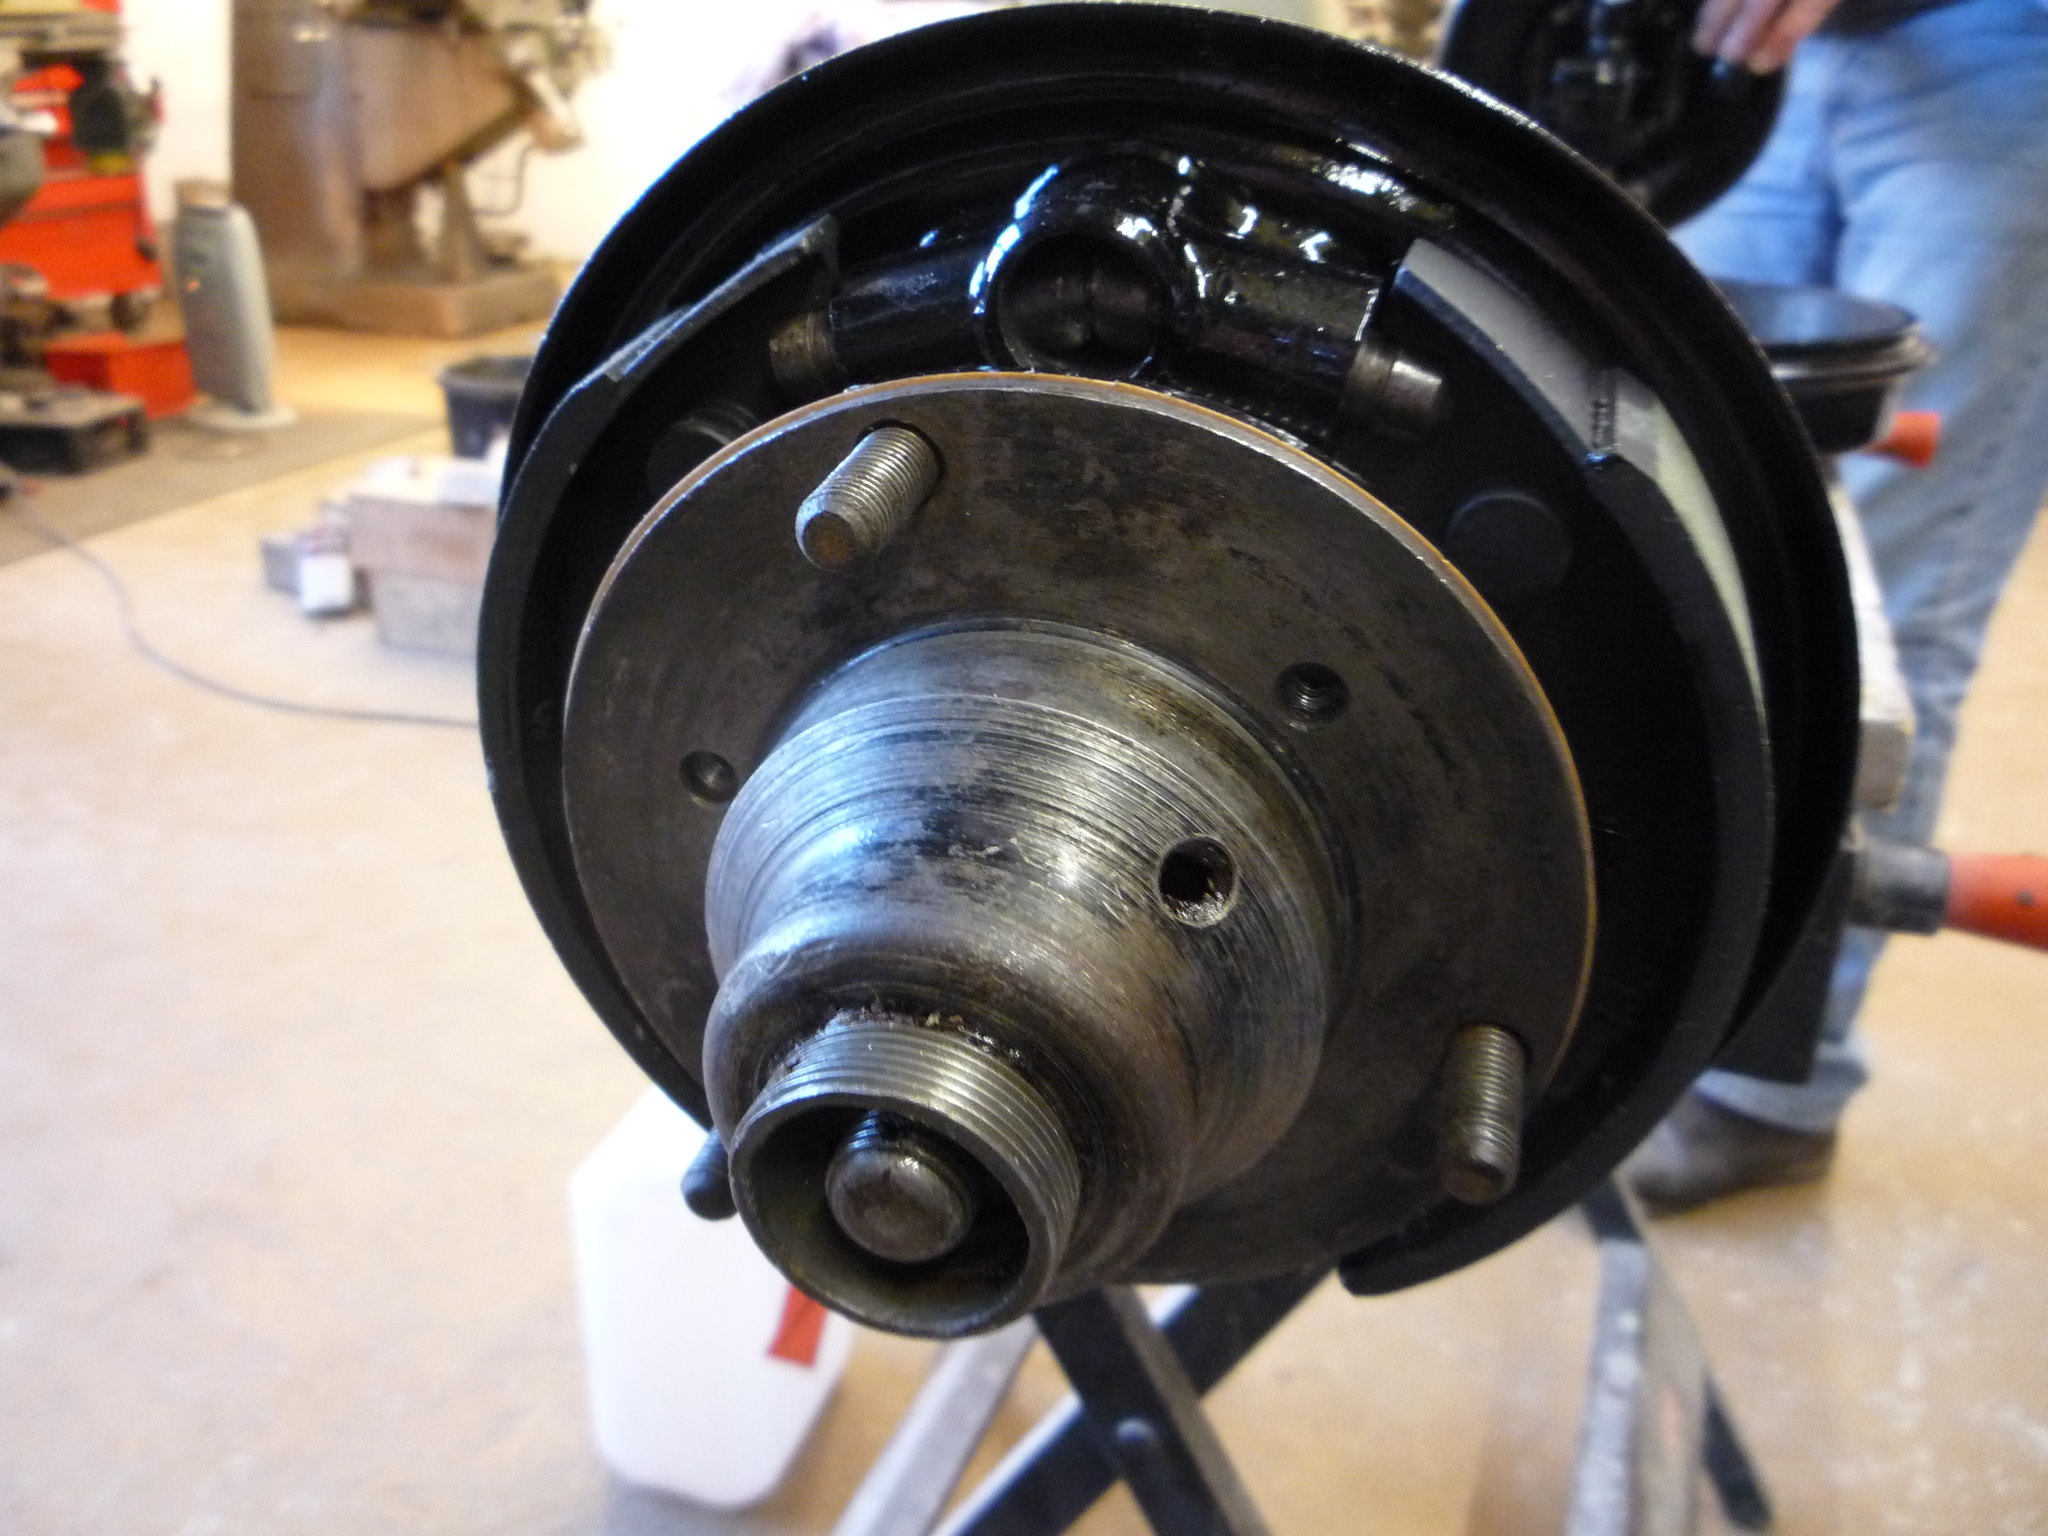
Unfortunately I lost most of the pics of the front axle rebuild due to a hard drive failure, these are the only ones that survived because I'd taken them on my phone. As a side note, at the time I couldn’t get new brake shoe springs for this type of shoe, Citroen DS springs are a straight swap!

Tom,
Location: Eye on the Norfolk / Suffolk border