Welcome to the Austin Seven Friends web site and forum
As announced earlier, this forum with it's respective web address will go offline within the next days!
Please follow the link to our new forum
http://www.austinsevenfriends.co.uk/forum
and make sure, you readjust your link button to the new address!
It's amazing what you can do with a few spanners, couple of hammers and a grinder.
In general terms that is very true Leon and the results of the layman can be quite impressive for sure. Andrew is however a very clever and skilled craftsman and I would not want to get the two mixed up. 
I'm sure most people could learn how to bash aluminium, and some would even make a reasonable job.
We're I see Andrew as a true craftsman is how quickly he picked it all up, and to a high standard. ( ducks to water).
That's why I got him to do the repaires to the chummy as soon as he got going. Also doing the steel/ alloy work on the C cab van.
Those who attended Wollaston last year, would have seen how good his work is.
And R, well done with the chummy so far. Looking good.
Tony
Location: Leics
Thanks, Nigel!

Location: Herefordshire, with an E not a T
That's very quick R, and looking great , one of my cars has been with the panel beater for 10 years now.
Thanks Bryan, we are getting there - quite a lot of fitting is happening today so that it can go to the painter next week.
What do people use at the joint shown below?
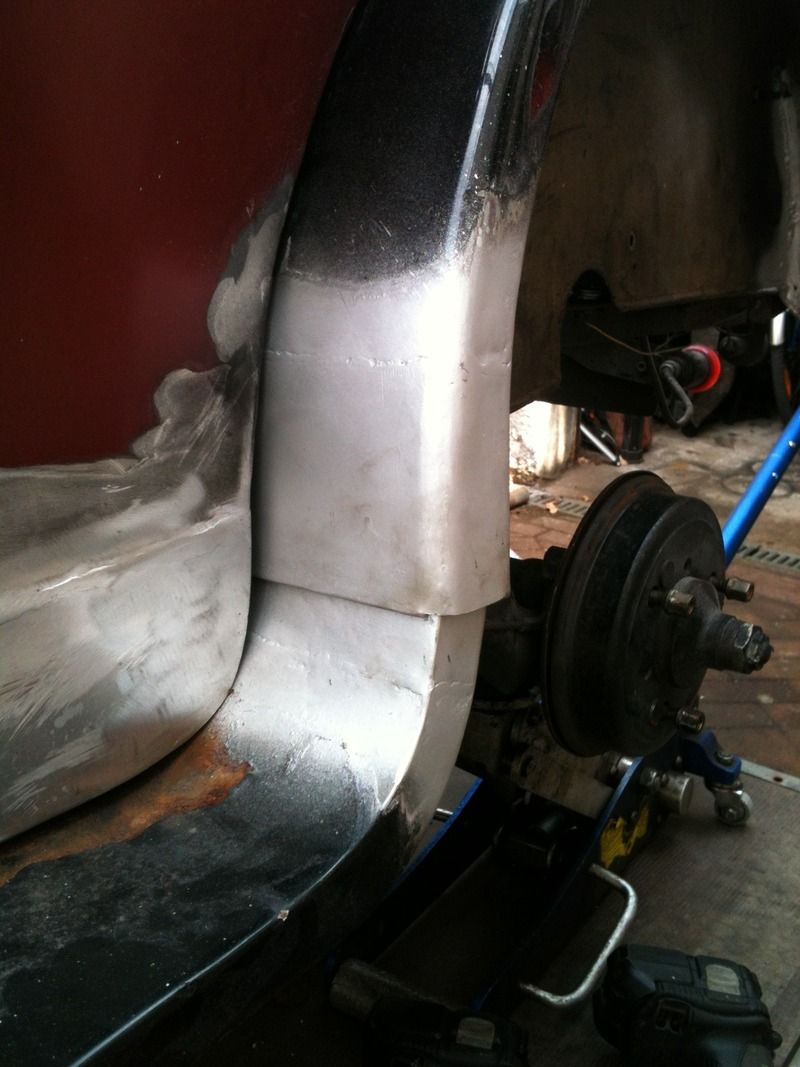
The car had rubber between the two surface when I bought it but this trapped moisture and resulted in the damage below:
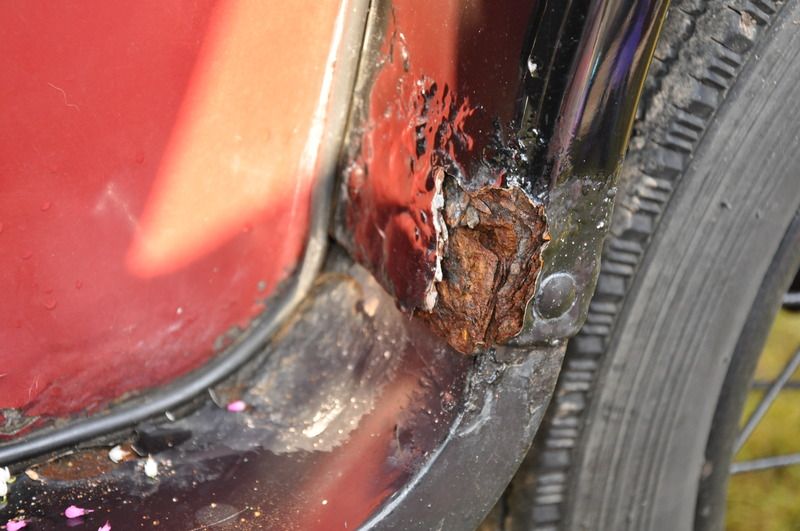
I was hoping to be able to fit the wings without the need for piping as originally done but may end up using it if I cannot get the fit a bit better.
Ruairidh, the wings were not cut off at the bottom like that. The originals have the bottom of the wing turned up inside for 1 ½” so the edge is pointing upwards, the running board fits tight up against the inside overlapping the bent up piece by 1”. The remaining ½” is bent down over the edge of the running board thus making a water tight joint. This only happens on the width of the wing, it is cut before the radius and wing outer flange.
The original was bolted up with three ½”(or maybe 3/8”long)x ¼” coach bolts, two in the front face and one in the side. Square holes were in the wing to take the square of the coach bolts to stop them from turning. Hope this is clear, my car has the original rear wings and that is how it was on mine at least. Great job you are doing Ian Moorcraft
Location: In a rubber lined room near Bristol UK
Thank you Ian that is very helpful and makes perfect sense - I shall have a think about what to do with the missing flange although I expect it may be too late at this point as I am on a tight time schedule.
I have the new coach bolts for the joint now fitted and everything has pulled neatly in.
A friend has suggested seam sealer - anyone have any experience of this please?
Bolt it all up with half a tube of tigerseal.

Ruairidh,
The guard on the 28 Chummy and early 29 saloon both have a sharper corner on the flange at the end of the guard to almost match the running board upturn flange.
There is one fixing in the flange and two in the flat face attaching the guard to the running board upturn (rivets in the Chummy, 3/16" round head screws in the Saloon - I don't think either are original).
As suggested some sealant between should keep water out.
Tony.
Location: Malvern, Melbourne, Australia.
Thank you Tony - I have re-shaped this now to replicate the sharper angle also the rear of the sill so it follows the angle of running board, I have also fitted two coach bolts on the forward edge and one on the side where I understand they should be.
I seam sealant has been recommended and ordered - paint shop next week:)
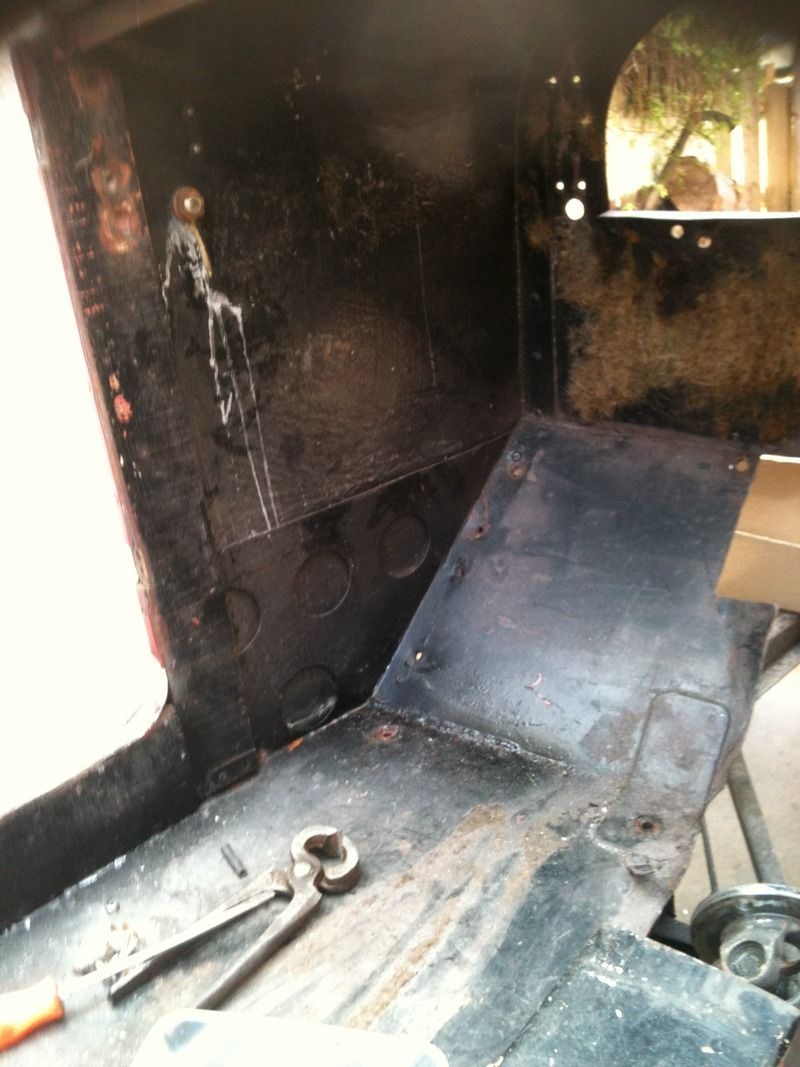
Rexine covered plywood down the door pillar and along the timber under the door. The vertical ply overlaps the front of the door pillar by about 1".Ply held in place with panel pins as is the door lining. The vertical panel extends to the alloy capping in front of the dashboard. There is a rexine door check between the door hinges which is fixed UNDER the ply both ends As far as I am aware there is no upholstery on the inside of the scuttle,which is painted black. I think the inside of the engine/ cockpit is black as is the floor pan. Was the floor pan painted/stove enamelled before body assembly at Longbridge I wonder?
Thank you Simon, very helpful.
Now there's posh- spring gaiters on a chummy 
And a nice set of proper aftermarket helper springs!
I have not noticed before- the rear cross-member body mounting brackets are riveted on at a slight angle!
Simon said 'As far as I am aware there is no upholstery on the inside of the scuttle, which is painted black. I think the inside of the engine/ cockpit is black as is the floor pan.'
My Chummy has been re trimmed and the inside of the scuttle covered with a panel which doesn't really give enough foot-room on the drivers side for the accelerator pedal, even though it looks alright.
The Saloon which is very original has no covering on the scuttle and the panelling and floor pan area is painted black.
Tony.
Location: Malvern, Melbourne, Australia.
Yes, the gaiters would most certainly have cost more than the springs they are intended to protect!
The helper springs were fitted when two of us became five of us plus a trailer :)
Thanks Ruairidh.
All quite a revelation. Seldom see this sort of detail published. Both a deterrent and inspiration! Had it not been for the bubbled guard, many would be surprised that such a presentable car could have so much hidden deterioration. Hope it doesn’t deter too many prospective Seven owners! No wonder so many bodies are replicas. Interesting that it can in large part be so speedily remedied. Following another recent series of posts, I cant help imagining what a bog artist might have done with it all. And the resultant repair challenge. Apart from a few unbacked splits, all could have been buried in bog, and in the case of many cars, was.
Not many get to close grips with the earlier cars so of considerable interest.
Those somewhat crude but very convenient cable adjusters are not allowed here. Those who set the Rules think that insidious wear on modern handbrakes systems can be masked by them. Often very convenient on Sevens when levers etc are altered as stock cables often not quite the ideal length, and the adjustment available by turning the cable is tedious and limited.
The pattern of rear tyre was made here by Dunlop for many years. Tyres were marked 3.50-400 but were certainly not the former and more like 450. Sapped top speed, both real and apparent on the speedo. I see this pattern in many UK photos. Hopefully a range of dies are/were available and you are not all stuck with tyres obver 4 inch section.
Bob Culver
Location: Auckland
Ruairidh asked:
"Can anyone tell me what trim should be fitted to this area please? What I have is very fancy and not my cup of tea, I am sure something simpler was used originally."
I've just noticed that Wyatt has pictures of this area of a '1928 Tourer'. Plate 26 opposite page 65.
Location: Melrose, Scottish Borders
Thanks Jim,
that's a very useful reference, it also shows the little steel channel on the driver's side that the wiring runs inside of.
Shiny bits have started to arrive :)
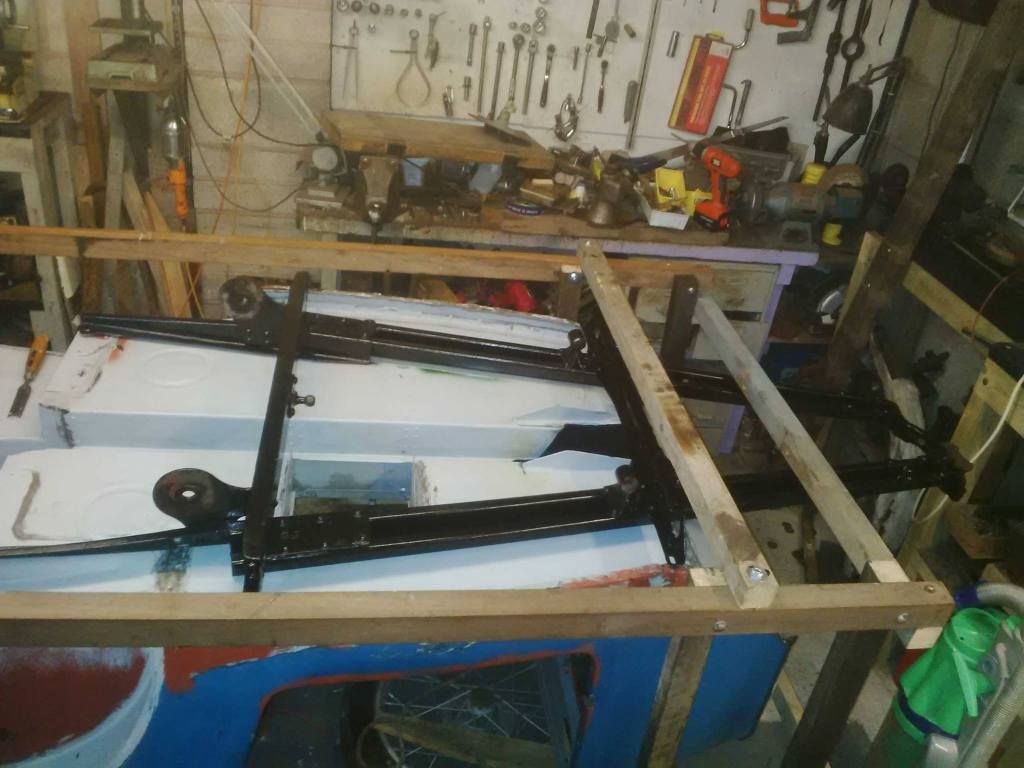
I helped Father put the last few rivets into the floor repairs of his 27 chummy body yesterday. Unlike some people, his has taken about a year to repair the floor!
 " />
" />
Location: Devon
R - a further bit may be of help to you and others. Of all the dozens of aluminium scuttles I've repaired or replaced, I've never seen even one with any trim (apart from the pillar). Also, as said the insides were painted black, but note they were always just one thin coat of flat black. Re the metal covering strip along under the driver's door for the taillight wiring (which latter continued through 1/2" holes in the front and rear seat base verticals), it was Z-shaped with the top flat flange attached to the timber strip. From memory it was about 12" long, but I'll give you a call with the correct figures. I have to also say that I've never seen the inside folded-back strip of the rear wing's lower portion then folded back again over the end of the running board, remembering we're lucky to get that area to repair long before your European ones get so badly rusted, so perhaps ours more original metal to look at? I would have thought that idea would give greater access to the grot, rather than the three flat surfaces bolted together. We've never had the need to put glue, rubber, piping etc between the surfaces, just lucky I guess. Good Luck, Cheers, Bill in Oz
Bill,
thank for this and your phone message - much appreciated.
Thank you for your second phone message as well Bill.
All black parts are now back and looking really good - body to follow very soon but I am out now out of free time so progress will take an intermission.
Part 3, the assembly, to follow :)
I see the Chummy has the same front damper mod as my RP... certainly helps eliminate some of the wanderlust.
After a (soggy) tour of the Outer Hebrides we are back and I can get on with the Chummy again.
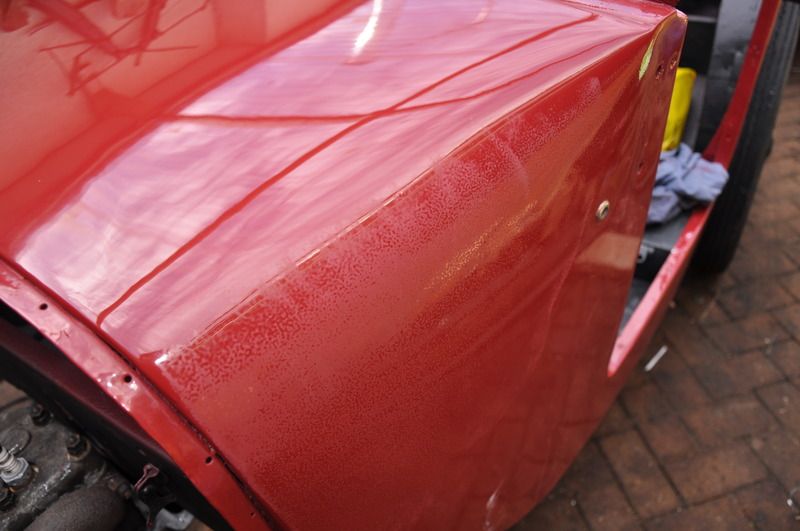
When I pulled it out of the garage I was very disappointed in the finish, it was like this, all over:
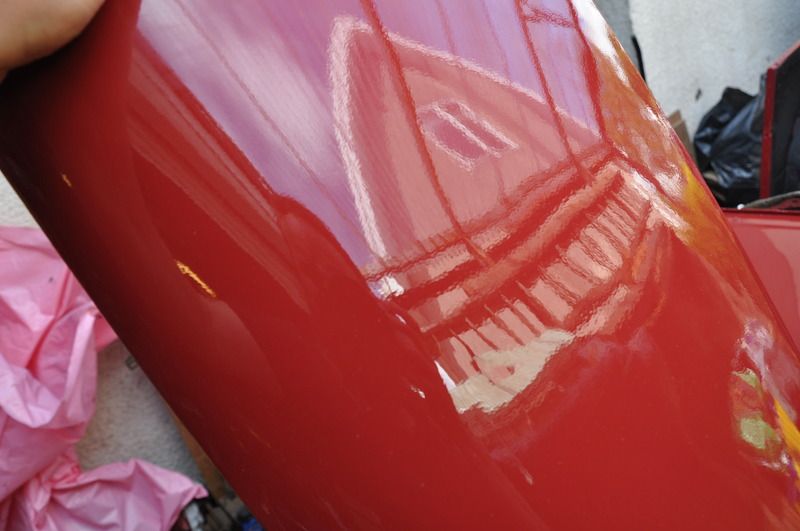
I tried polishing it out but without luck so turned to a local friend who took the time to show me how to flatten it with an orbital sander using various fine discs, then use a large polisher and increasingly fine pastes to polish it up to a glass finish. It was quite time consuming but very satisfying and I am delighted with the result, well worth the outlay for the equipment needed and the time.
Flattening down (you can really se how lumpy the paint was in this, n.b. the 'top' of the Scuttle had already been done when I took this photo):
Finished scuttle:
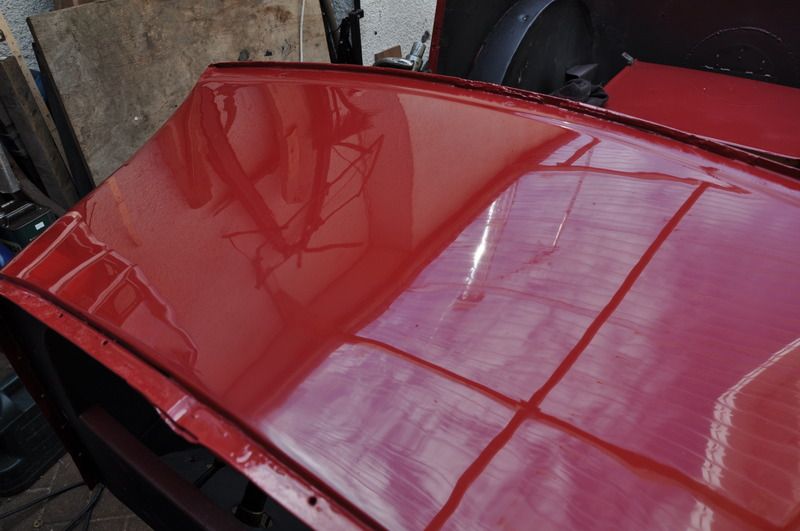
Side:
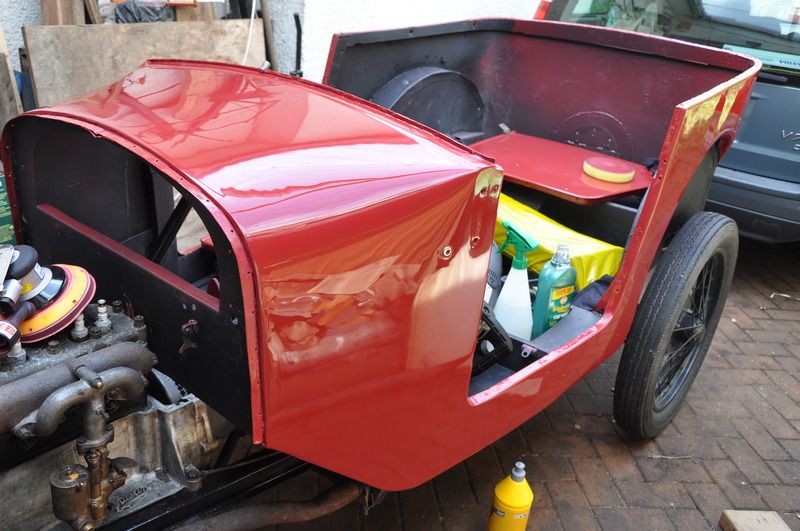
Once I had done the whole tub and the doors I started reassembly and got this far:
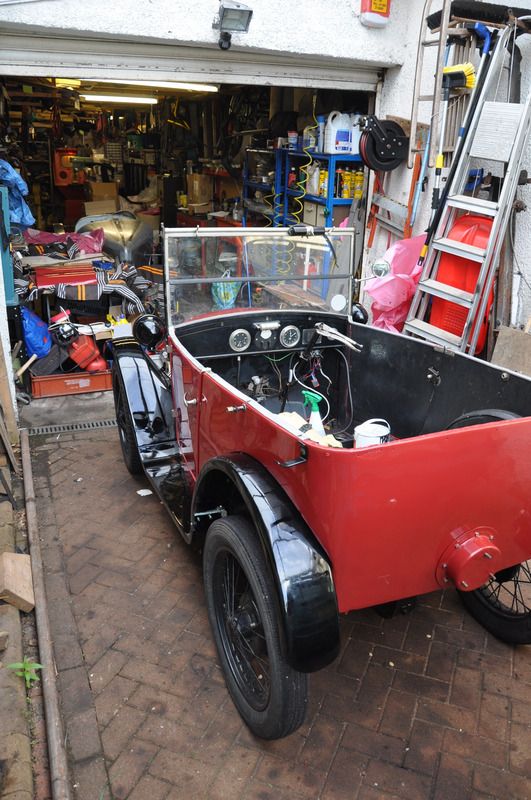
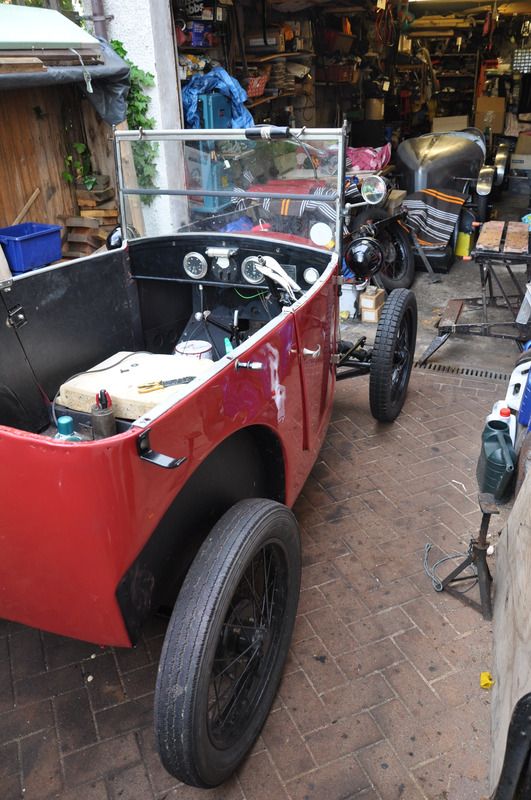
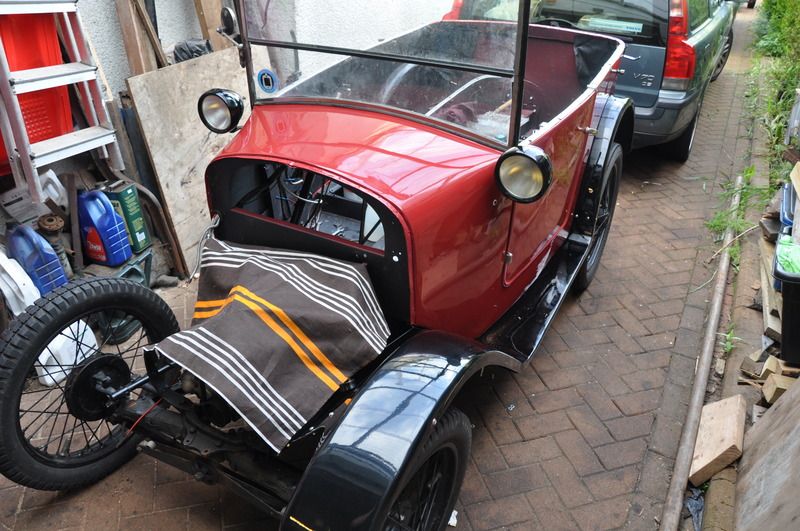
This is how I attached the rear wing to the rear of the running board in the end, I am quite pleased with the way it looks and I did not have to use piping in the end which I am also pleased about.
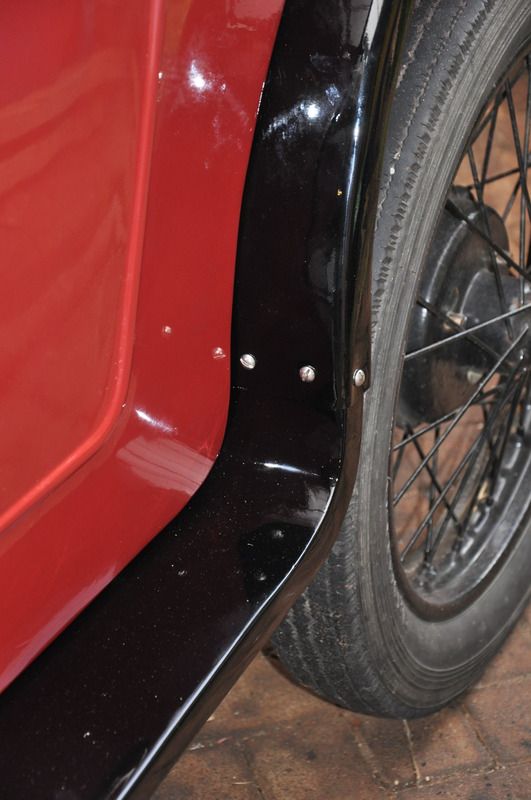
I am going to flatten and polish the wings, bonnet and radiator cowl in situ tomorrow.
That's why I try to avoid anything to do with bodywork Ruairidh; I don't have the knowledge to do it properly!!
Ian Mc.
Location: Shropshire
Looking very good Ruairidh, I was taught to use 1200 wet and dry well lubricated with soap, then hand polish with compound etc, same result just sore shoulders. I am sure that these comments will be teaching you to suck eggs, but it is very easy for the unwary to polish through the paint, particularly around edges.
Location: NZ
This is completely new to me Ian and I am grateful for any helpful comment, I was well warned about polishing through by my friend, a parent at the school I teach in actually, very nice bloke.
I am pleased that I went along this route, taking it back to get re-done was not something I was looking forward to doing and I have achieved the finish I was after, I would recommend anyone thinking about this to try it - happy to share what I had to buy and the process I have been taught :)
A lovely finish, well done, I look forward to seeing more progress!
Location: Saltdean, Brighton
Ruairidh,
As usual I am exhausted by the work you put in and the finish looks excellent - it will be grand after a little flatting and aging! The guard to running board attachment looks very neat - nice attention to detail.
Looking forward to the completion (as you no doubt are)
Tony.
Location: Malvern, Melbourne, Australia.
Looking good.
In my mind properly flattened and polished cellulose paint always looks better on an old car than two pack that has a modern hard, high gloss finish.
Charles
I am intrigued by the molegrips on the steering column!
Location: Farnham
Thank you all for the positive comments.
Charles, the paint is two pack but I hope that I have been able to tweak the finish so that it doesn't look too shiny. Our next trip should dull it down 'if' I can persuade my wife that we 'must' do it before the children are too big to all fit in the back :) watch this space...
David, it saved me having to take the steering wheel on and off whilst I fitted the body and dash etc. and allowed me to be able to steer it around the workshops.
Charles, the paint is two pack but I hope that I have been able to tweak the finish so that it doesn't look too shiny. Our next trip should dull it down 'if' I can persuade my wife that we 'must' do it before the children are too big to all fit in the back :) watch this space...
I've heard of people "dumbing down" two pack - it looks good. Well done.
I suppose that's why you needed a machine rather than fingers and wet/dry!
Charles
Two pack can look very "jammy" on an old car and flatting and polishing it, does help it a lot.
The good thing about good quality two pack is it's durability, because to all intents and purposes you are spraying liquid araldite!
Looking good though Ruairidh.
Location: Near Bicester.
Ruairidh,
I learned that trick of rubbing down using various grades of 'wet&dry' to get rid of orange peel in the '70s, but back then only had the use of elbow grease to polish up.
Beforehand, I used to use compound and that just wore my muscles out it took so long.
Should have eaten spinach.
Hope my efforts on the Ruby turn out as good as yours have.
Well done!
Geoff - I've tamed the Singer sewing machine, just fine tuning now.
Location: South Norfolk - Next to Suffolk
Bar the loose trim, some lights to reconnect and a few other little things, that is it - out of time again though so the final few bits will have to wait.
Thanks for all the help and encouragement it has really help spur me along, very pleased with the end result.
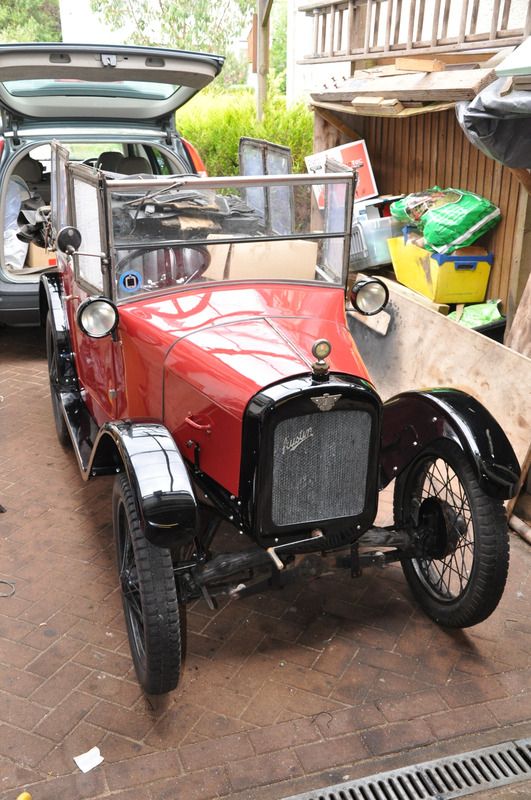
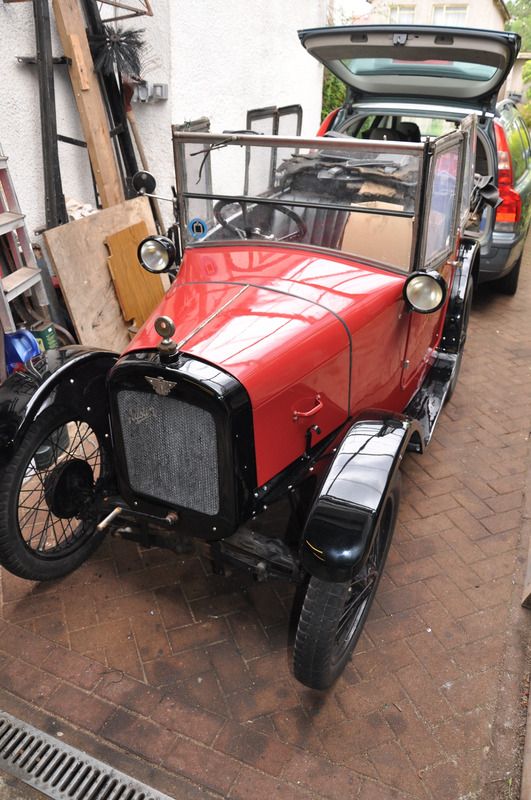
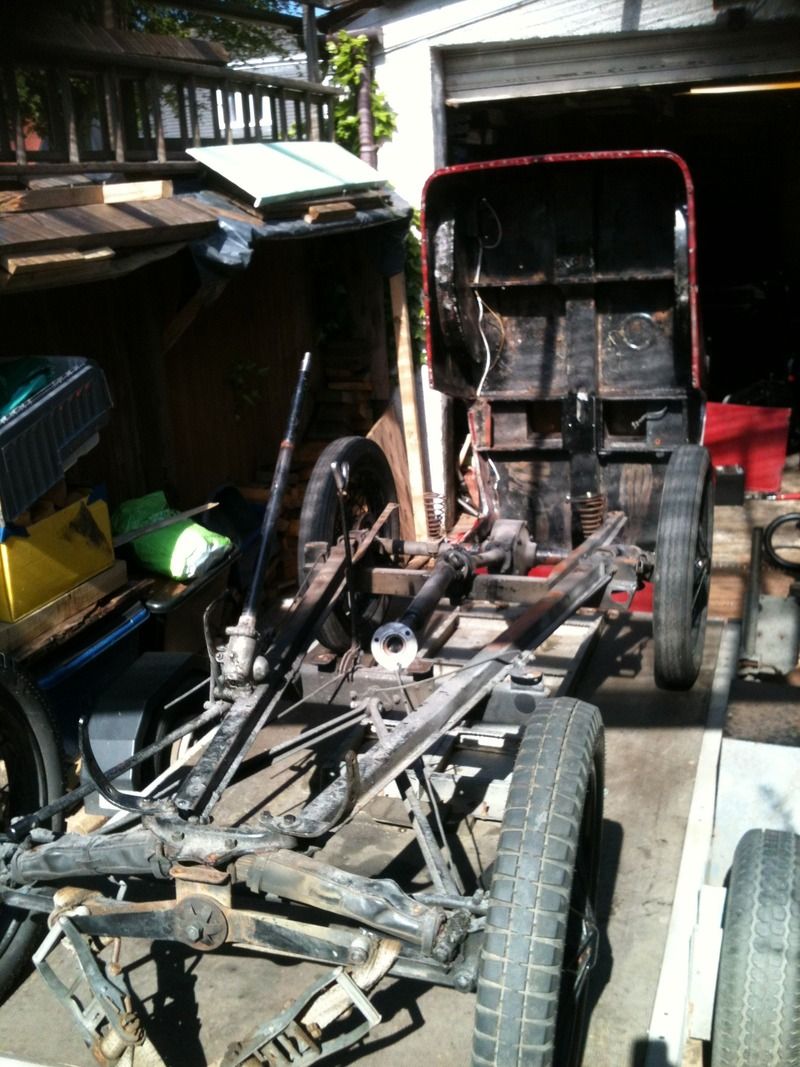
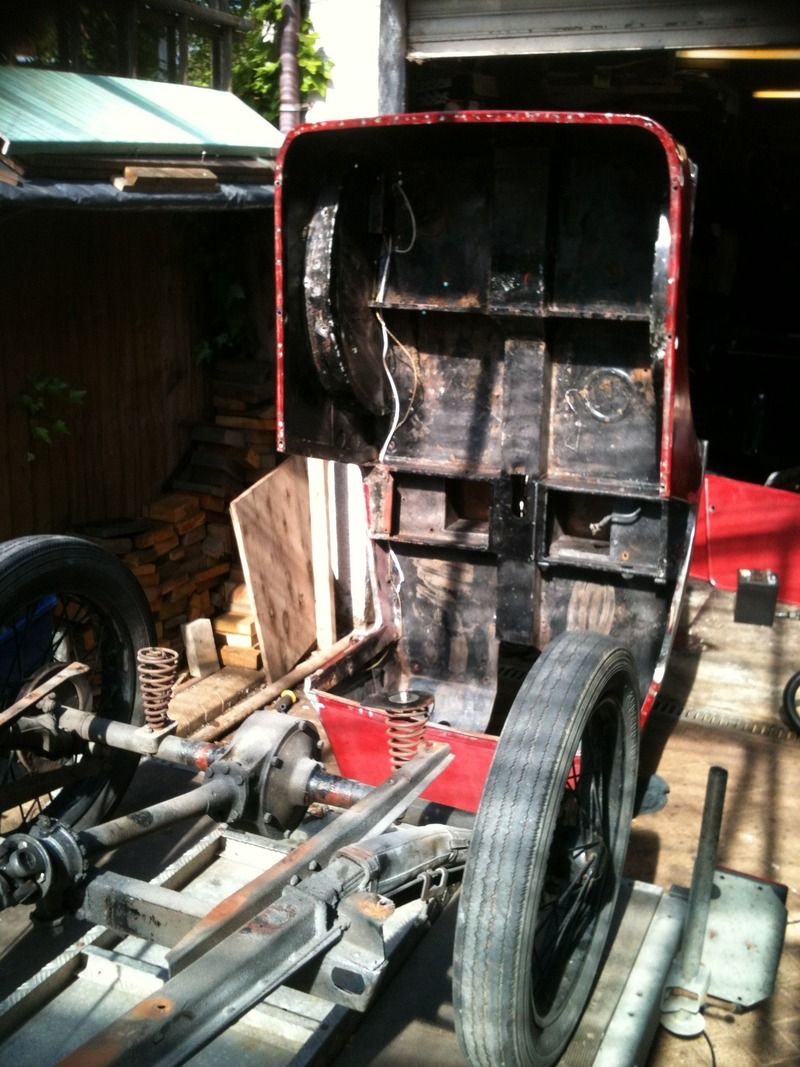
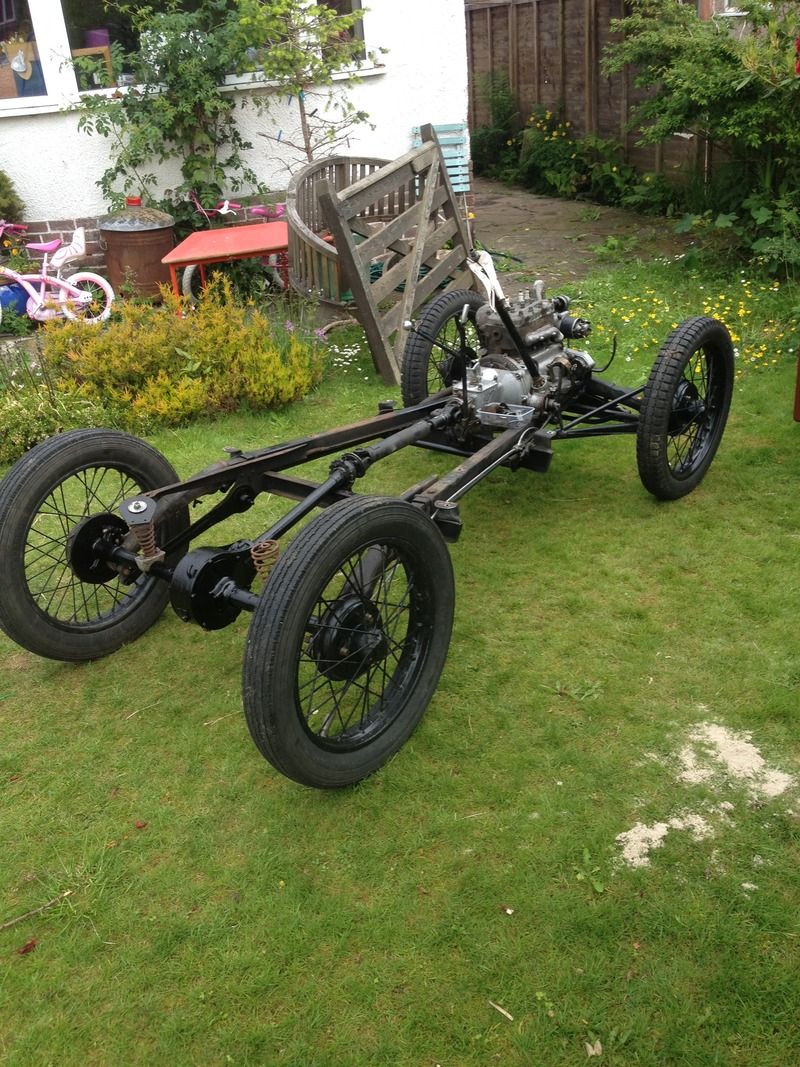
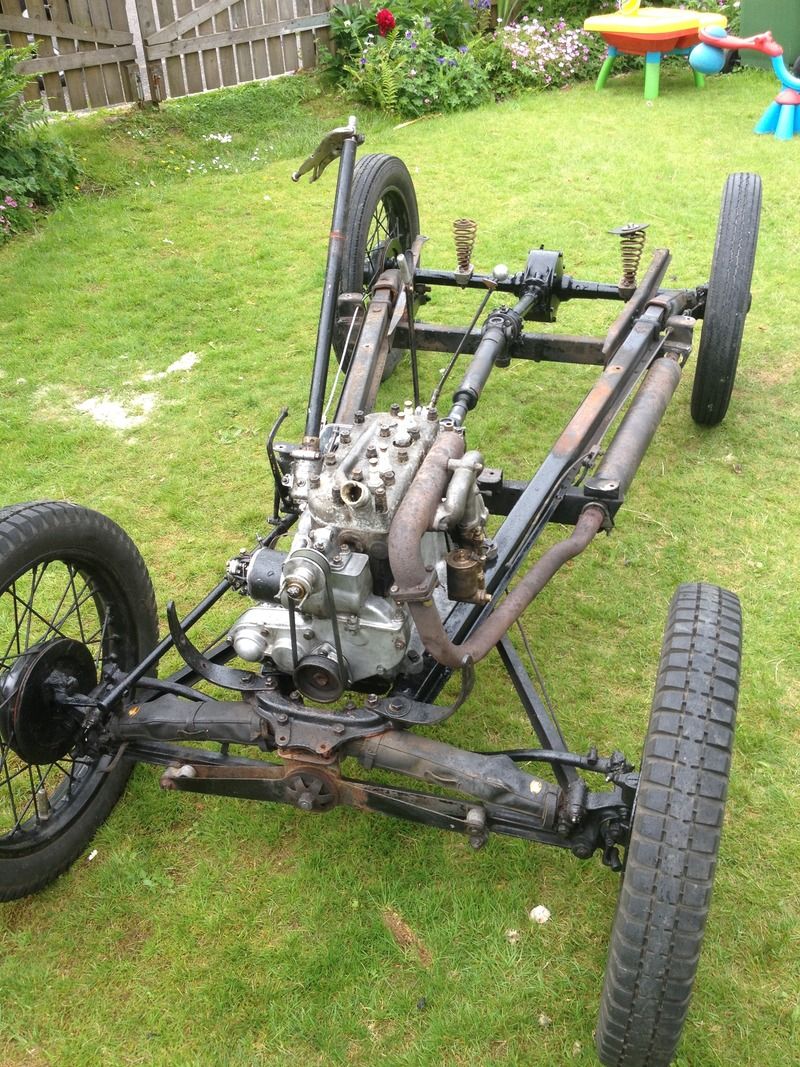
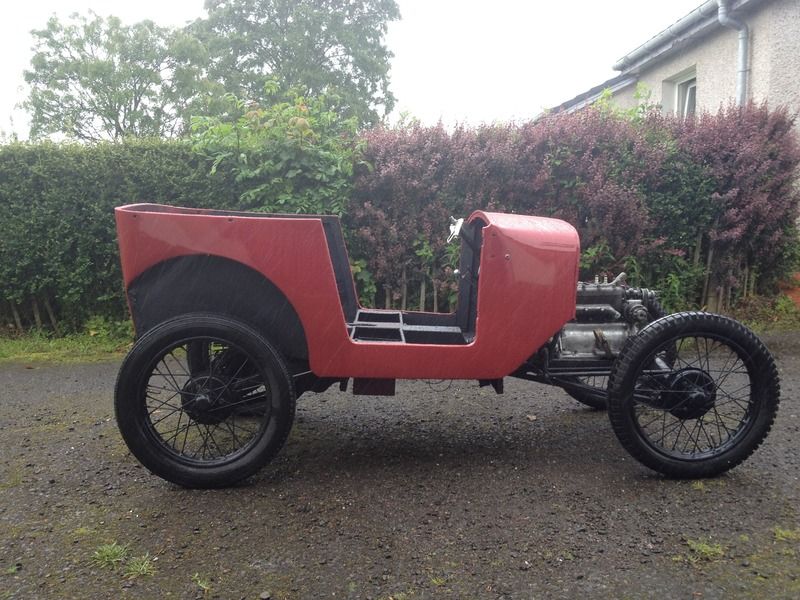
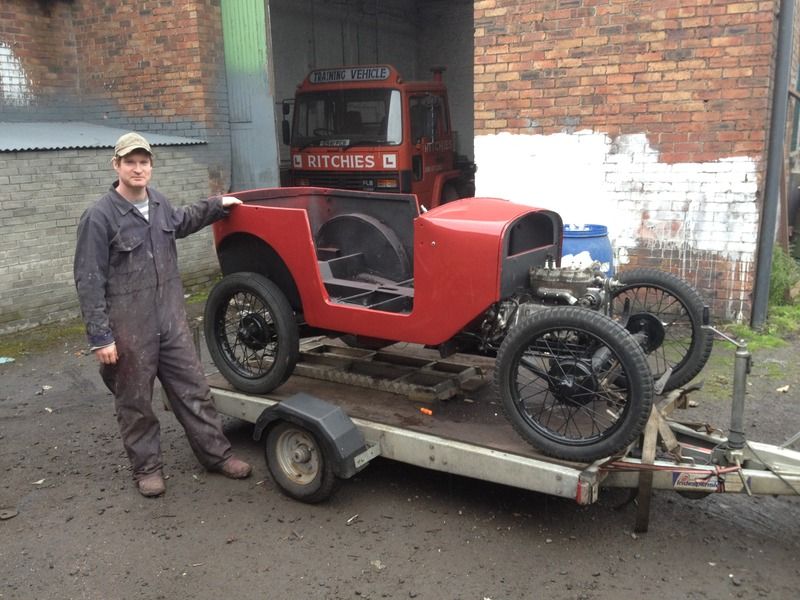
And this is how it started back in May...
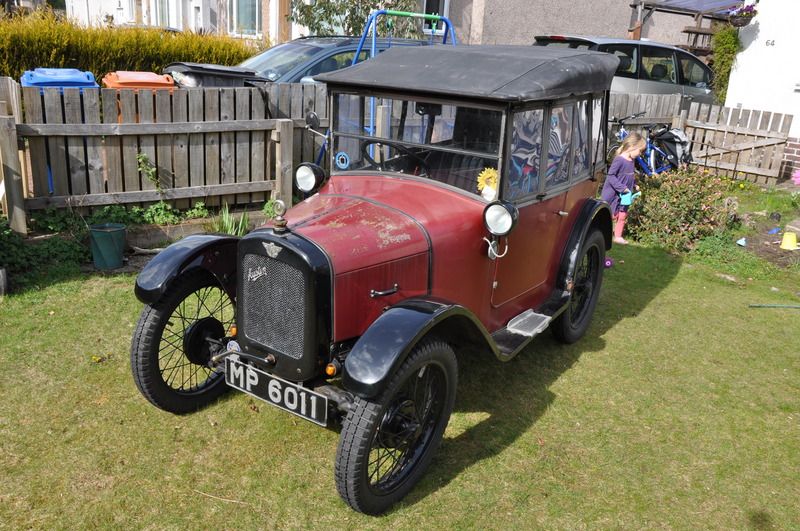
I think I prefer the 'oily rag' look lol

